Posted on Leave a comment

HOW TO MAKE YOUR OWN STAMPED CARDSTOCK FOR A GIFT BAG

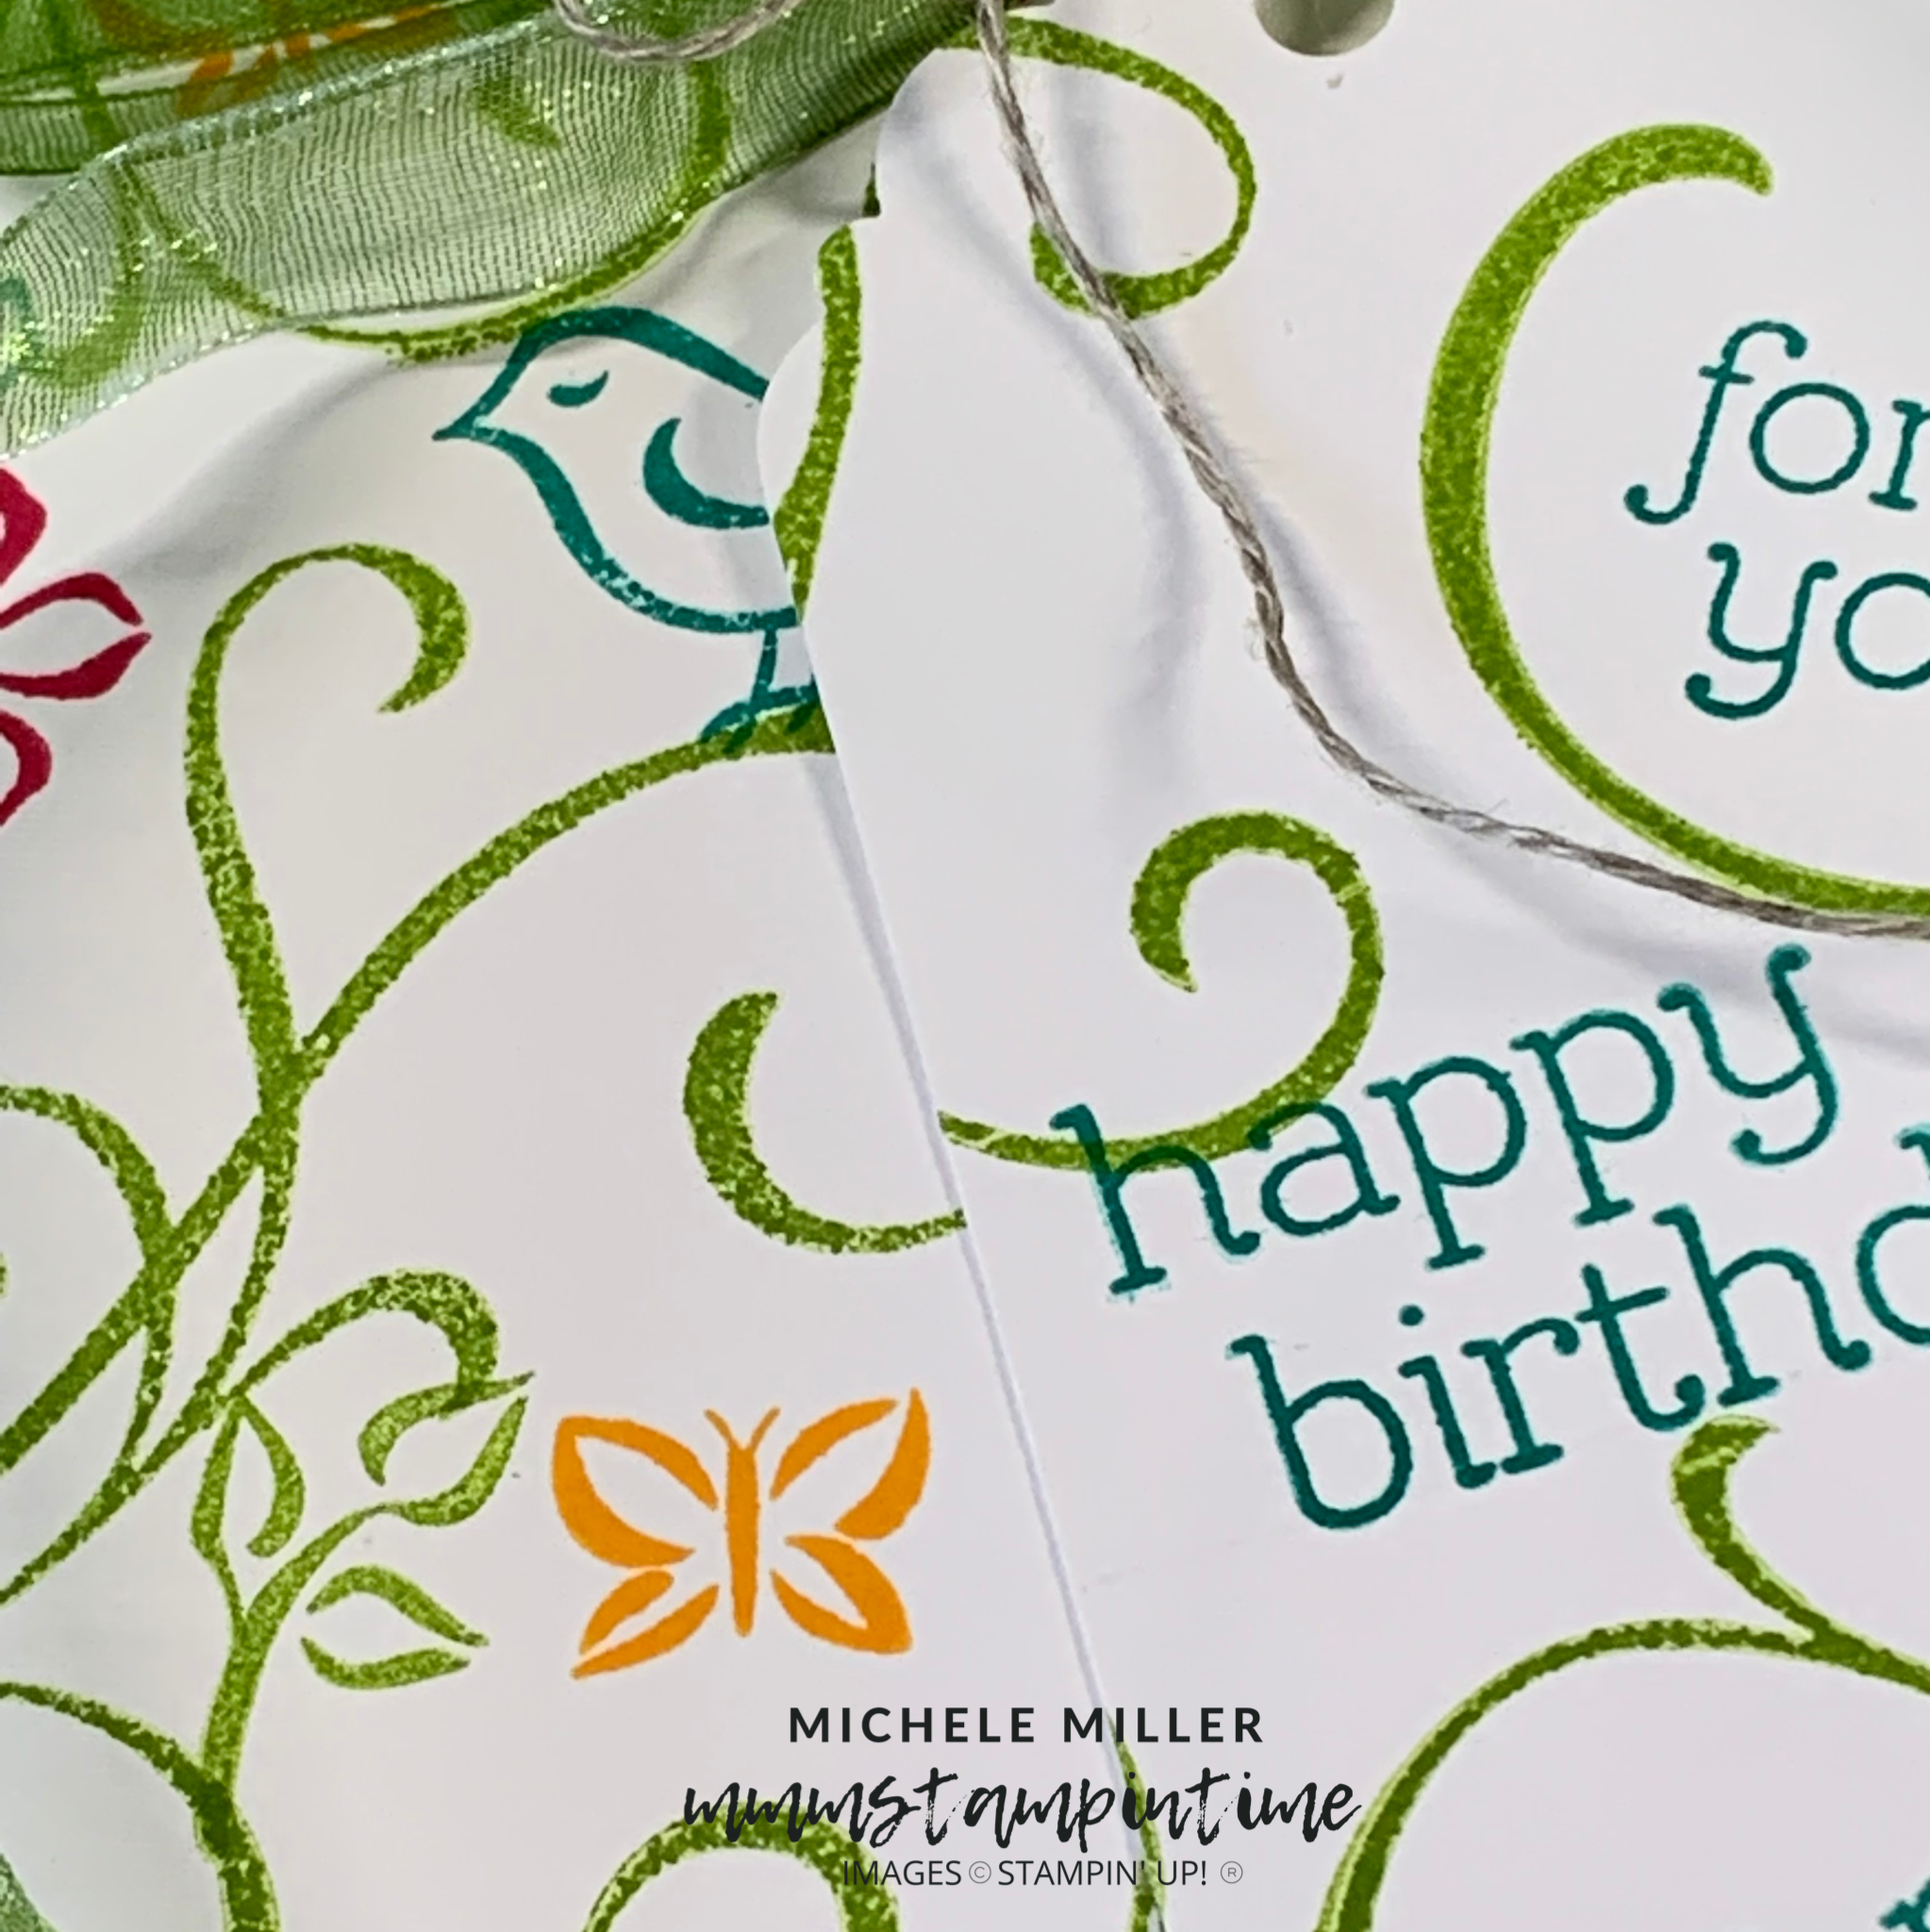
It is 3D Thursday and I have a gift bag to share with you. I used the Sentimental Swirls Stamp Set to create my own design on a piece of Basic White 12″x 12″ cardstock.

Then I cut the card to 10-1/4″x 8-1/2″. I scored it, along the longer side, at 3-1/2″, 5″, 8-1/2″ and 10″. Along the shorter side it was scored at 1-1/2″. The gift bag is 7″ high, 3-1/2″ wide and 1-1/2″ deep.

I used a bone folder to burnish all of the score lines. Across the shorter side, I used my Paper Snips to cut from the bottom up to the 1-1/2″ score line. These cut pieces will form the base of the gift bag.

Stampin’ Seal+ was added to the 1/4″ side of the longer side to form the bag. Then the base pieces were adhered into place.

I used the Granny Apple Green Stampin’ Blends to colour a long length of Pool Party Sheer Ribbon. The ribbon was wrapped around the top of the bag twice before being tied in a bow.

The gift tag was made using an offcut from the original piece of cardstock. I used the Delightfil Tag Topper Punch to create the shape at the top of the tag. The tag was then attached to the ribbon with a piece of Linen Thread.

I need to order some more of the Pool Party ribbon – as you can see in my product photo, I only have about 2″ left on this spool.

The bag is quite a good size, so there are lots of possible goodies that could be popped in it.

Tomorrow I have one more Sentimental Swirls project for you. It is a Fun fold Card.

Until then, happy stamping.

If you live in Australia, you can order any of the products I used to make this card by going to my online store. Just click on any of the images below.

Product List
Paper Snips
[103579]
$17.00
Posted on Leave a comment

WONDERFUL WEDNESDAY & MY GLOBAL DESIGN PROJECT #332 CHALLENGE CREATION

This week, the Global Design Project team are CASEing a card by Kim Fee, one of the members of this talented team. Kim Fee is from the United Kingdom. Her lovely project is what the team is CASEing this week!

CASE = Copy And Selectively Edit

The GDP team reminds us that when we CASE a project we can take what we like from the design and make it our own. It might be the stamp set – the colours, the layout, the theme, the images – whatever we like that has inspired us to make a card of our own.

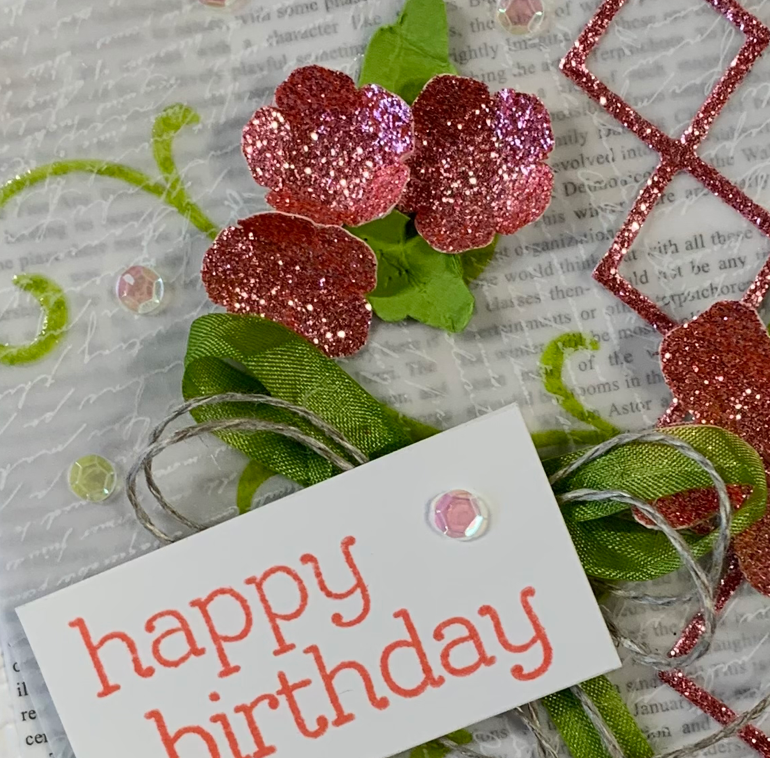
When I look closely at Kim’s card, I see the following elements – a Basic White landscape card base, a dry embossed Basic White layer, a layer of Paper Lattice, a floral focal point, ribbon wrapped into a double bow arrangement, a stamped sentiment with a larger piece of DSP placed behind it and finally, some embellishments added.

I decided to use many of these elements in my CASed creation.

This week I am featuring the Sentimental Swirls Stamp Set – Sam Hammond’s 1 000 000 Sales Achiever stamp set.

I started with a Basic White card base and added a layer of embossed white cardstock. This layer was embossed using the Time Worn Type 3D Embossing Folder.

Then I cut two smaller layers from the Layering Designs 12″x 12″ Vellum.

The white on vellum piece had the large swirls image stamped in Granny Apple Green. I did this using my Stamparatus because I was able to stamp the image several times to get a strong green colour. Then I left the stamp on the hinge plate, cleaned it and applied Versamark. I stamped the image a few times with the Versamark to ensure full coverage. Finally, I sprinkled Clear Embossing Powder over the image and used my Heat Tool to melt the embossing powder. This results in a very glossy green image

These two vellum layers were then adhered to the card at differing angles. The top vellum layer had the diagonally opposite corners curled.

The Supple Shimmer 12″x 12″ Specialty Paper was used to punch and die cut the pink elements. The flowers were made using the Flowers & Leaves Punch and the Strawberry Builder Punch. The flowers were scrunched up tightly to help give them dimension.

The trellis was cut using the Brilliant Bows Dies. Before cutting it, I attached Adhesive Sheet on the back of the specialty paper. This made it easier to attach to the card front.

I used the Dark Granny Apple Green Stampin’ Blend to colour the Whisper White Crinkled Seam Binding Ribbon. Then I tied a bow using the coloured ribbon and Linen Thread.

After positioning the ribbon and the birthday greeting, I decided where I would place the flowers. I punched several small leaves using the Flowers & Leaves Punch. The leaves were scrunched and then attached under some of the flowers.

I punched two more small flowers to add inside the card and the front of the envelope.

The sequins on the card front are from the Expressions in Ink Ephemera Pack.

These are most of the other products I used.

It seems to be getting a little easier each week to take part in challenges while still using the week’s featured products. I’m sure that there will be some weeks when it will be more challening – but, I’ll still give it a go.

Tomorrow is 3D Thursday and I have a gift bag that I made from a piece of my own stamped cardstock.

Until then, happy stamping.

If you live in Australia, you can order any of the products I used to make this card by going to my online store. Just click on any of the images below.

Product List
Heat Tool
[129056]
$50.00
Paper Snips
[103579]
$17.00
Posted on Leave a comment

TECHNIQUE TUESDAY – TIME TO TRY ANOTHER TRICK

As I work my way through the myriad of card making techniques, I am rediscovering some that I have not used in such a long time.

Today’s Technique Tuesday is all about the Triple Layer Card Technique.

Remember that this week I am featuring the Sentimental Swirls Stamp Set. It is great – it has 27 stamps – one major swirl image and four versatile greetings. There are two small swirls that can be used to extend the main swirl.

Then there are 20 more, small stamps – 10 are outline images and 10 are infill stamps. They include two different floral styles, five different leaf styles and a bird. This ensures an amazing range of combinations for all of your projects.

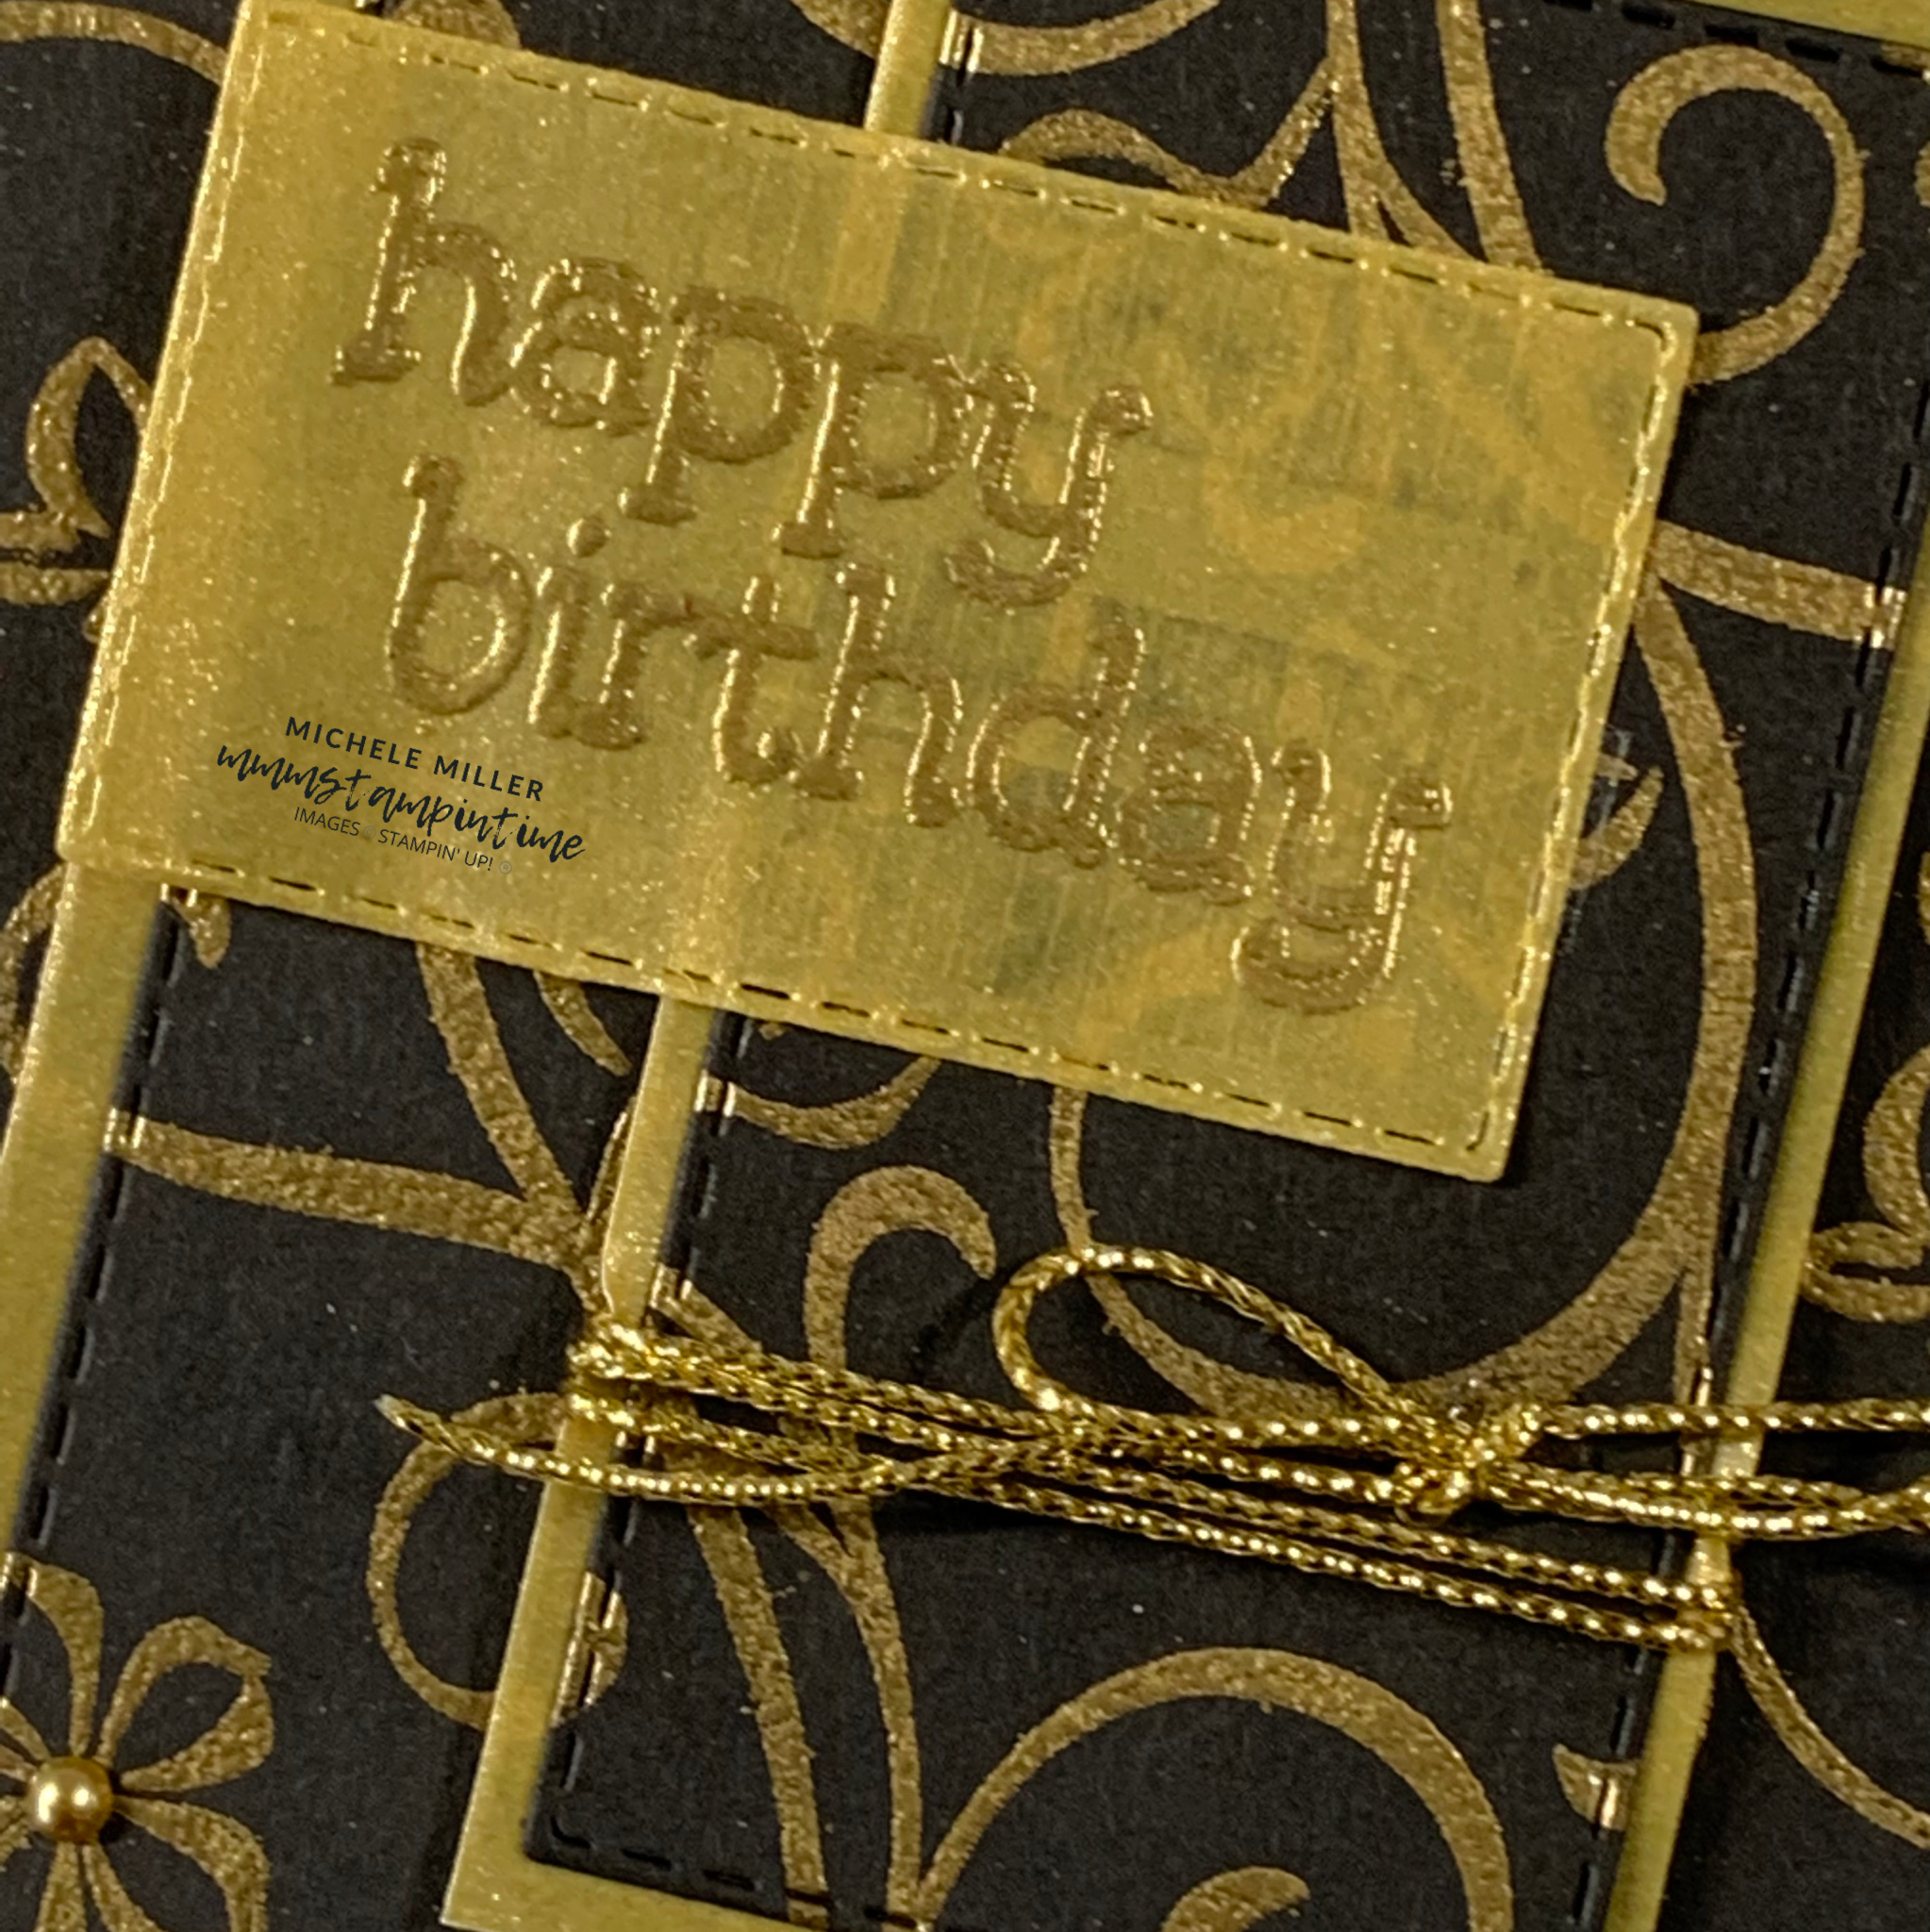
For this card I used just 5, of the 27, stamps. The images were stamped, in stages, using Versamark. Gold embossing powder was sprinkled over the stamped image and heat embossed. This process was repeated until I was happy with the overall image.

The Triple Layer Technique involves cutting the 5-5/8″x 4″ stamped and embossed panel into three, separate rectangle. I used my Stitched Rectangle Dies to do this.

I measured the two smaller rectangles and calculated the sizes of Gold Shimmer Vellum needed to adhere to the back of those two pieces. As soon as these two layers were assembled, I was able to add the three layers to the card base. The largest was adhered diectly on to the base. The next two layers were both added using Stampin’ Dimensionals to layer them up.

Before the smallest layer was added, I wrapped a length of gold Simply Elegant Trim several times around it and tied a bow.

The birthday greeting was heat embossed on a piece of Gold Shimmer Vellum using gold embossing powder. IT was secured on the card front using Stampin’ Seal+.

The small flower was stamped on the card insert and envelope, using Versamark and gold embossing powder.

The final step was to add some gold Metalic Pearls.

I think this has turned out to be a very elegant birthday card. What do you think?

Tomorrow is Wednesday and that means that it is time to share What’s Happening this Wednesday. Wednesday is my day to share blog hops and challenge projects.

Until then, happy stamping.

If you live in Australia, you can order any of the products I used to make this card by going to my online store. Just click on any of the images below.

Product List
Heat Tool
[129056]
$50.00
Paper Snips
[103579]
$17.00