Posted on Leave a comment

Colour INKspiration #147 – SEA TURTLES

Welcome back for another Colour INKspiration challenge. This inspiration picture which has inspired our colour palette was chosen by Crew Member, Nikki Spencer. 

Picture credit – Painting by artist Barbara Rosbe Felisky  https://i.pinimg.com/originals/11/b9/52/11b95228437cb63f975edb39c2ed1a86.jpg

As well as the chosen colour combination for #CI147, Very Vanilla, Copper Clay, Pool Party and Lost Lagoon, you may also add Basic White, Crumb Cake, Basic Black, and metallics to your project. We also allow Ivory, Bronze and Natural Tones in Stampin’ Blends. If you don’t have the colours in our palette, feel free to use the closest Stampin’ Up! substitute.

To get your creative ideas flowing make sure you check out the Crew’s Projects in the CI#147 album.

My contribution features the Sea Turtle Stamp Set and Patchwork Pieces Dies.

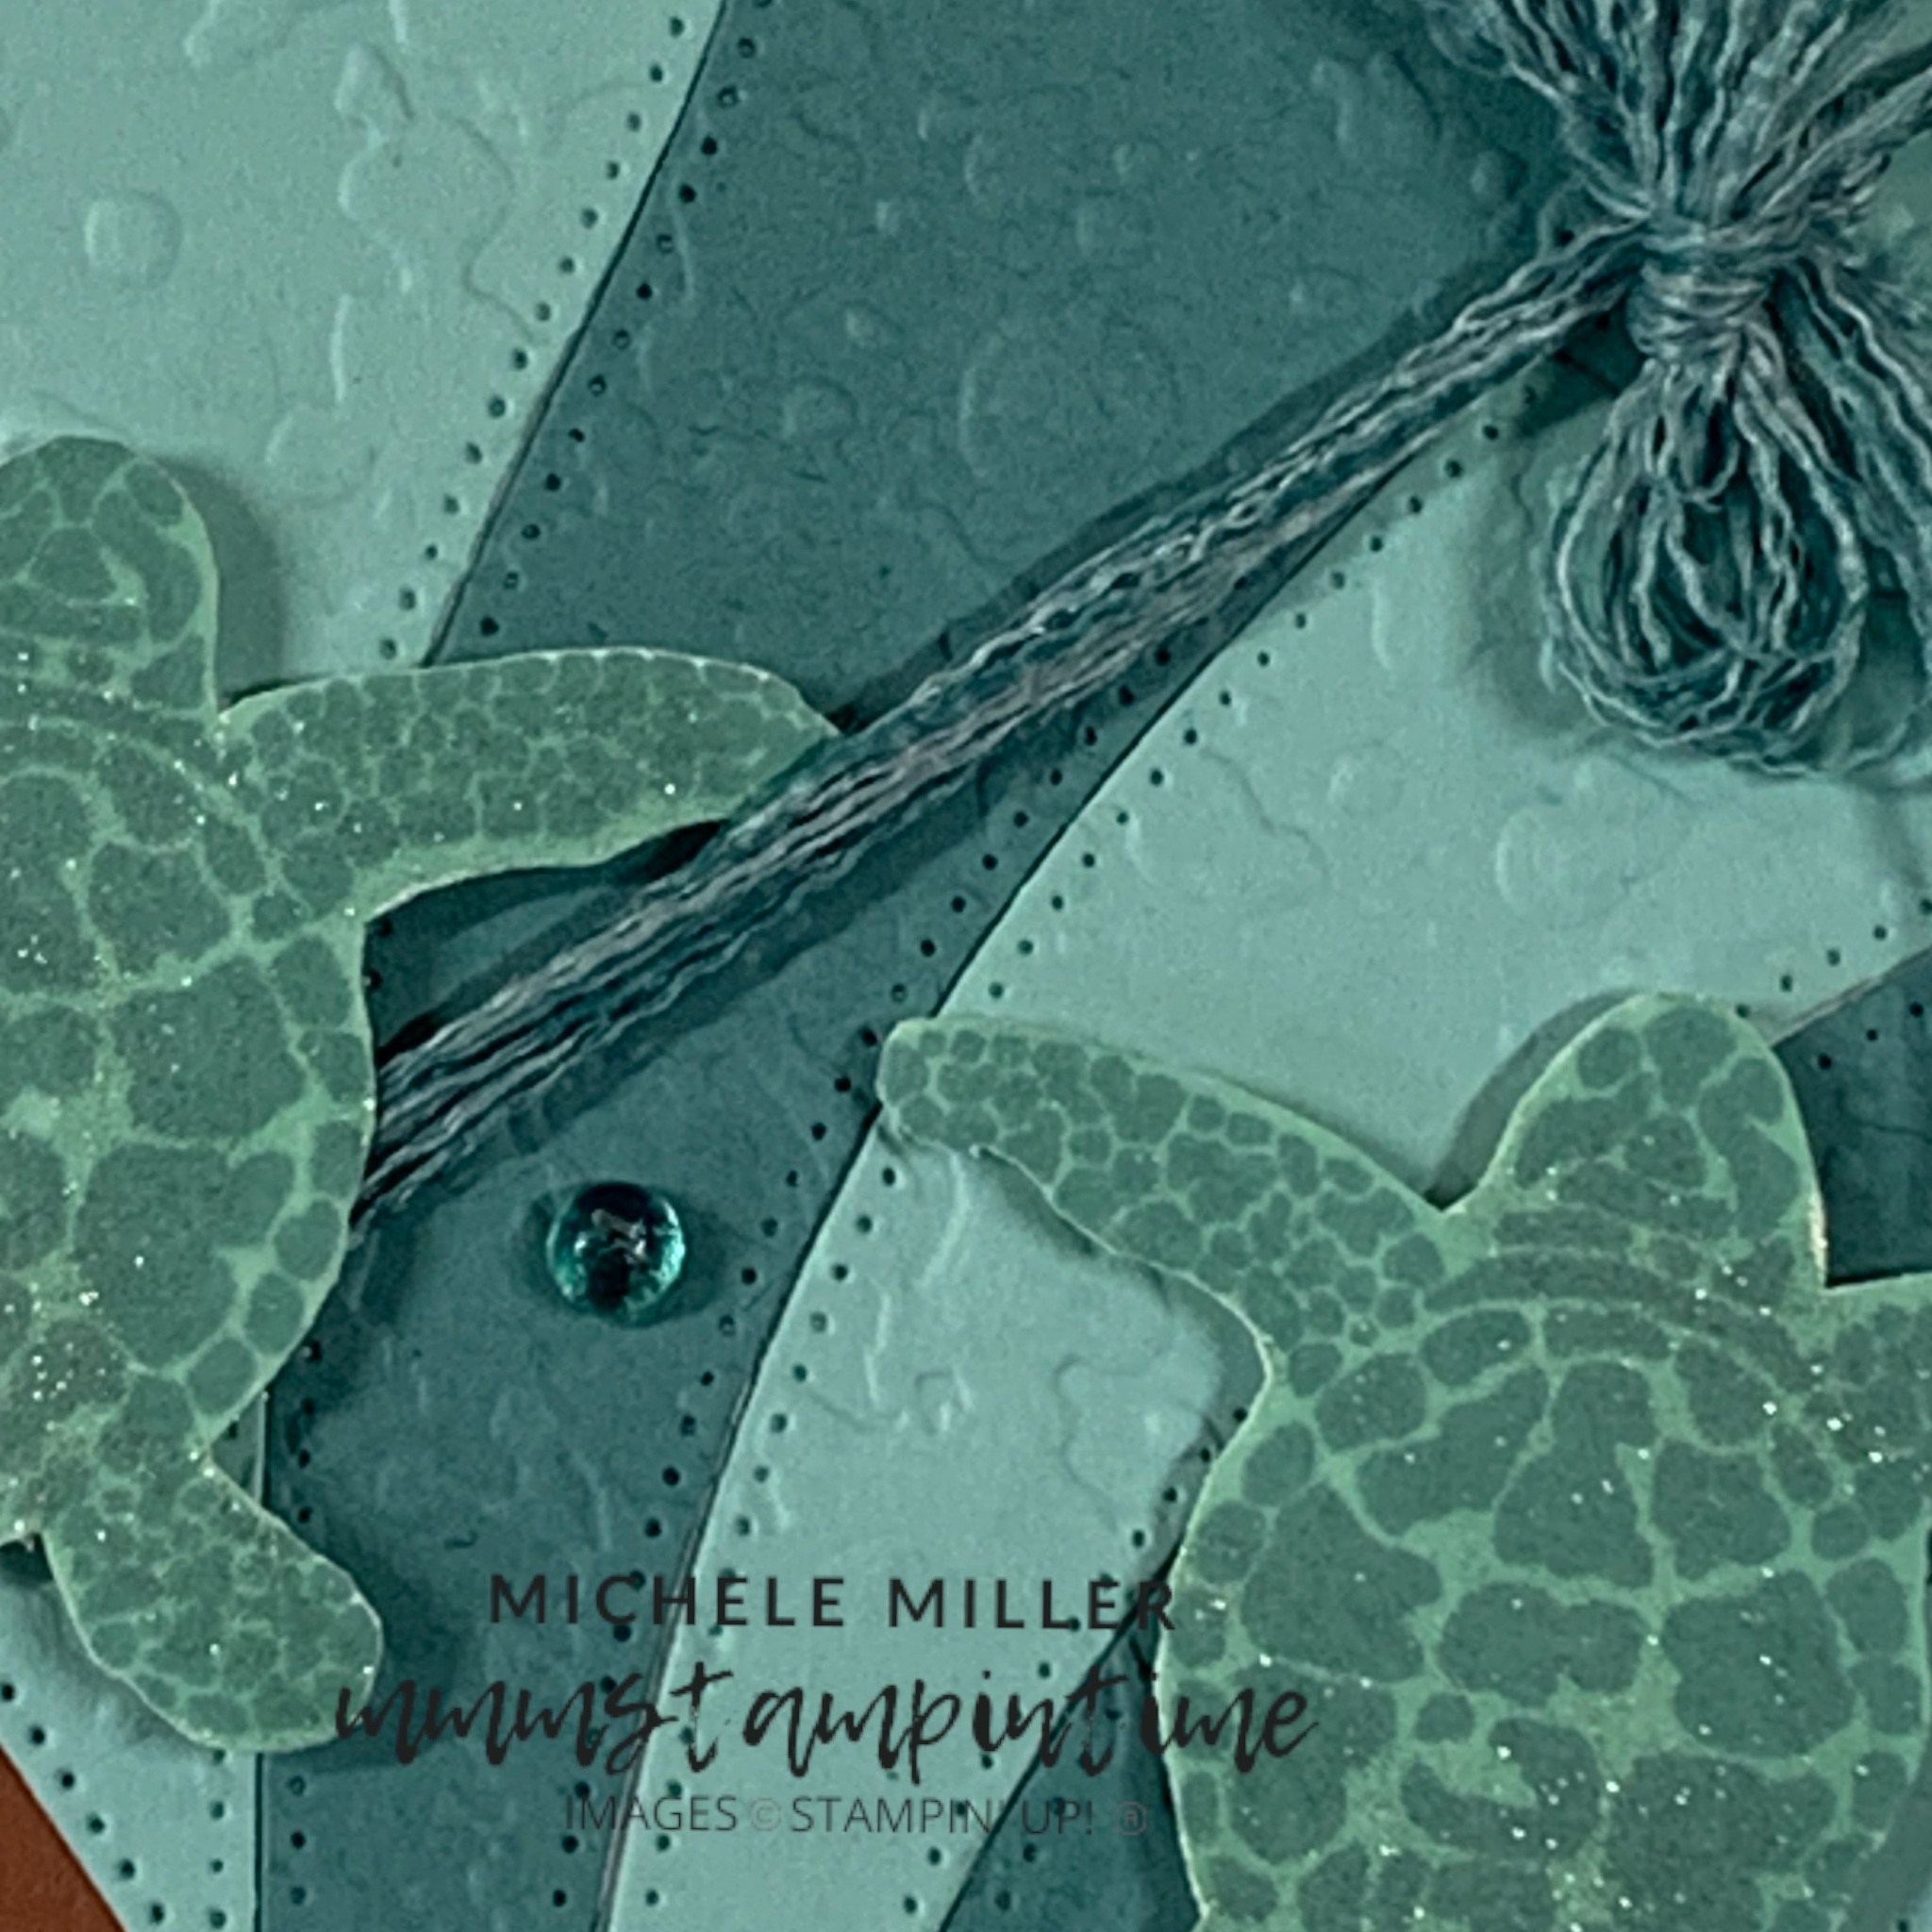
Using the splatters folder, from the Stripes & Splatters Embossing Folders, and the Patchwork Pieces Dies, I prepared the Lost Lagoon and Pool Party piecesto create the textured waves background.

The Copper Clay layer was embossed with the Painted Texture 3D Embossing Folder.

After I adhered the waves panel to the base layer, I took a length of Lost Lagoon Bordered Ribbon and unravelled it to create individual strands. These were then wrapped around the layers and tied in a bow. A mini glue dot was used to secure the bow.

These layers were then adhered to the Very Vanilla cardbase.

I two-step stamped three turtles and fussy cut them out. Using Stmpin’ Dimensionals, the turtles were positioned to appear that they were ‘swimming’ through the waves.

The sentiment is from the Timeless Arrangements Stamp Set and cut using the smallest stitched square die from the Stylish Shapes Dies. I used Dimensionals again to give the sentiment height.

I stamped the smallest starfish image inside the card and on the envelope.

Finally, I popped a few Lost Lagoon gems from the Tinsel Gems Three-Pack and painted the turtles with Clear Ink of Stella.

It has been so much fun this week to work on four Colour INKspiration challenges – woohoo – I am ahead! I hope you check out the other three projects over the next month or so.

Until my next post, happy stamping.

If you live in Australia, you can order any of the products I used to make this card by going to my online store. Just click on any of the images below.

Product List
Paper Snips
[103579]
$19.25
Posted on Leave a comment

TIME FOR SOME MORE SHOPPING!

This is my second card using the Les Shoppes Suite Collection.

One of the best features of the Les Shoppes Designer Series Paper, other than the extraordinary images, is the wide range of colours that are used – Balmy Blue, Basic Black, Cajun Craze, Calypso Coral, Daffodil Delight, Flirty Flamingo, Granny Apple Green, Misty Moonlight, Night of Navy, Pecan Pie, Pumpkin Pie and Shaded Spruce. That’s 14 possible colours that you can incorporate into a project that matches the DSP.

I don’t know about you, but I find this so flexible and a great creative opportunity.

For this project, I used a Balmy Blue card base and embossed a smaller Balmy Blue layer using the Exposed Brick 3D Embossing Folder.

After I adhered the emossed layer on the card front, I also attached a smaller DSP layer.

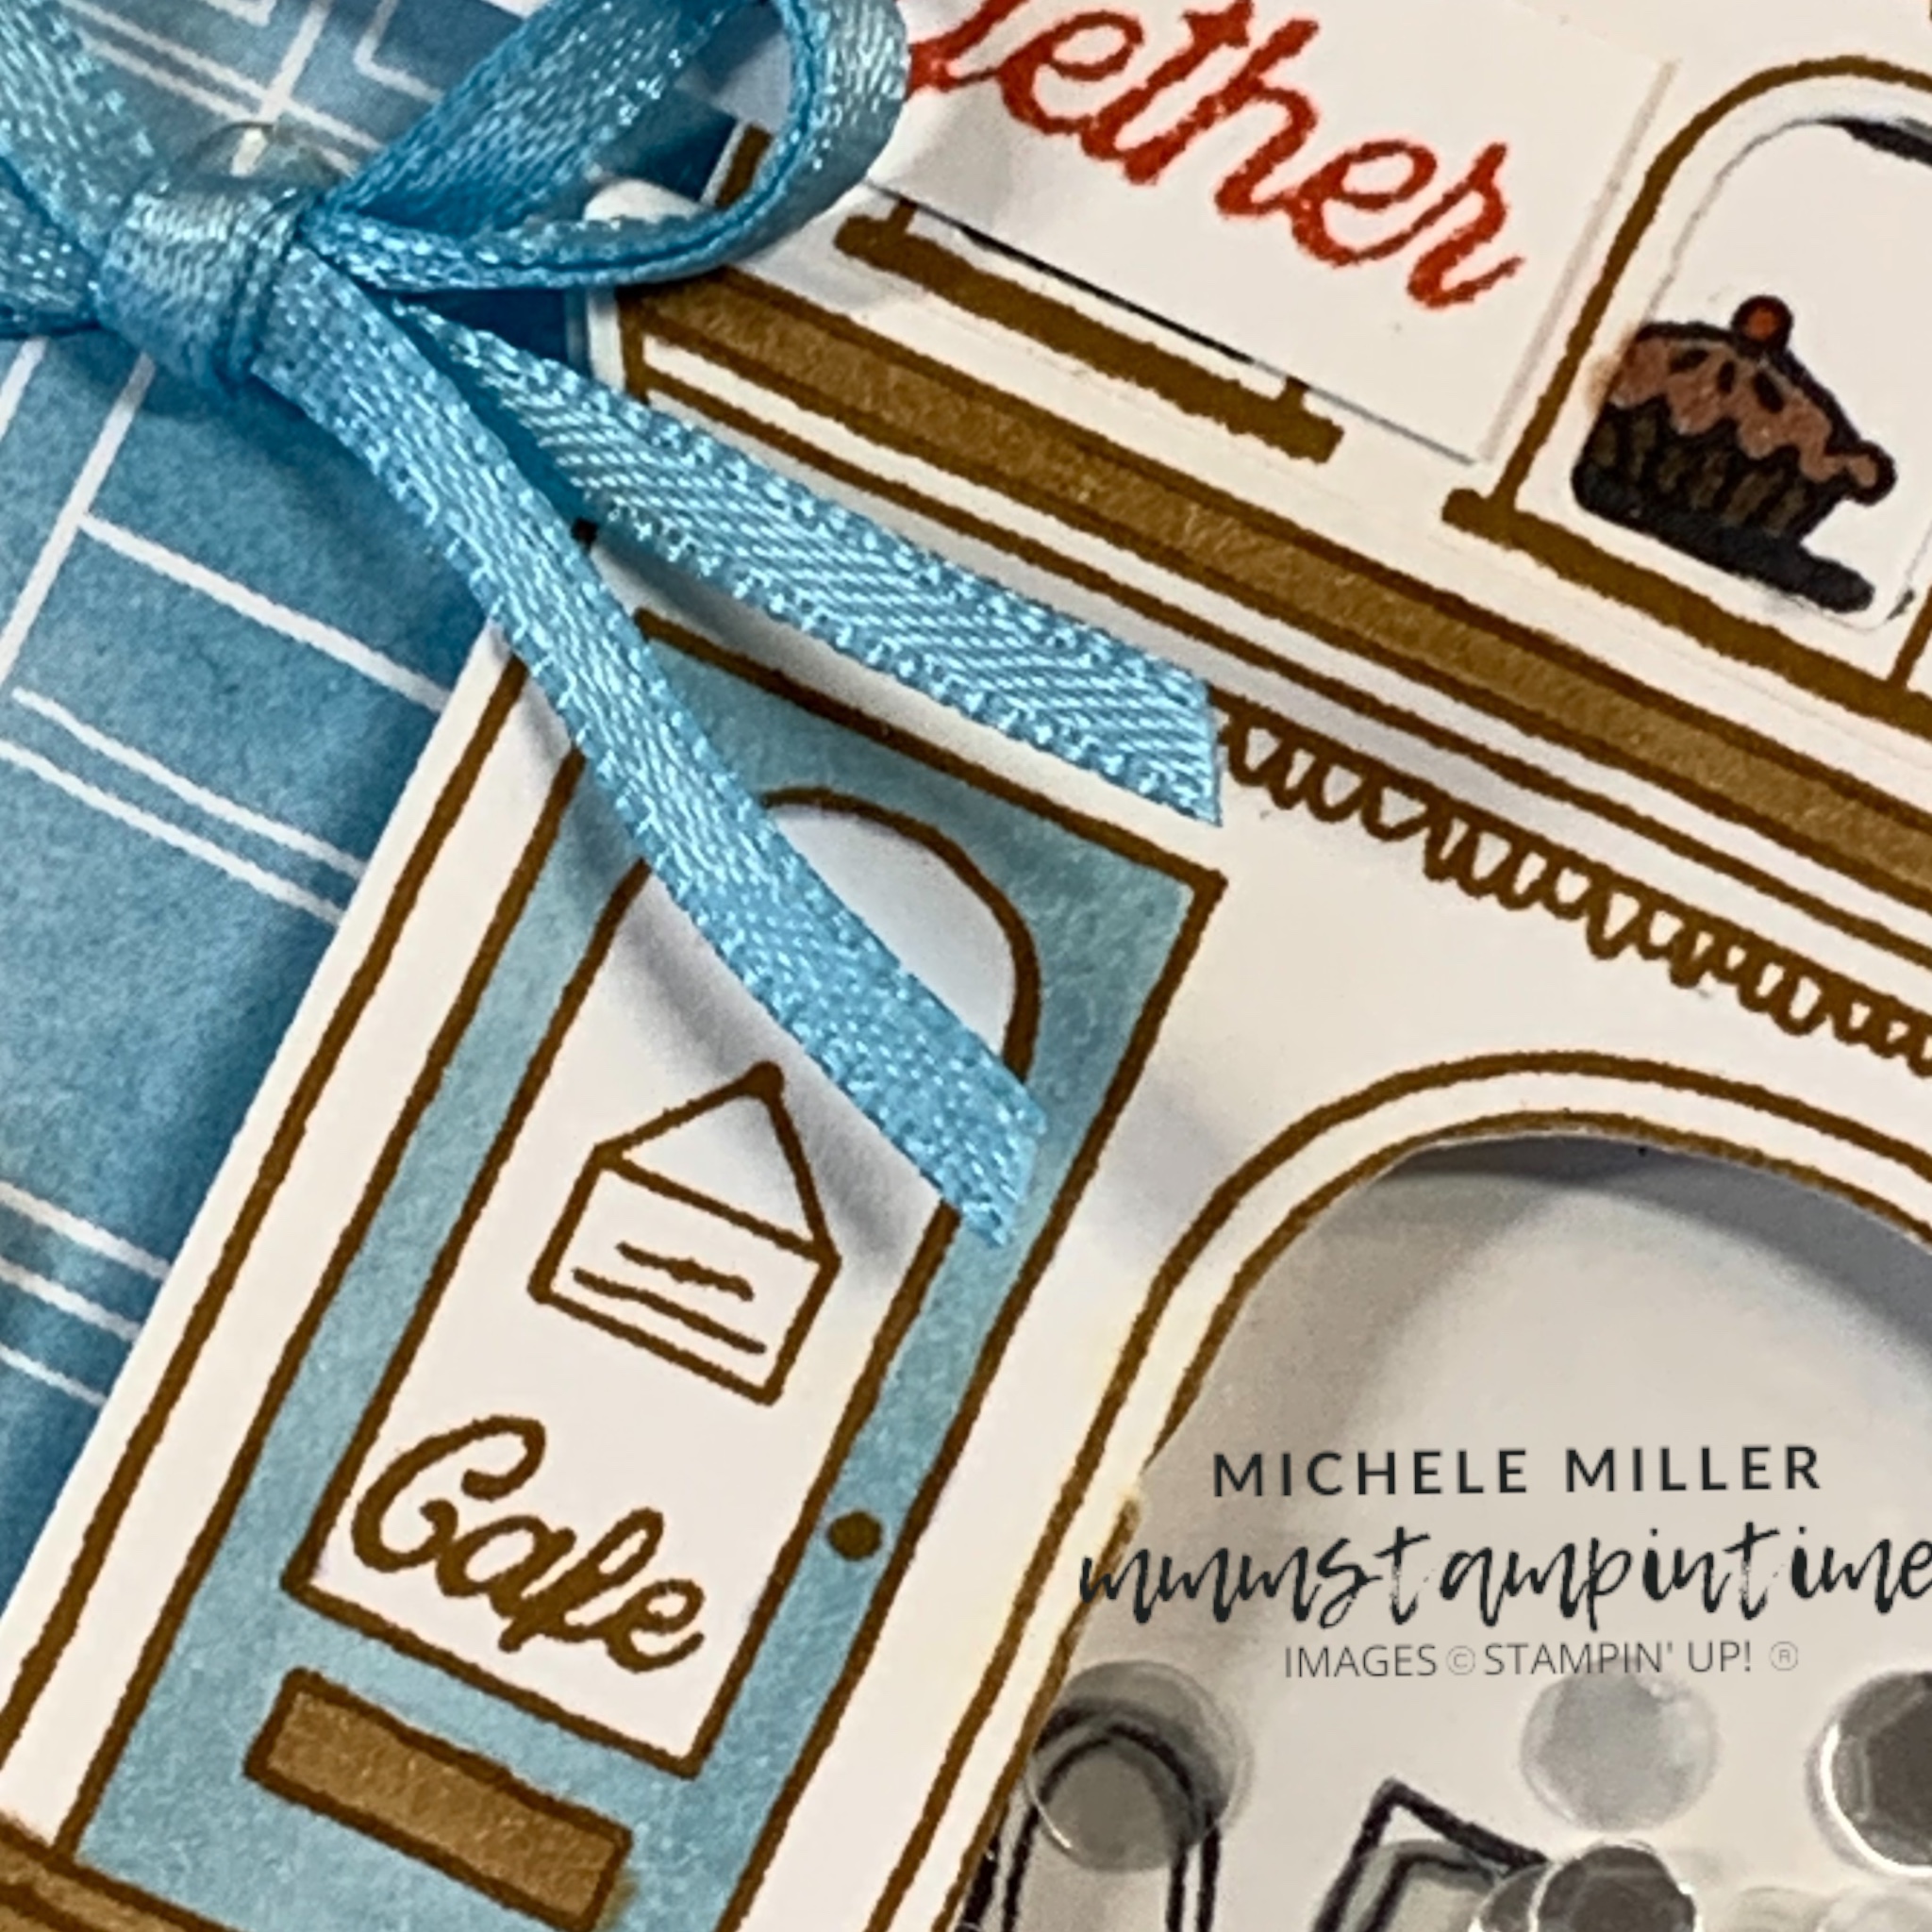
The four storeys of the retail building were stamped, die cut and adhered together.

I masked and stamped the bakery, clothing and bookstore images inside the smaller windows. Then I coloured each of them.

The ground floor window was die cut and had a small piece of Window sheet attached behind it. I used the Loose Silver Sequins and some Foam Adhesive strips to create the area for a shaker card.

I added more Adhesive Foam Strips to pop the 4 storey building up on the card front.

The sentiment was stamped using Calypso Coral, trimmed and attached to the card front, using Stampin’ Dimensionals. The marketing board was die cut from the DSP.

The double bow, attached to the card front, was created by trimming the Balmy Blue satin ribbon away from its Basic White ribbon base. THis was very easy to do – I just used my Paper Snips to snip the nylon stitching holding it in place.

These are some of the products used for this card.

I used lots of Stampin’ Blends colours for this project.

The next project that I have to share with you is a 3D gift box.

Until then, happy stamping.

If you live in Australia, you can order any of the products I used to make this card by going to my online store. Just click on any of the images below.

Product List
Paper Snips
[103579]
$19.25
Posted on Leave a comment

LET’S GO SHOPPING – MY FAVOURITE WORDS!

I have been working on some new projects using the new Let’s Go Shopping – Les Shoppes Suite Collection.

The Let’s Go Shopping stamp set, coordinating dies, Designer Series Paper and Loose Silver Sequins make up such an amazing collection of products.

I decided to make an angled trifold card for my first project.

I wanted to show off the Les Shoppes Designer Series Paper and let it do all the hard work.

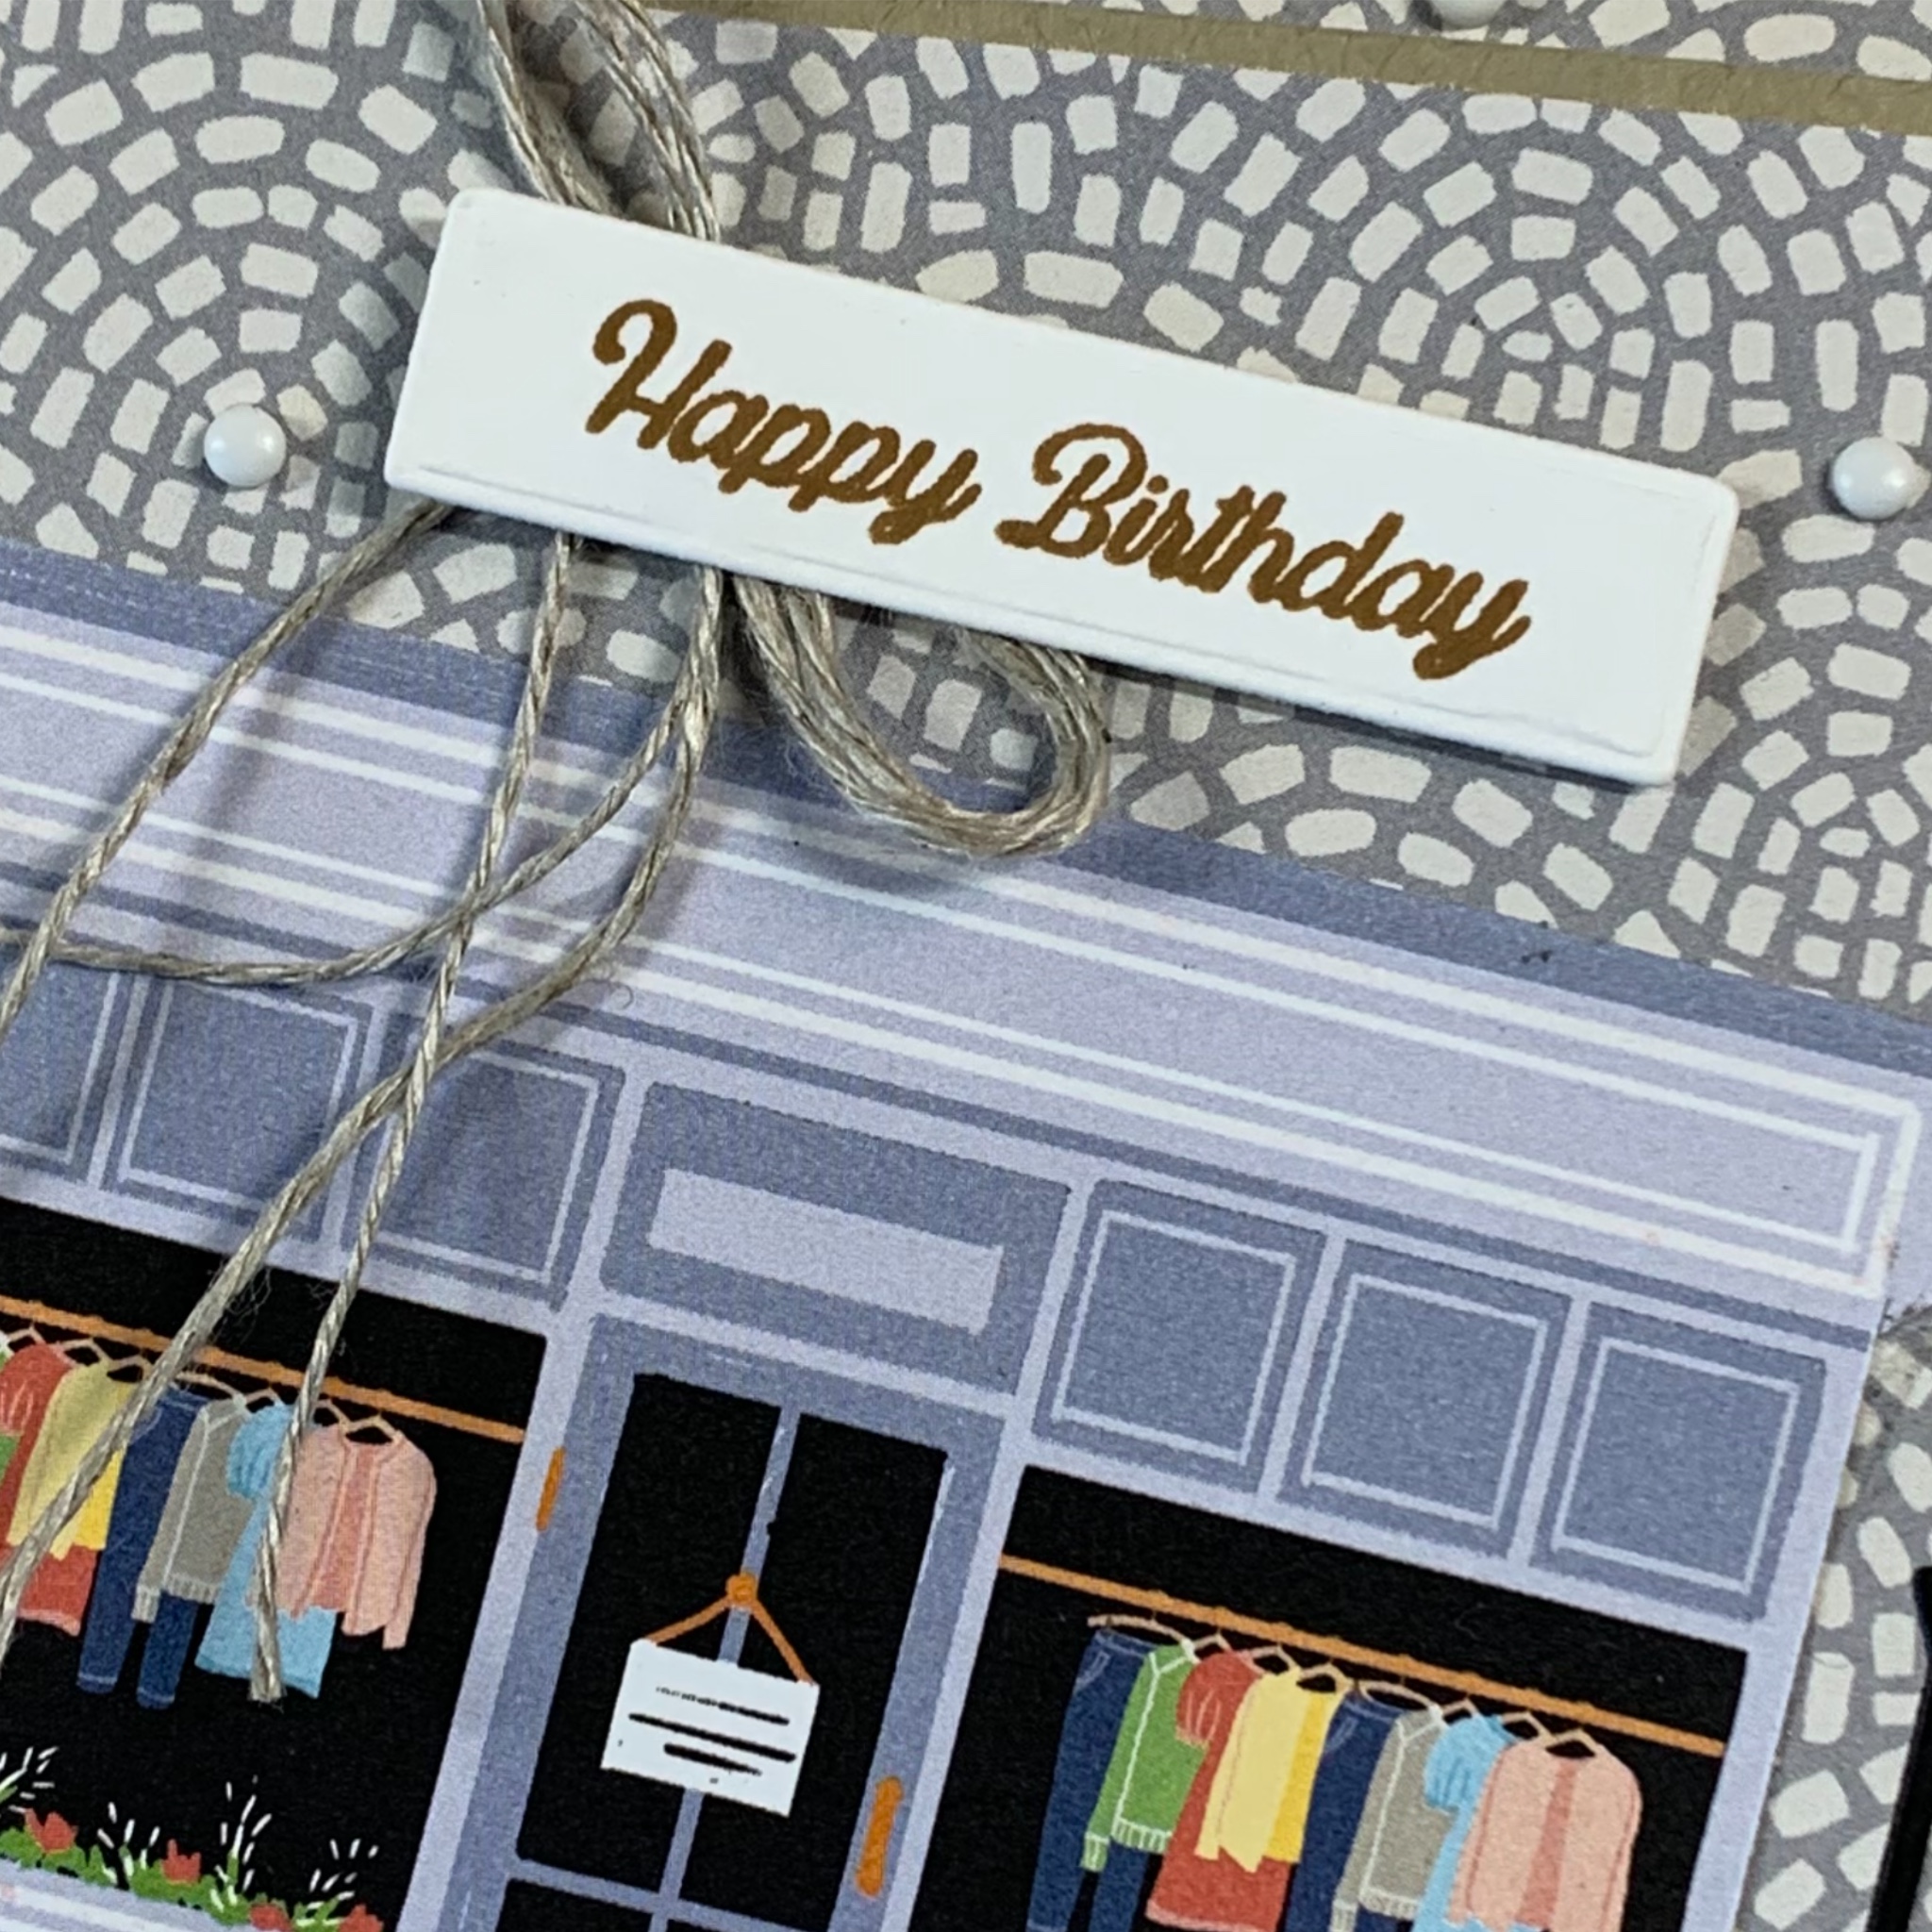
The only stamping on this card is the birthday greeting on the front and on the giftcard pocket.

To cut the various shop buildings from the DSP I used the new hobby blade, from the Take Your Pick Crafter Tips. I have a metal ruler that made this task so much easier.

The lightpost, potted plant, menu board and park bench were all die cut.

As you open out the card, five different shops are revealed.

On the back of the card there is a Basic White pocket for a message to be written and a space for a giftcard.

To finish the card, I added some Classic Matte Dots throughout the card and a Linen Thread double bow to the front.

I have another card and a 3D gift box to share with you in the next few days.

Until then, happy stamping.

If you live in Australia, you can order any of the products I used to make this card by going to my online store. Just click on any of the images below.

Product List
Paper Snips
[103579]
$19.25