Posted on Leave a comment

TIME TO START SHARING SOME CHRISTMAS CARDS

Originally, I had wanted to post this card for the Global Design Project #408. This challenge was a CASE challenge.

I decided to feature the Joy of Christmas Suite Collection for this project.

I started by choosing the Designer Series Papers that I wanted to use for this project. One came from the Joy of Christmas 12″ x 12″ DSP and the other from the Joyful 12″ x 12″ Specialty DSP.

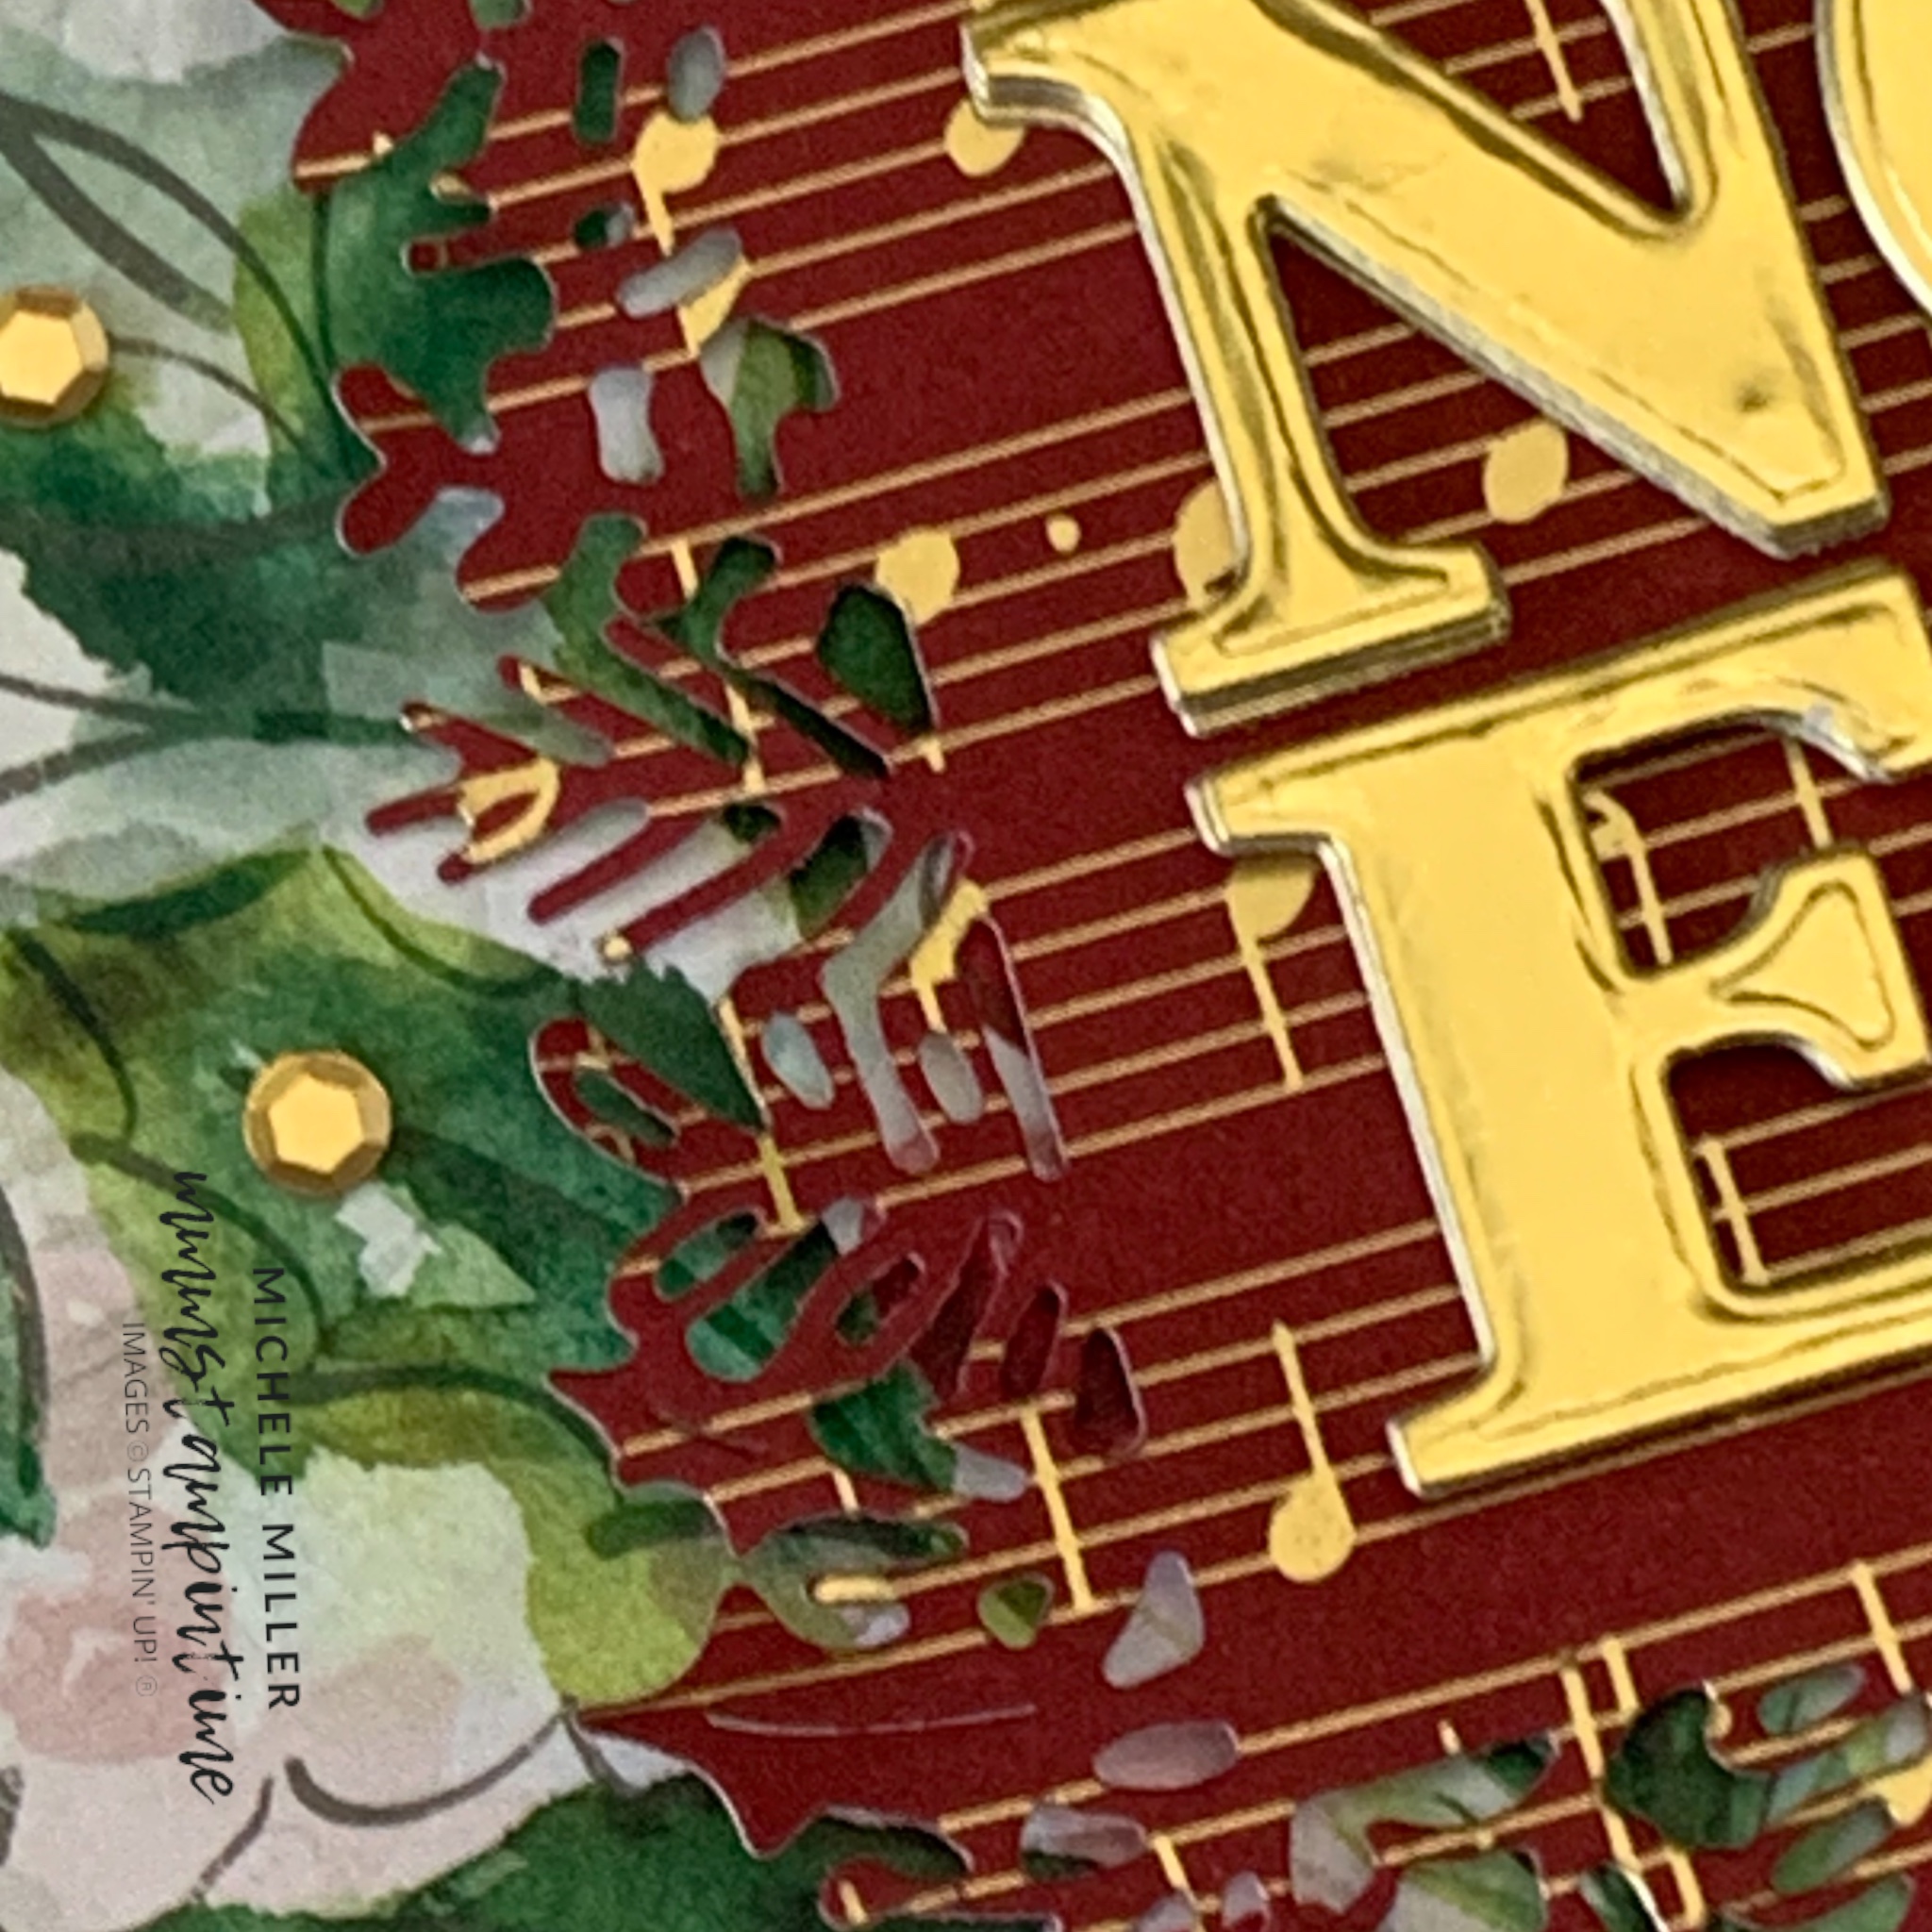
For these DSP designs, I chose Cherry Cobbler for the card base and Shaded Spruce for the matte layer.

The Specialty DSP was cut using a die from the Christmas Classics Dies. Then I used the Noel die, from the Joy of Noel Dies, to cut several pieces of gold foil. Each piece of gold foil had some Adhesive Sheet attached so that each letter could be layered to create height.

The ‘noel’ gold letters were then positioned inside the square space of the specialty DSP.

I added a strip of the DSP inside the card and covered the envelope flap as well.

To finish this project, I added some gold sequins from the Pastel Adhesive-backed Sequins to the card.

Now I’m off to plan a new project to share with you.

Until then, happy stamping.

Because some of the products I have used to make this card are not yet available to customers, I am not able to show them at this time. As soon as product images go live, I will create this section.

If there are any other products you would like to order, just click on the link below.

Posted on Leave a comment

GLOBAL DESIGN PROJECT #409 – CARD NUMBER TWO

As I mentioned in my last post, I will possibly have a couple of rainbow projects to share this week.

The reason for rainbows is because this week’s GDP#409 Challenge is a colour challenge.

And, just like the last post my rainbow colours are Poppy Parade, Pumpkin Pie, Daffodil Delight, Granny Apple Green, Azure Afternoon, Blueberry Bushel and Gorgeous Grape.

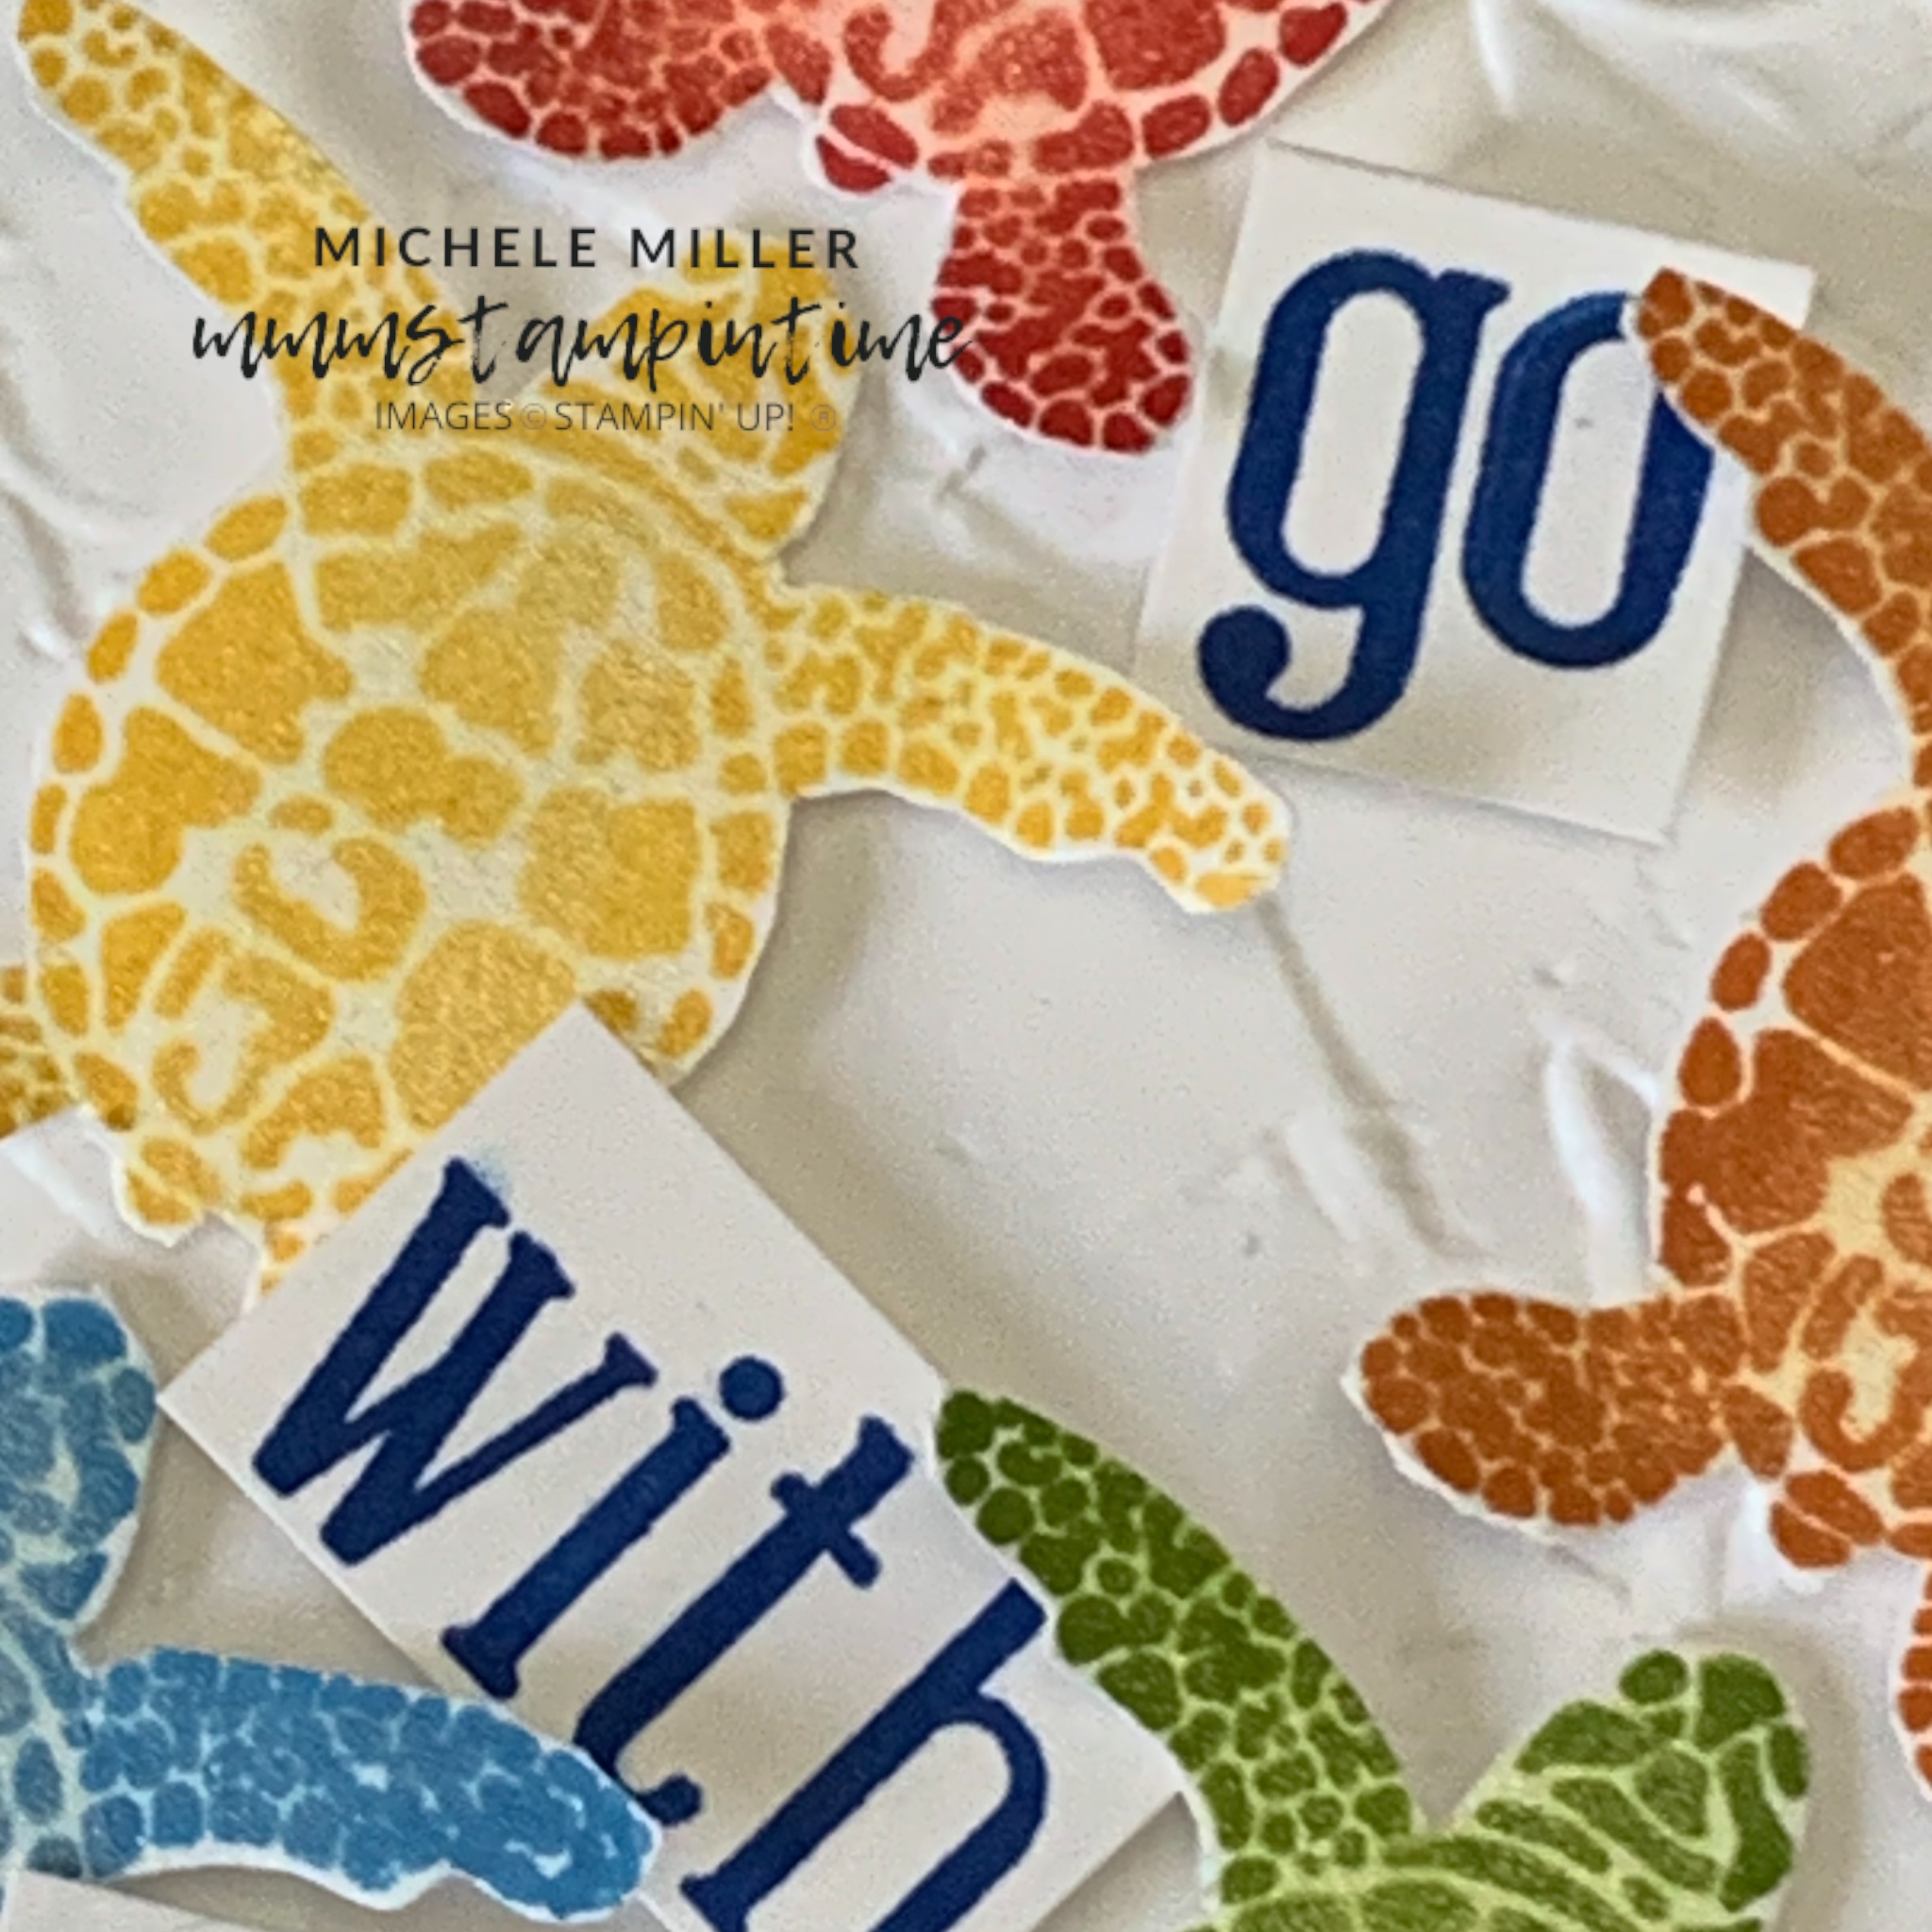
For this card, I wanted to feature the Sea Turtle and Alphabest Photopolymer Stamp Sets.

I started by stamping the smaller turtle image in each of the seven rainbow colours. Then I used my wonderful Paper Snips to fussy cut each of the turtles.

Painting each of the turtles with the Wink of Stella brush spread the ink lightly into the white spaces. Each turtle then had two shades of each colour and a shimmery finish.

A panel of Basic White cardstock was dry embossed, with the Painted Texture 3D Embossing Folder, to create a fluid texture.

When I decided that I would use the Alphabest stamp set, to create my “go with the flow” greeting, I knew that I wanted to have all the turtles swimming in the same direction.

I used Stampin’ Dimensionals to pop each turtle up from the embossed layer.

After stamping the greeting, I trimmed down each word before adding them between the turtles.

I stamped the turtle on the card insert and the envelope.

It doesn’t take much to create a fun and colourful card.

Tomorrow I will share the card I made for GDP#408 that I missed submitting.

Until then, happy stamping.

If you live in Australia, you can order any of the products I used to make this card by going to my online store. Just click on any of the images below.

Product List
Paper Snips
[103579]
$19.25
Posted on Leave a comment

GLOBAL DESIGN PROJECT #409 – COLOUR CHALLENGE

Oops – I missed #408. I made a card for it but was too late to photograph and share. I’ll post this one in a few days.

Today, I will show you the project I made for this week’s challenge. This is one is a colour challenge. A rainbow challenge!

Who doesn’t love a beautiful rainbow?

I think this may be a week of rainbows. So far I have made two projects and I will any others I create during the week.

For this project I am featuring the Meery & Bright Bundle and the Joy to You Cling Stamp Set

I started by choosing my rainbow colours – Poppy Parade, Pumpkin Pie, Daffodil Delight, Granny Apple Green, Azure Afternoon, Blueberry Bushel and Gorgeous Grape.

The first image stamped was the looped string that the Christmas lightbulbs would be suspended from. I stamped it using Versamark and then heat embossed the silver Metallic Embossing Powder.

Then I stamped the four caps for the bulb, in the same way as the string, directly on the Basic White layer.

The Poppy Parade, Daffodil Delight, Azure Afternoon and Gorgeous Grape bulbs were then stamped.

The three remaining Christmas lightbulbs and silver embossed caps were then stamped on a separate piece of Basic White cardstock, before being cut using the Merry & Bright Dies. The filaments were stamped using Tuxedo Black Memento ink.

The last three bulbs were added to the card front using Stampin’ Dimensionals.

The Christmas greeting is from the Joy to You Cling Stamp Set. It was stamped in three different colours and then each line was trimmed separately before being popped up on the card front using dimensionals.

I used my dark Stampin’ Blends in Poppy Parade, Granny Apple Green and Blueberry Bushel to colour some of the silver Neutrals Adhesive-backed Sequins. Two sets of three coloured sequins were placed on the card for a bit of coordinated bling.

Because some of the products I have used to make this card are not yet available to customers, I am not able to show them at this time, so I have included product images in this post. As soon as product images go live, I will create this section.

I have already made several projects using the Merry, Bold & Bright Suite Collection in preparation for a display that I am presenting for a Stampin’ Up! event in September. However, this is the first time that I have used the Joy to You Stamp Set and I am looking forward to using it more.

My next post will be another rainbow creation.

Until then, happy stamping.

If there are any Stampin’ Up! products you want to purchase, head over to my online shop. Just click on the link below.