Posted on Leave a comment

TUESDAY TIPS & TECHNIQUES

Each Tuesday I will share some tips and techniques to use with the featured products. The Bee Mine Suite gives us a chance to refine two step stamping.

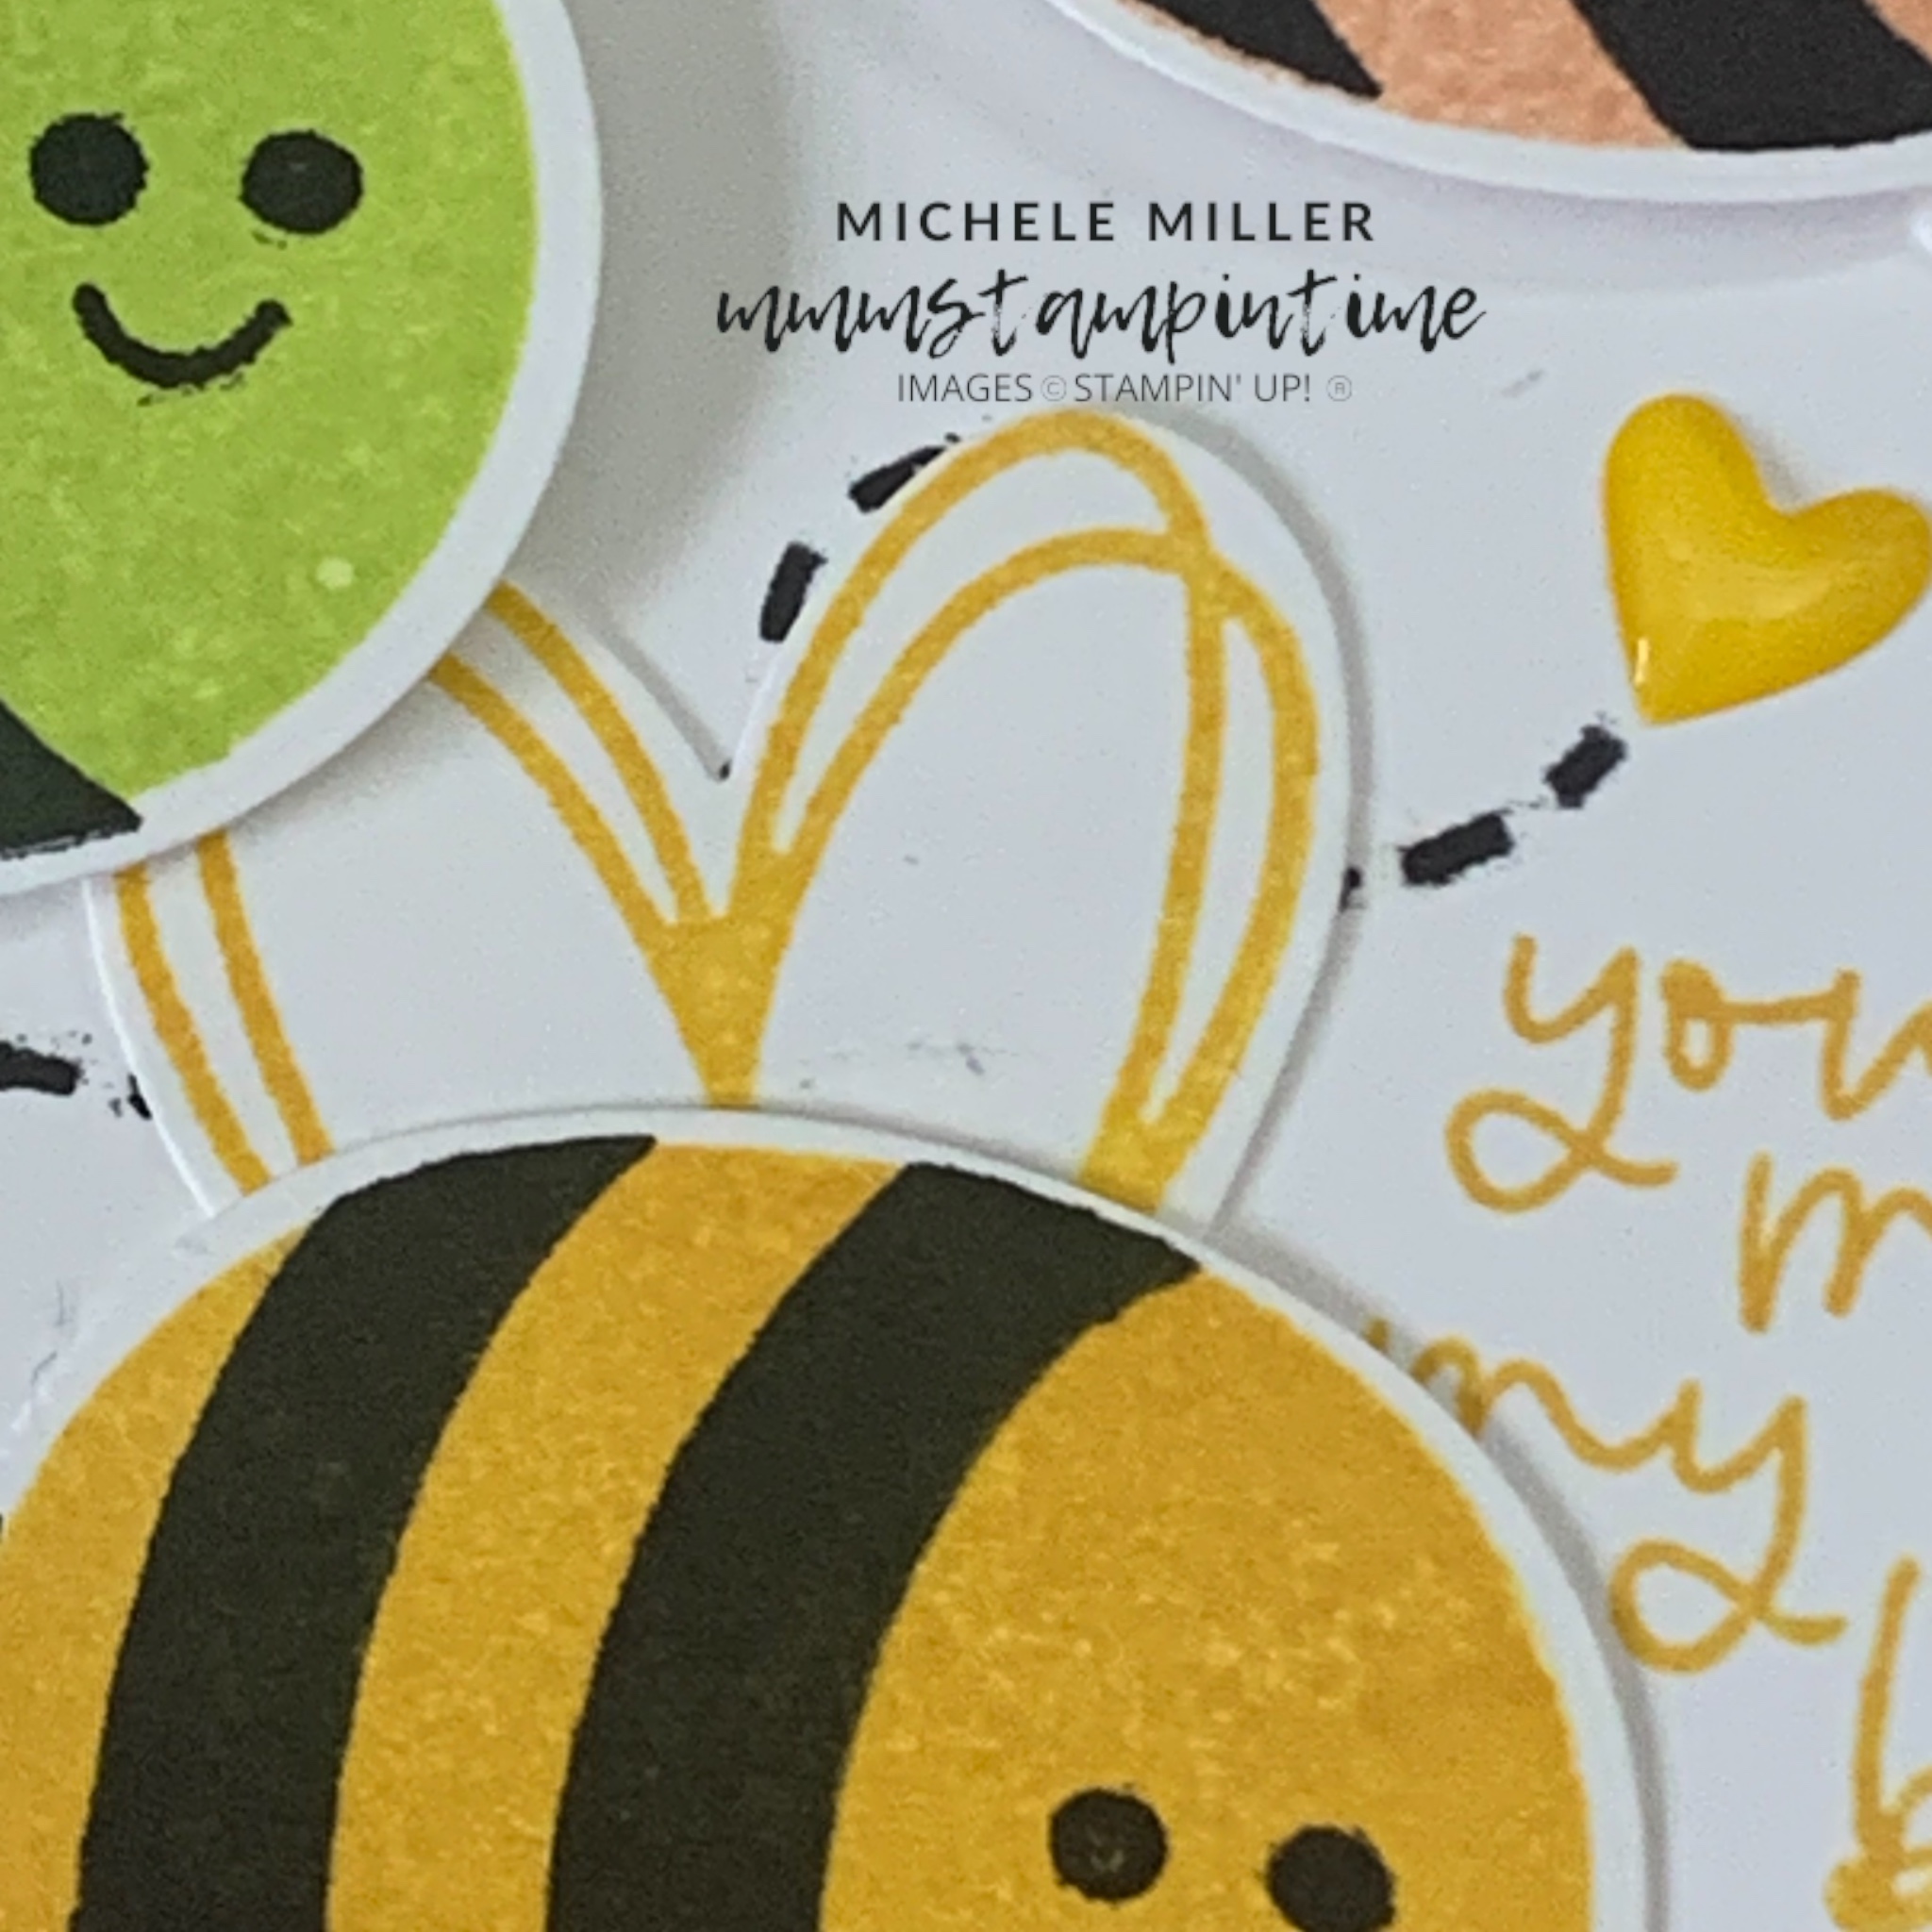
The stamp set includes the body of the bee and then its stripes. Because the stamps are photopolymer, it is so much easier to accurately align the two images.

Yesterday’s card included a bee that only used the stripes and wings stamps. I stamped Tuxedo Black Memento Ink directly onto Daffodil Delight card before punching it out.

For today’s project I chose the two step technique. I started by stamping the stripes in Memento ink and then stamped each body in a different colour directly over the black image.

I cut Basic White card into 1 1/2″ strips for stamping the five bees, and their coordinating wings, for this card. This allowed me to pass the card directly under the bee in the punch without unnecessarliy cutting more card than needed. The bees were then assembled.

This card started with a Daffodil Delight card base and a piece of Poppy Parade floral Designer Series Paper.

The leftover piece of Basic white that I cut yesterday, using the Everyday Details Dies, was used on this card. I stamped the the bee’s trail and greeting.

Stampin’ Dimensionals were used to lift this panel up from the card front.

The bees were arranged and adhered to the card.

I added three small Daffodil Delight hearts, from the Adhesive-backed Hearts & Flowers embellishments, to the card.

I added a strip of the floral DSP to the card insert and onto the back flap of the envelope.

Tomorrow I have another card ready to share.

until then, happy stamping.

If you live in Australia, you can order any of the products I used to make this card by going to my online store. Just click on any of the images below.

Product List
Product List
Posted on Leave a comment

HAPPY NEW YEAR

So 2024 has arrived and I am getting back in stride with an updated plan for my crafting this year. Today is the first of January and each Monday I will share the products I will feature for the week.

With the new January – April 2024 Mini Catalogue and January – February Sale-a-bration Brochure kicking off on January 4, I will focus on some amazing new products over the next few months.

This week I will be creating with the Bee Mine Suite Collection. The suite collection product number is 162560 and costs $132. During Sale-a-bration ordering this collection will earn a FREE level 1 product from the brochure. To qualify for a level 1 product you need to place a $90AUD order (before shipping). Level 2 products require a $180AUD order.

If you live in Australia, let me know if you would like your own copies of the new catalogues.

The first project I want to share with you today is a card that I copied from the new catalogue. The catalogues are always a great source of inspiration.

The second project also uses the new Everyday Details Dies.

I started with a Poppy Parade card base and die cut the Basic White front panel.

The Designer Series Paper was cut into 3 1/2″ x 1″ strips before being adhered to the white panel.

A length of Sweet Sorbet Bordered Ribbon was tied into a bow and then wrapped around the panel. The ends of the ribbon were secured to the back of the panel with Double Sided Tape.

I used Stampin’ Dimensionals to pop the panel up from the card base.

The bee stripes and wings were stamped in Memento onto Daffodil Delight card before being punched out. Then I punched out several small hearts to add to the card. The wings were attached to the body of the bee and secured to the card front using dimensionals.

The greeting was stamped in Poppy Parade onto a narrow strip of Basic White card.

I attached some extra small hearts to the card insert and the back of the envelope.

Tomorrow I will have another Bee Mine project to share with you.

Until then, happy stamping.

If you live in Australia, you can order any of the products I used to make this card by going to my online store. Just click on any of the images below.

Product List
Product List
Posted on Leave a comment

GLOBAL DESIGN PROJECT #422 – SKETCH CHALLENGE

It has been almost a month since my last post. It’s definitley time to start picking up my act.

This week’s Global Design Project is a Sketch Challenge. When I saw it, I knew exactly what I wanted to do.

If you click on the image below, you will be redirceted to the GDP website where you can see the Design Team’s amazing projects and all the entries submitted by fellow paper crafters.

I definitely wanted to create a bespoke Christmas card using the Joy of Noel Dies, Joyful Specialty Designer Series Paper and Distressed Gold 12″ x 12″ Specialty Paper.

This card measures 6″ x 6″, to accommodate the size of the NOEL die and paper layering.

I started bu cutting four 2-1/2″ squares from the Distressed Gold paper. Three of them were die cut with the NOEL Joy of Noel Dies.

The task then was to decide the measurements for each underlying layer – 5-3/4″ square of the music score paper, 5-7/8″ square of Distressed Gold paper and 12″ x 6″ Cherry Cobbler card base.

Then I adhered the 2-1/2″ Distressed Gold squares onto the music sheet. I ensured each of these squares were spaced evenly around the edges and between each other a 1/4″.

Then all the layers were adhered together.

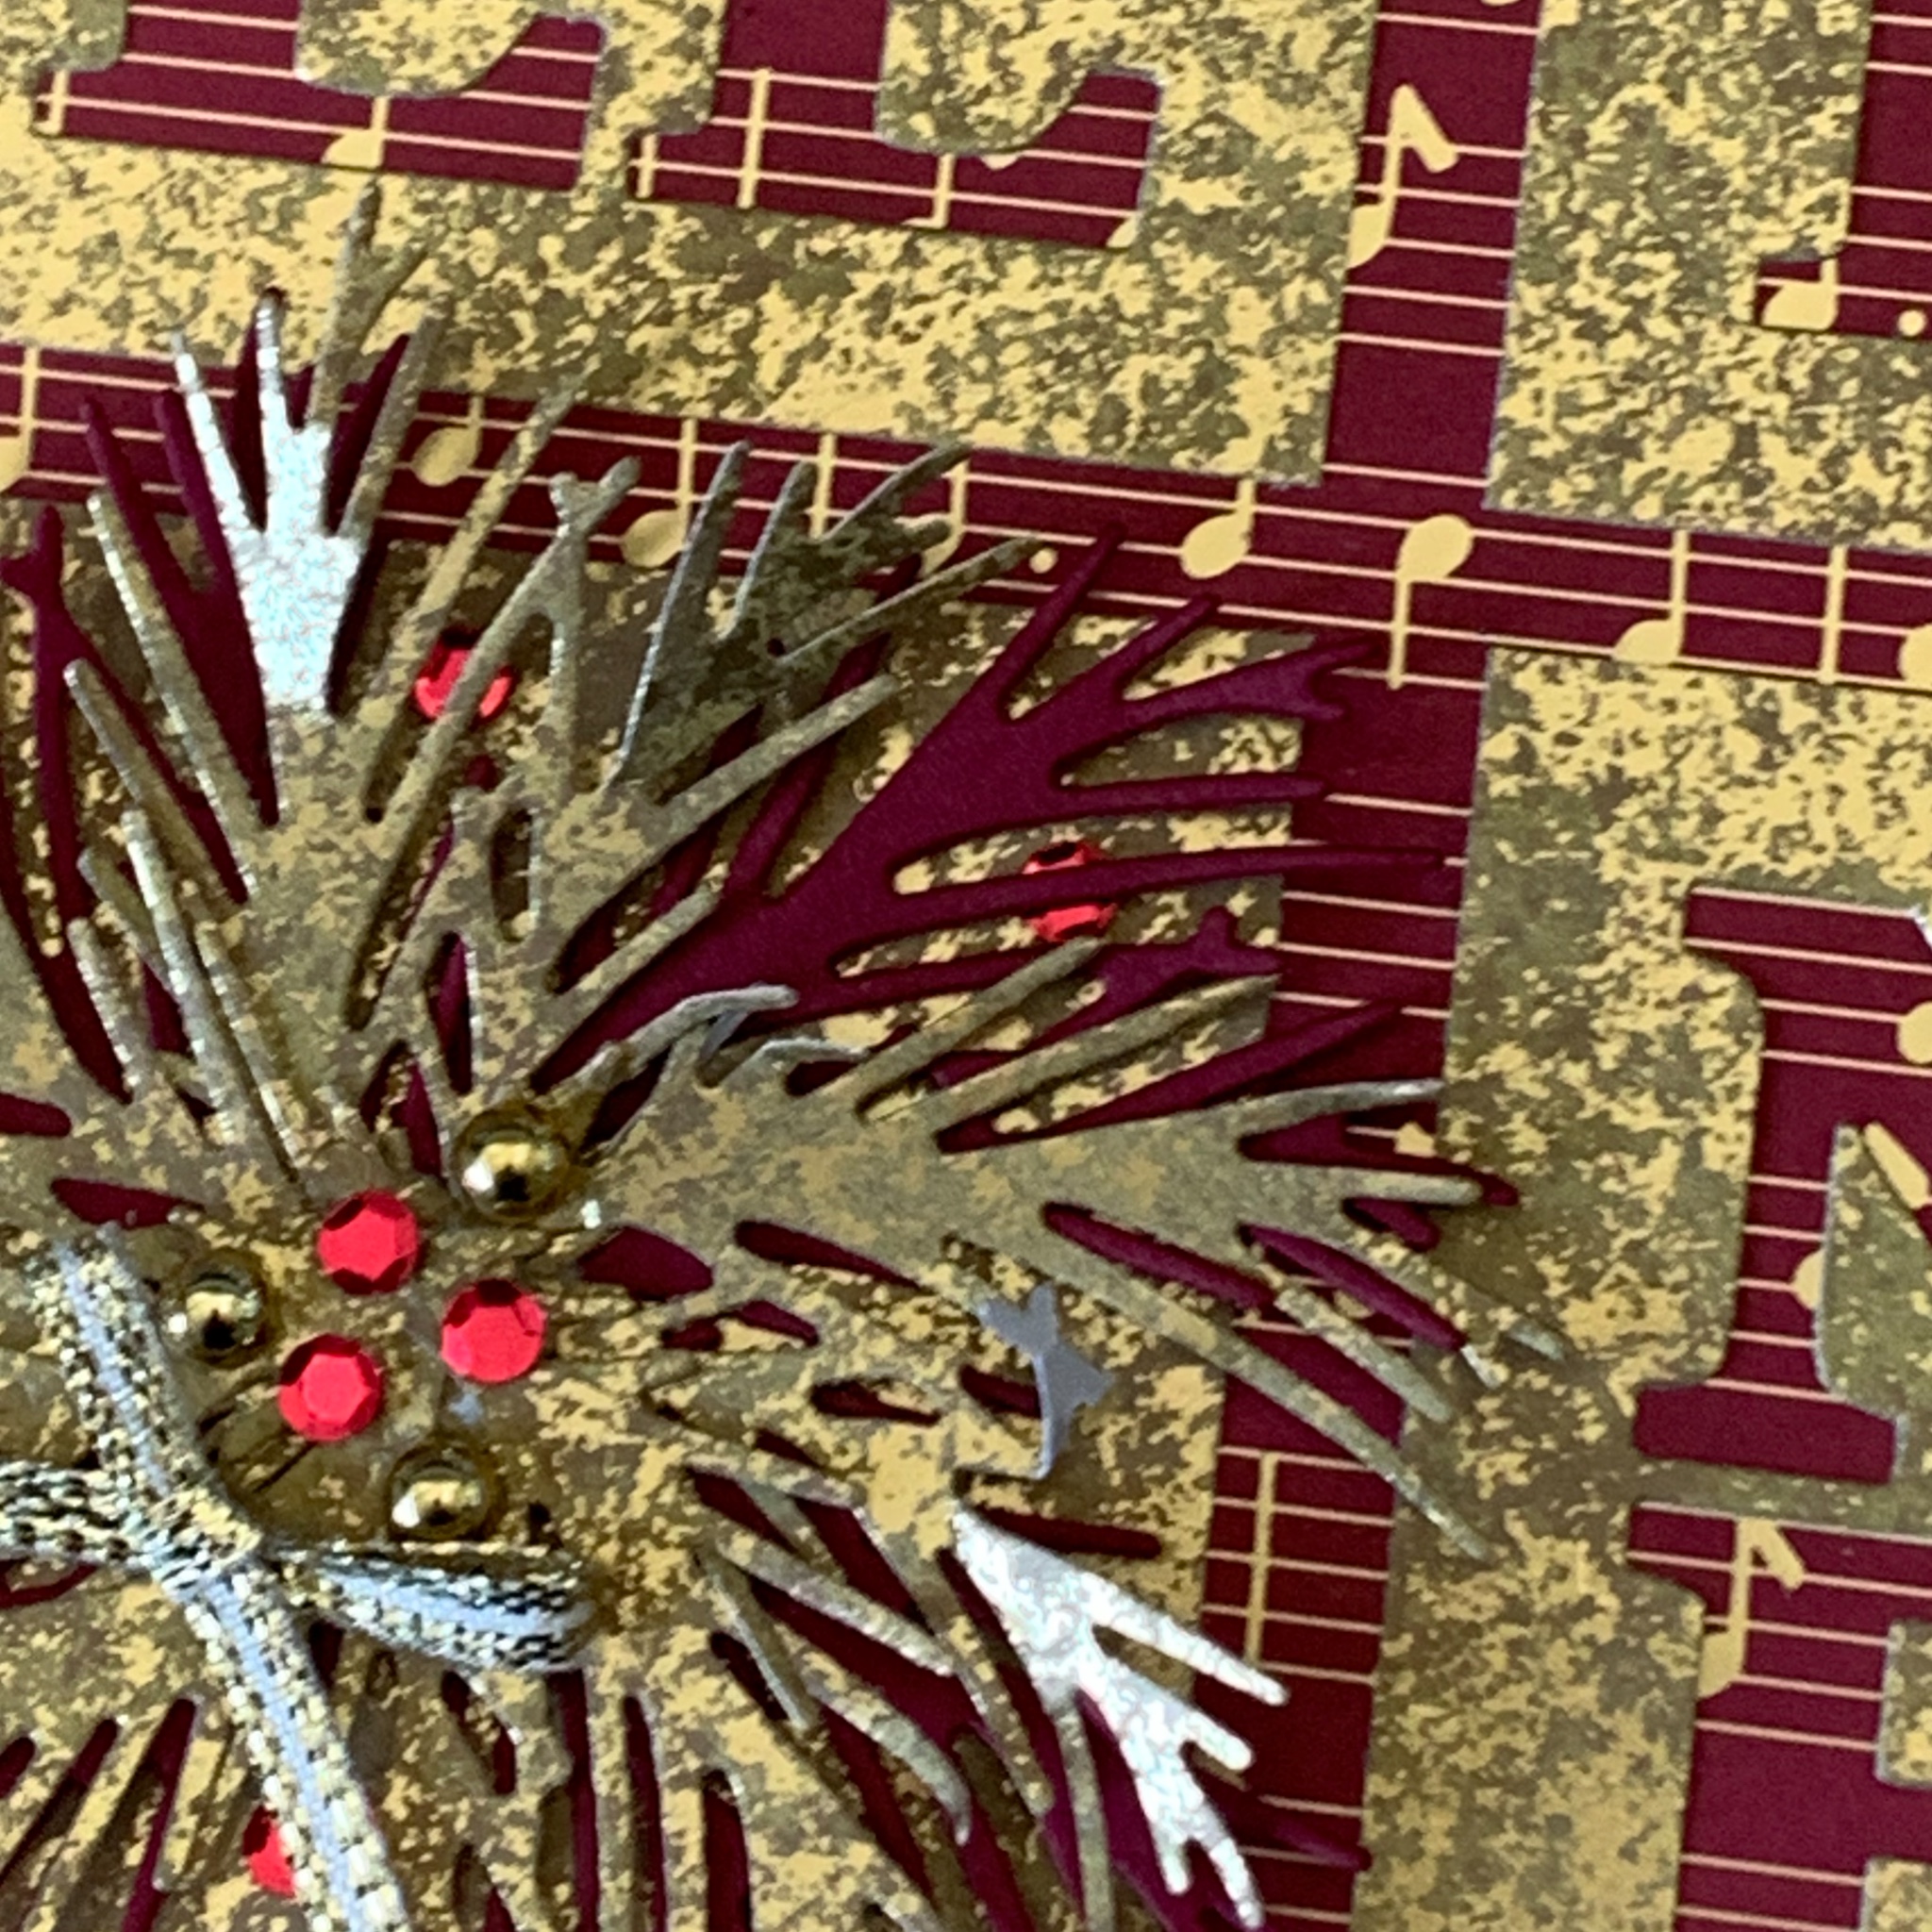
The next step was to cut four Cherry Cobbler and five Distressed Gold leaves. These were adhered to the gold square (bottom left-hand corner) to create a wreath.

A length of gold ribbon, from the Gold & Silver Trim bundle, was tied into a tiny bow and adhered with a Mini Glue Dot.

I used the same die to cut NOEL into the card insert.

The final touch was to add some gold Blooming Pearls and some red adhesive backed sequins (retired) to the centre of the wreath.

I will add some details about ordering these products a little later.

Until then, happy stamping.