Posted on Leave a comment

THURSDAY MEANS THAT IT’S TIME FOR A 3D PROJECT

If you’ve been following me, you will know how much I love making 3D projects.

I made this gift box to hold a fragrant soap. It will make a perfect thank you gift for someone.

I used a piece of Blackberry Bliss cardstock measuring 8 3/4″ x 6 3/4″. Along the shorted side , the card was scored 1 3/8″ in from each side. Along the longer side, it was scored at 1″, 2 1/2″, 4 7/8″ and 7 3/8″.

Once the box was constructed, I carefully cut DSP panels so that they were aligned around the sides of the box. The patterns matched so well.

I created the flower using Blackberry Bliss, Highland Heather and Vellum and using two of the open floral dies. I layered the 6 die cuts and secured them with Mini Glue Dots. The leaves were cut using the Bough Punch. Then I used Multipurpose Liquid Glue to attach the flower to the box.

I used a Dark Old Olive Blends pen to colour some Flat Adhesive-Backed Pearls and then added them to the card front.

The greeting was stamped using BLackberry Bliss ink and cut with one of the Everyday Details Dies. It was added to the top of the box with dimensionals.

The flower is definitely the star of this project.

Tomorrow I have one more zinnia project to share with you.

Until then, happy stamping.

If you live in Australia, you can order any of the products I used to make this card by going to my online store. Just click on any of the images below.

Product List
Bough Punch
[157711]
$39.00
Paper Snips
[103579]
$19.25
Posted on Leave a comment

TIME TO SHARE MY #160 COLOUR INKSPIRATION PROJECT

Welcome to our 160th challenge at Colour INKspiration!

Today’s picture which has inspired our colour palette was chosen by Colour INKspiration Crew Member, Nicole WilsonVicki Boucher.

Phot credit – https://www.flickr.com/photos/-etiana-/17086077241/?fbclid=IwAR1-ZRBjW5R0Jb9USe2mkJUZiAyljAxtI51kuYBf3daqyCAzkw4QRiHPIyk

As well as the chosen colour combination for #CI160, Bubble Bath, Lemon Lolly, Soft Sea Foam, Balmy BLue and Highland Heather. You may also add Basic White, Very Vanilla, Crumb Cake, Basic Black and metallics to your project. We also allow ‘Ivory’, ‘Bronze’ and ‘Natural Tones’ in the Stampin’ Blends. If you don’t have the colours in our palette, feel free to use the closest Stampin’ Up! substitute.

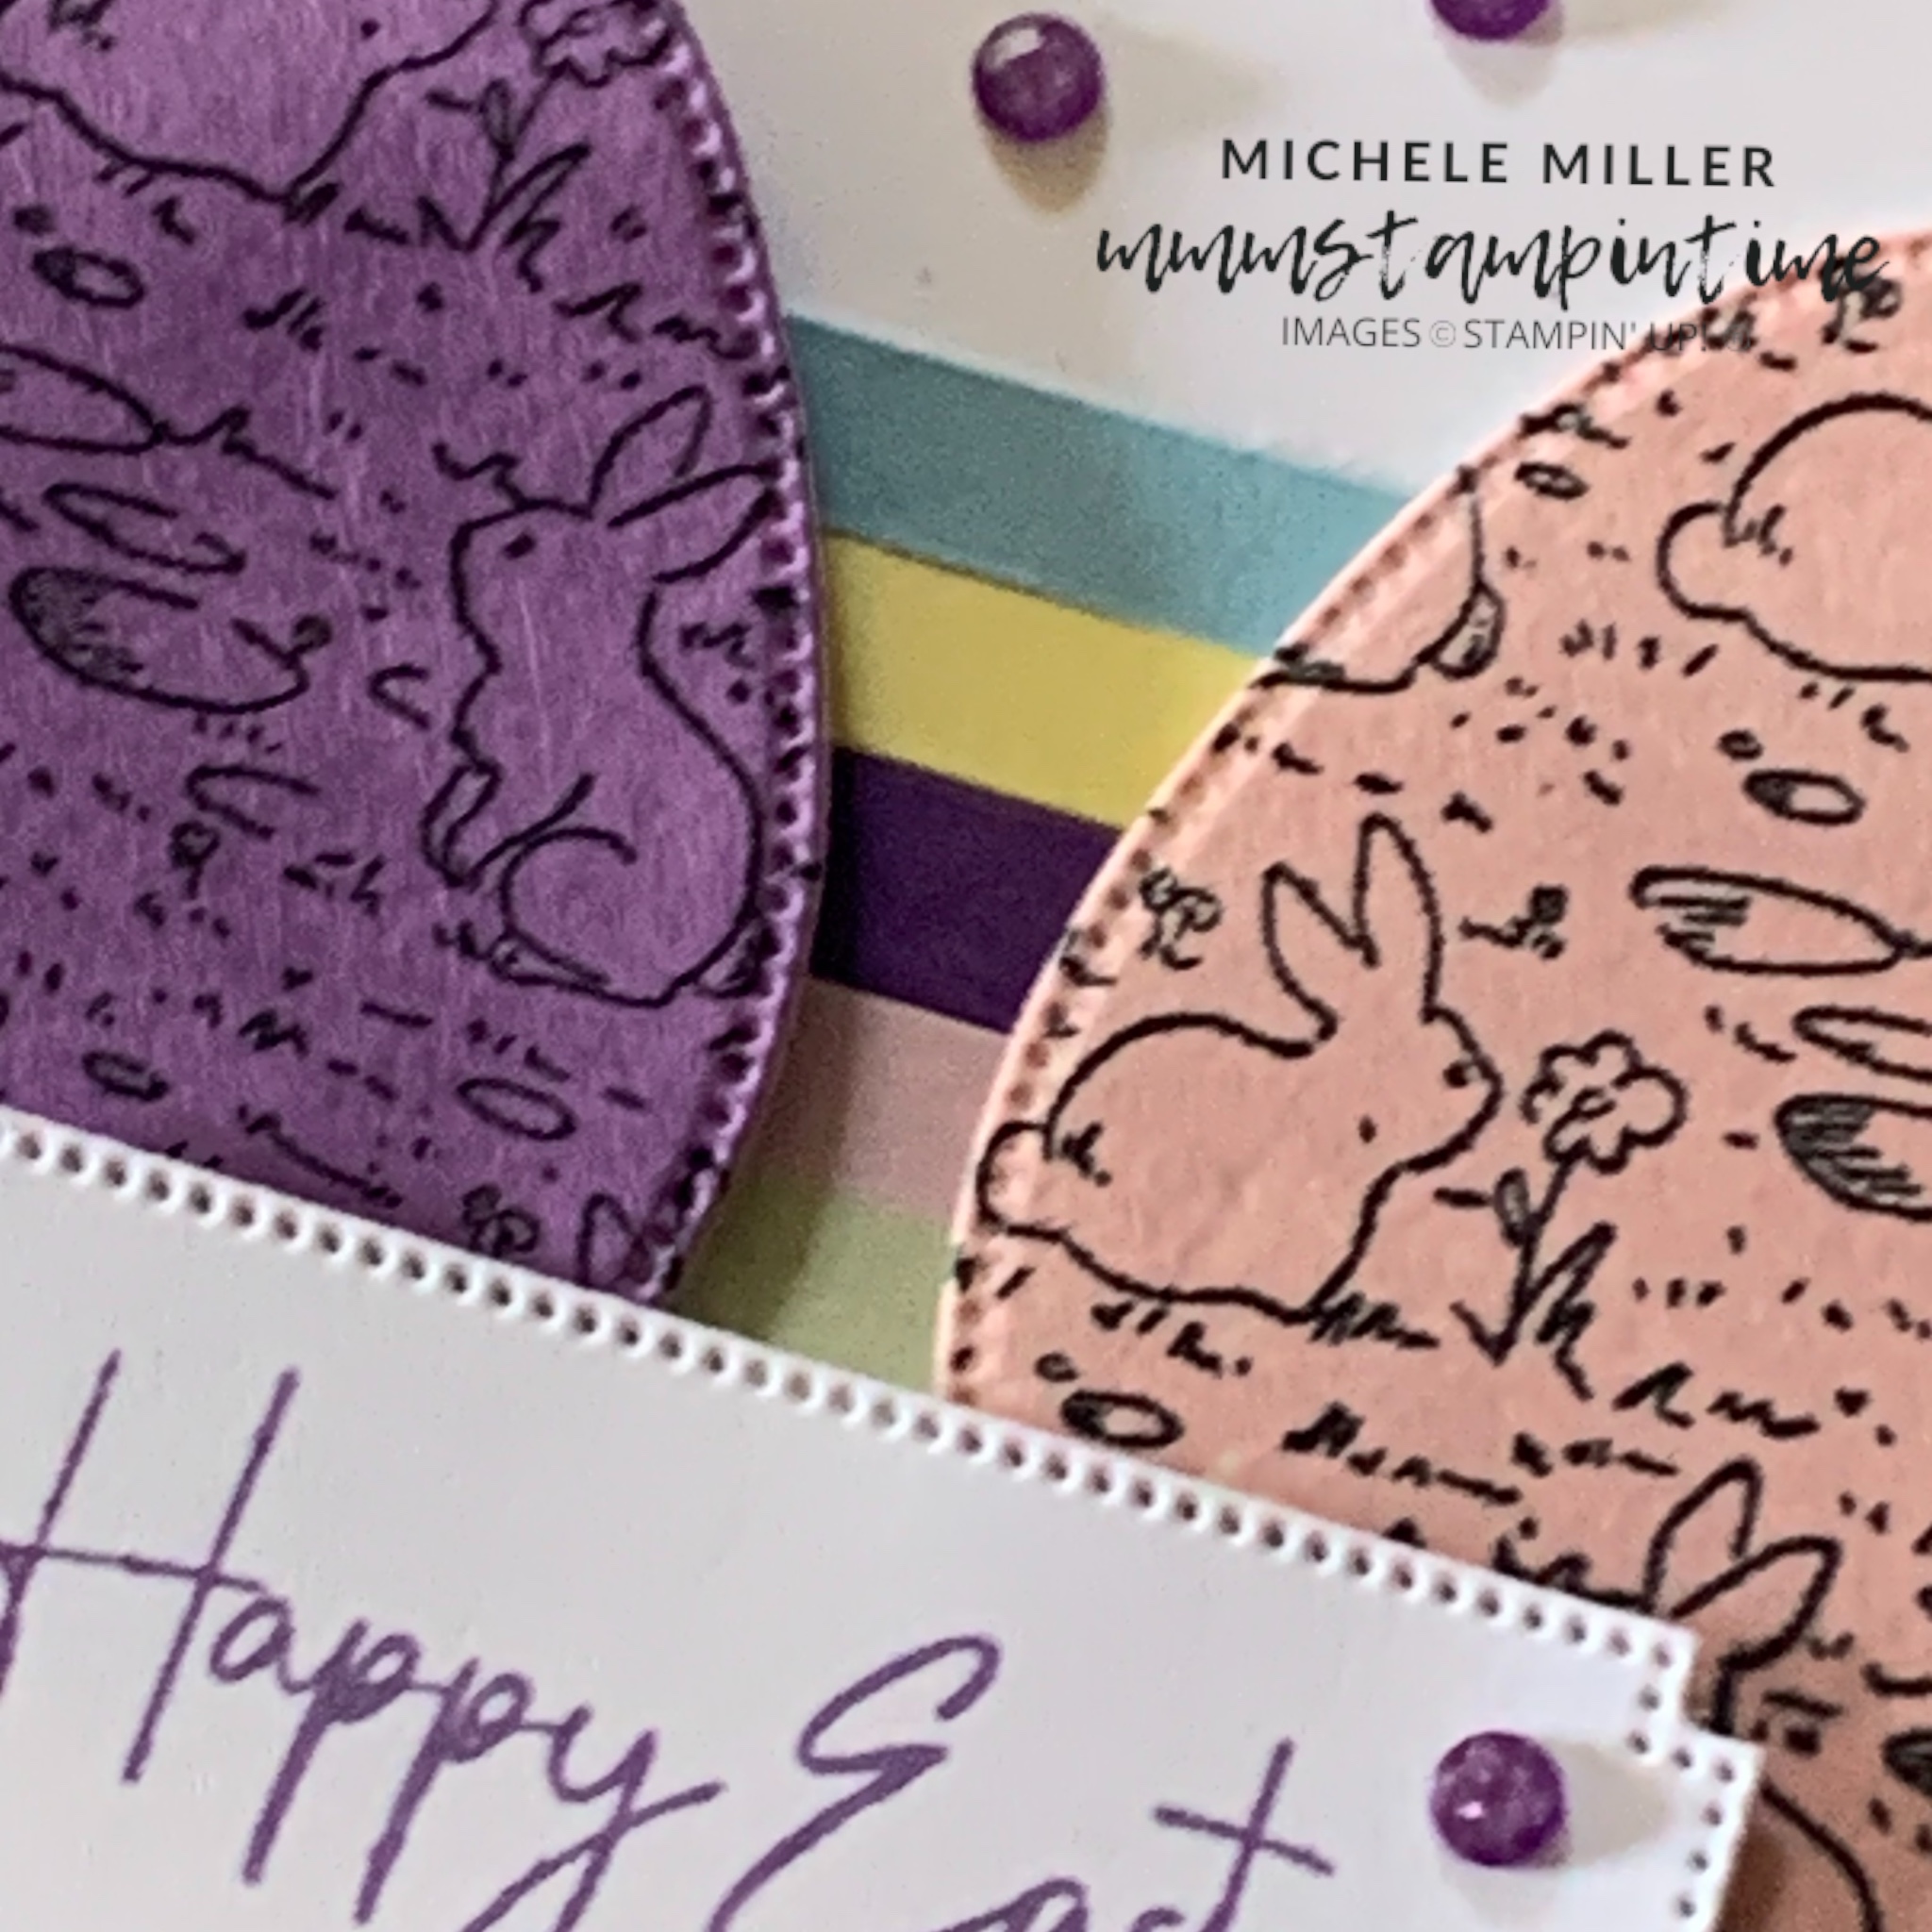
For my contribution to the Crew Album, I opted for the Excellent Eggs Bundle.

I started by adding a watercolour wash to some pieces of Fluid 100 Watercolour Paper.

Then I stamped the bunny egg image over the five watercoloured pieces. The next step was to cut the images with the smallest egg die

To fit five eggs across the card front, it needed to be a slimline card.

I cut a 1/4″ strip of each of challenge colours and adhered them across the centre of the card. Then I trimmed the ends.

I cut the Balmy Blue and Soft Sea Foam eggs in half.

Each of the eggs then had Stampin’ Dimensionals attached to their backs. Then I placed the eggs across the card front.

The Easter greeting was stamped and then cut using one of the Autumn Leaves Dies.

I added the other half of the Balmy Blue egg inside the card.

Finally, I added some Purple Fine Shimmer Gems to the card.

This was a fun card to make.

Happy stamping.

If you live in Australia, you can order any of the products I used to make this card by going to my online store. Just click on any of the images below.

Product List
Paper Snips
[103579]
$19.25
Posted on Leave a comment

WELL, WHAT’S HAPPENING THIS WEDNESDAY?

As I have a;ready mentioned this week, there are some new Online Exclusives coming soon.

And, there are definitely more than three new product lines – I know because I have preordered a lot of them. That is one of perks of being a Stampin’ Up! Demonstrator.

Today’s card uses a very different colour way.

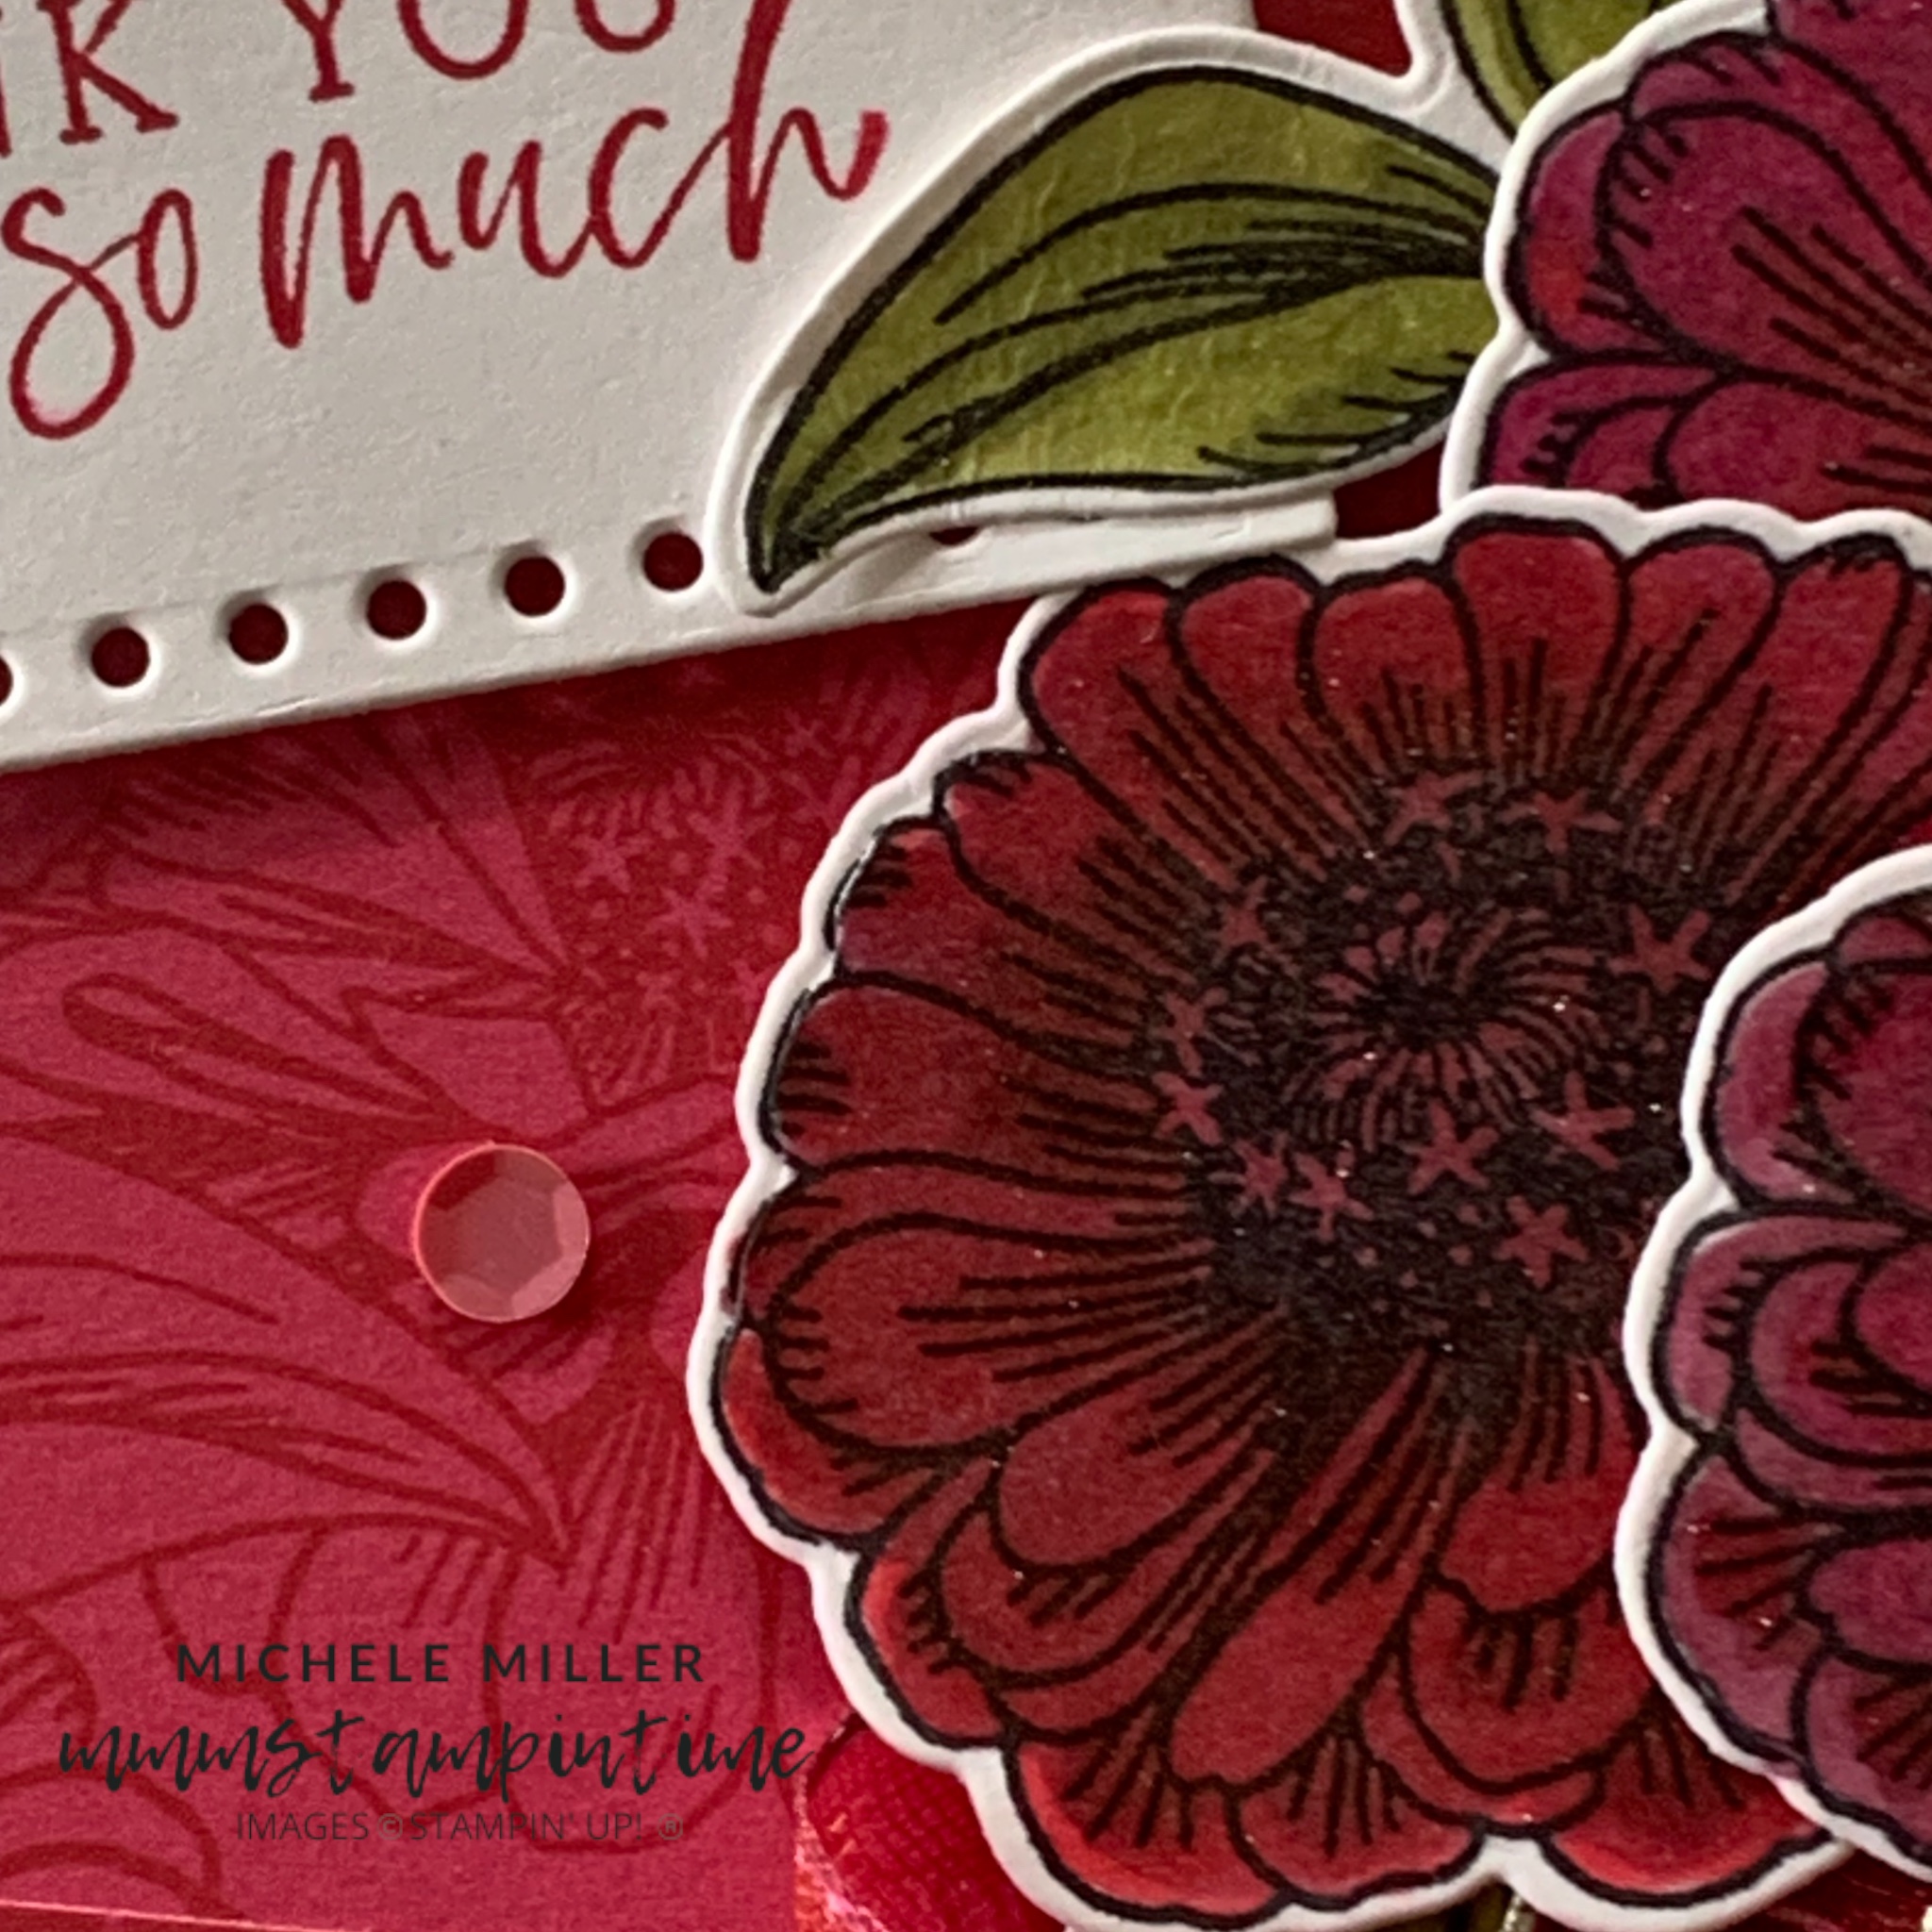
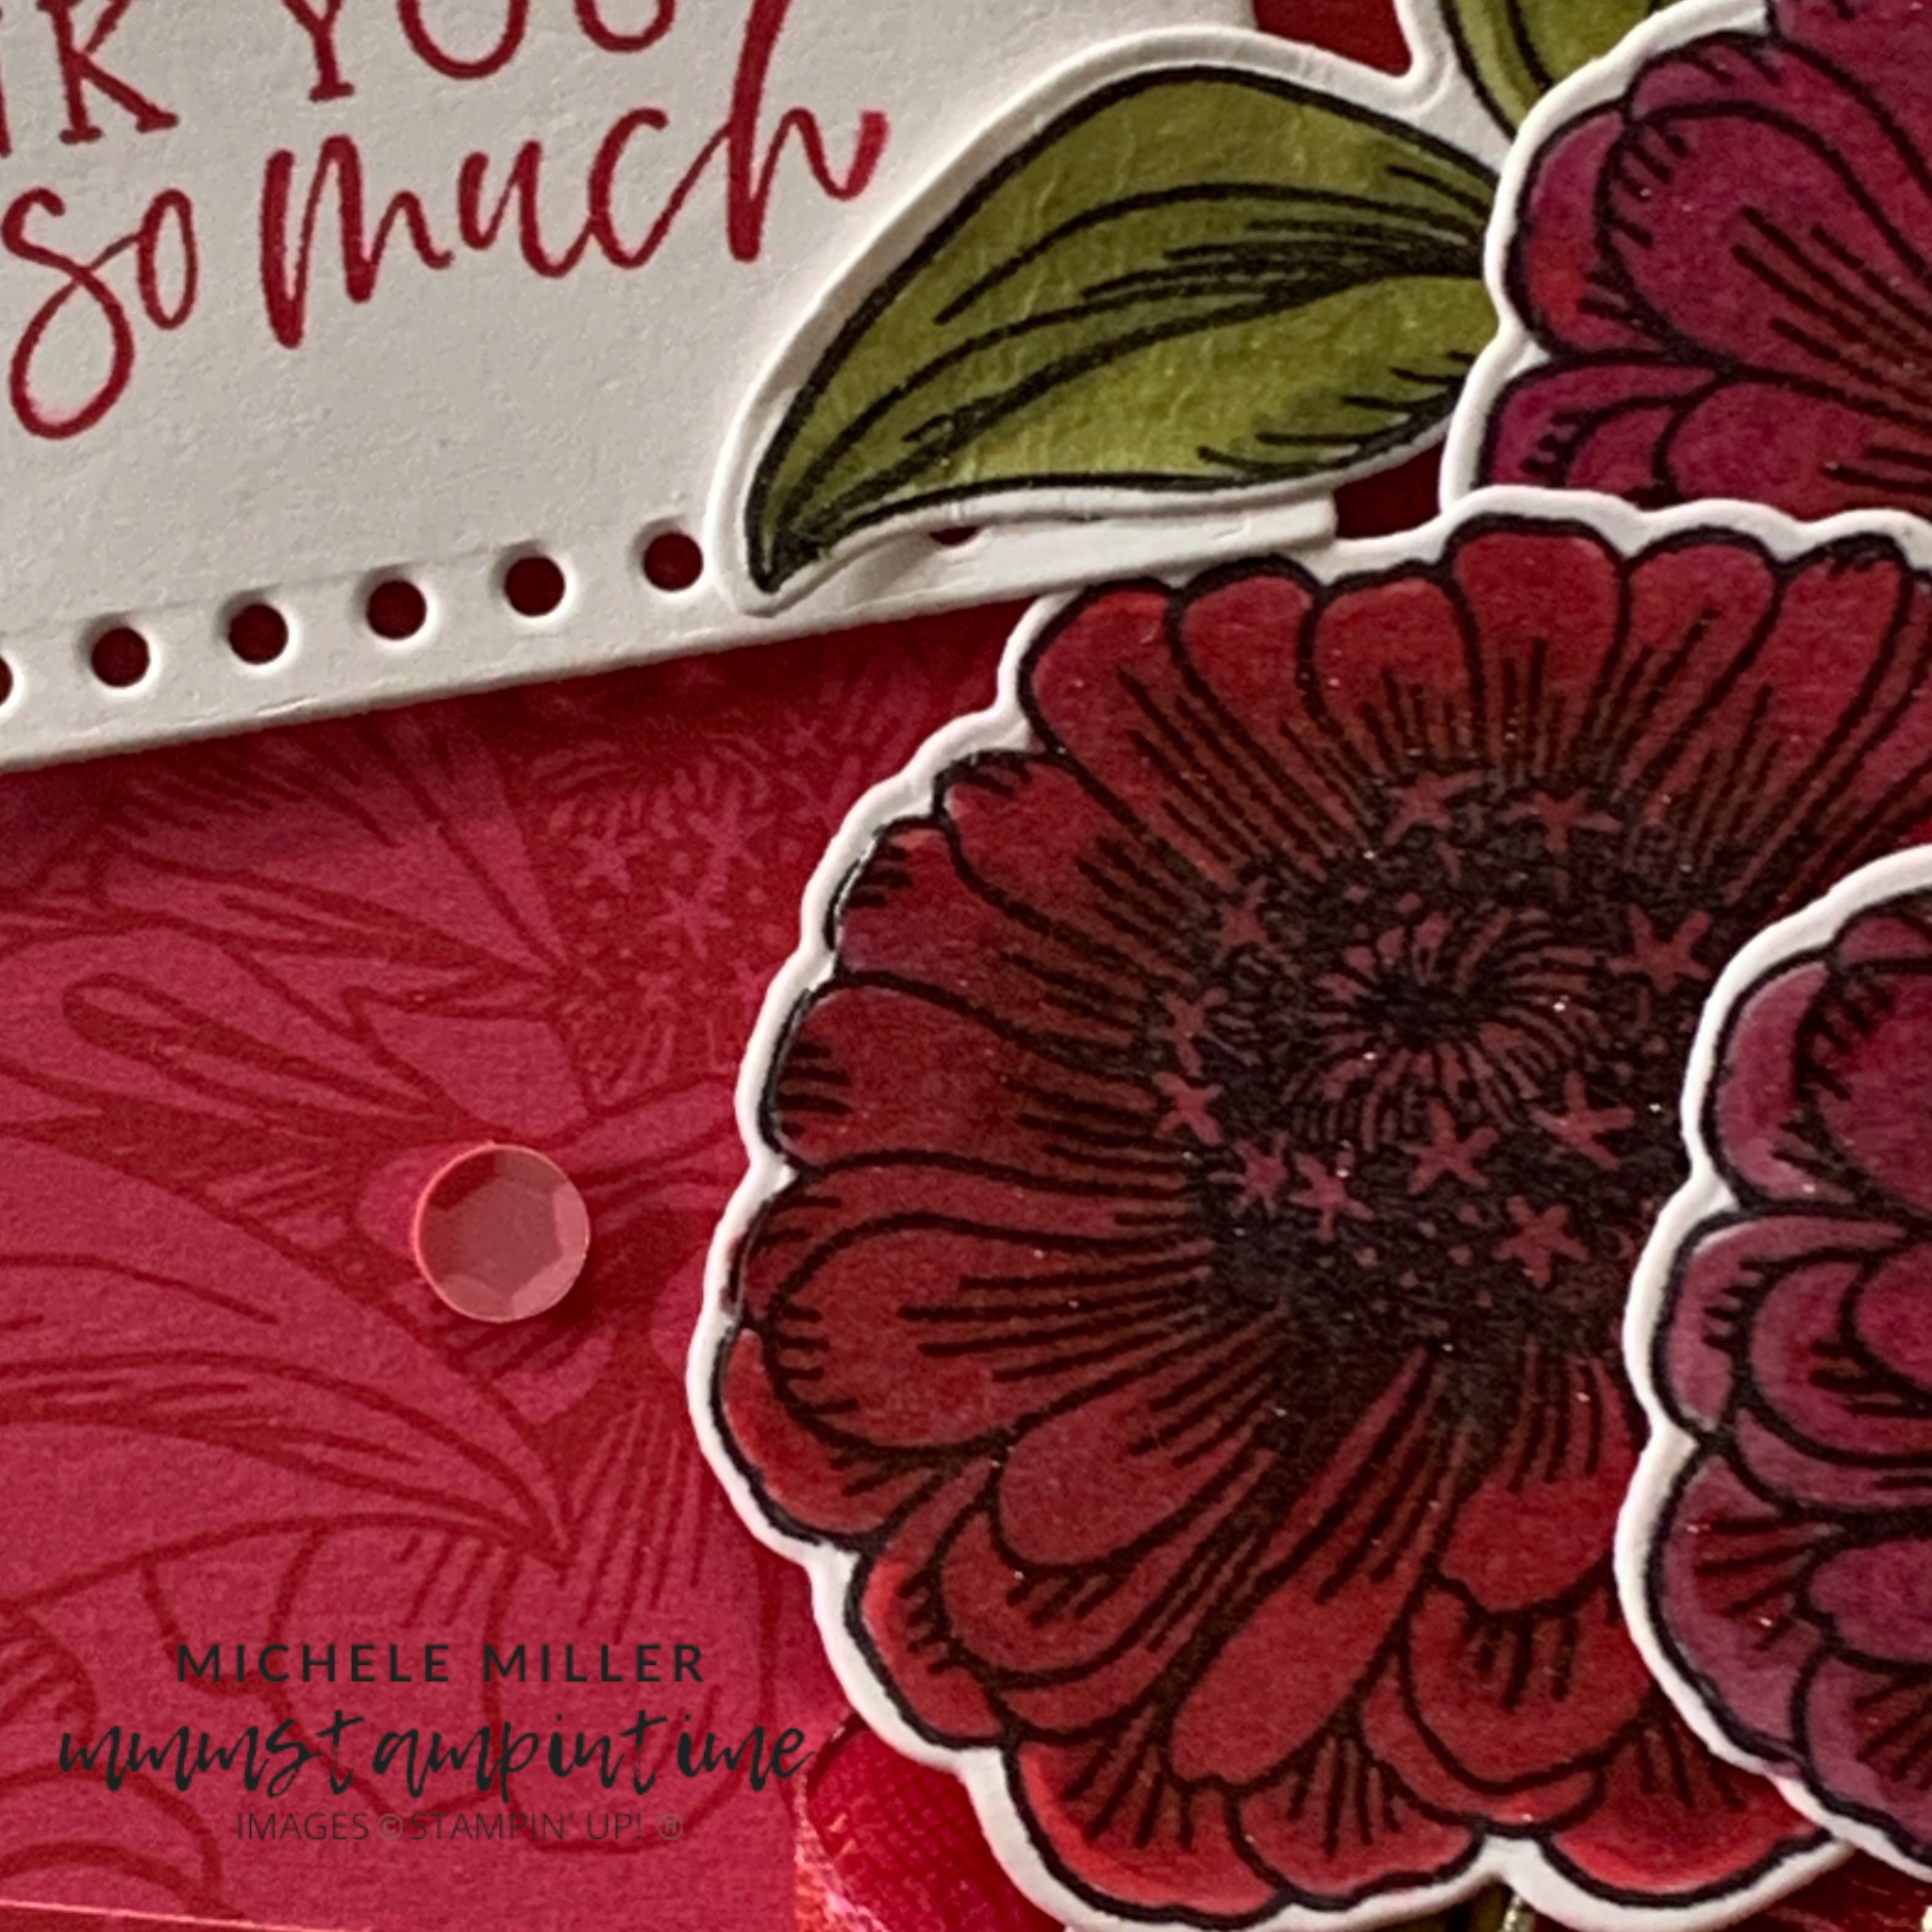
I started with a Melon Mambo card base and chose Blackberry Bliss, Flirty FLamingo, Melon Mambo, Old Olive and Real Red Stampin’ Blends to colour the three single zinnias.

The 5 5/8″ x 4″ Designer Series Paper panel was scored at an angle and I folded in to create this shape.

After I glued the DSP onto the card front, I wrapped a length of Silver & White Sheer Ribbon that I coloured it with the Dark Melon Mambo Stampin’ Blend pen. Then I arranged and attached the zinnias and leaves using Stampin’ Dimensionals.

The greeting was stamped onto Basic White cardstock and then cut using one of the Everyday Details Dies. This was then positioned on the card front using dimensionals.

The single zinnia was stamped on the card insert and on the envelope.

Finally, some of the Adhesive-Backed Shiny Sequins were added.

Tomorrow I have a 3D project to share with you.

Until then, happy stamping.

If you live in Australia, you can order any of the products I used to make this card by going to my online store. Just click on any of the images below.

Product List
Paper Snips
[103579]
$19.25