Posted on Leave a comment

IT IS SUNDAY & TIME TO SHARE MY GLOBAL DESIGN PROJECT CHALLENGE PROJECT

I only have a few more weeks to participate in the weekly Global Design Project challenges because Rob and I are heading overseas for 10 weeks!

These weekly challenges ensure that I am always looking to create a project to meet the challenge guidelines. So often these challenges take me outside my comfort zone.

The week #GDP437 is a colour challenge.

For this challenge I chose one of the new bundles from the 2024 – 2025 Annual Catalogue – Country Flowers Bundle.

The technique I decided to use was the Clear Wink of Stella ‘water colouring’ technique.

After I stamped and die cut the bouquet of flowers and teapot I added ink directly from my Classic Stampin’ Pads onto clear blocks painted the images using the Clear Wink of Stella brush.

I used a Basic White card base and two matte layers; one in Shaded Spruce and one in Highland Heather.

The Highland Heather layer was embossed with the new So Swirly Embossing Fodler.

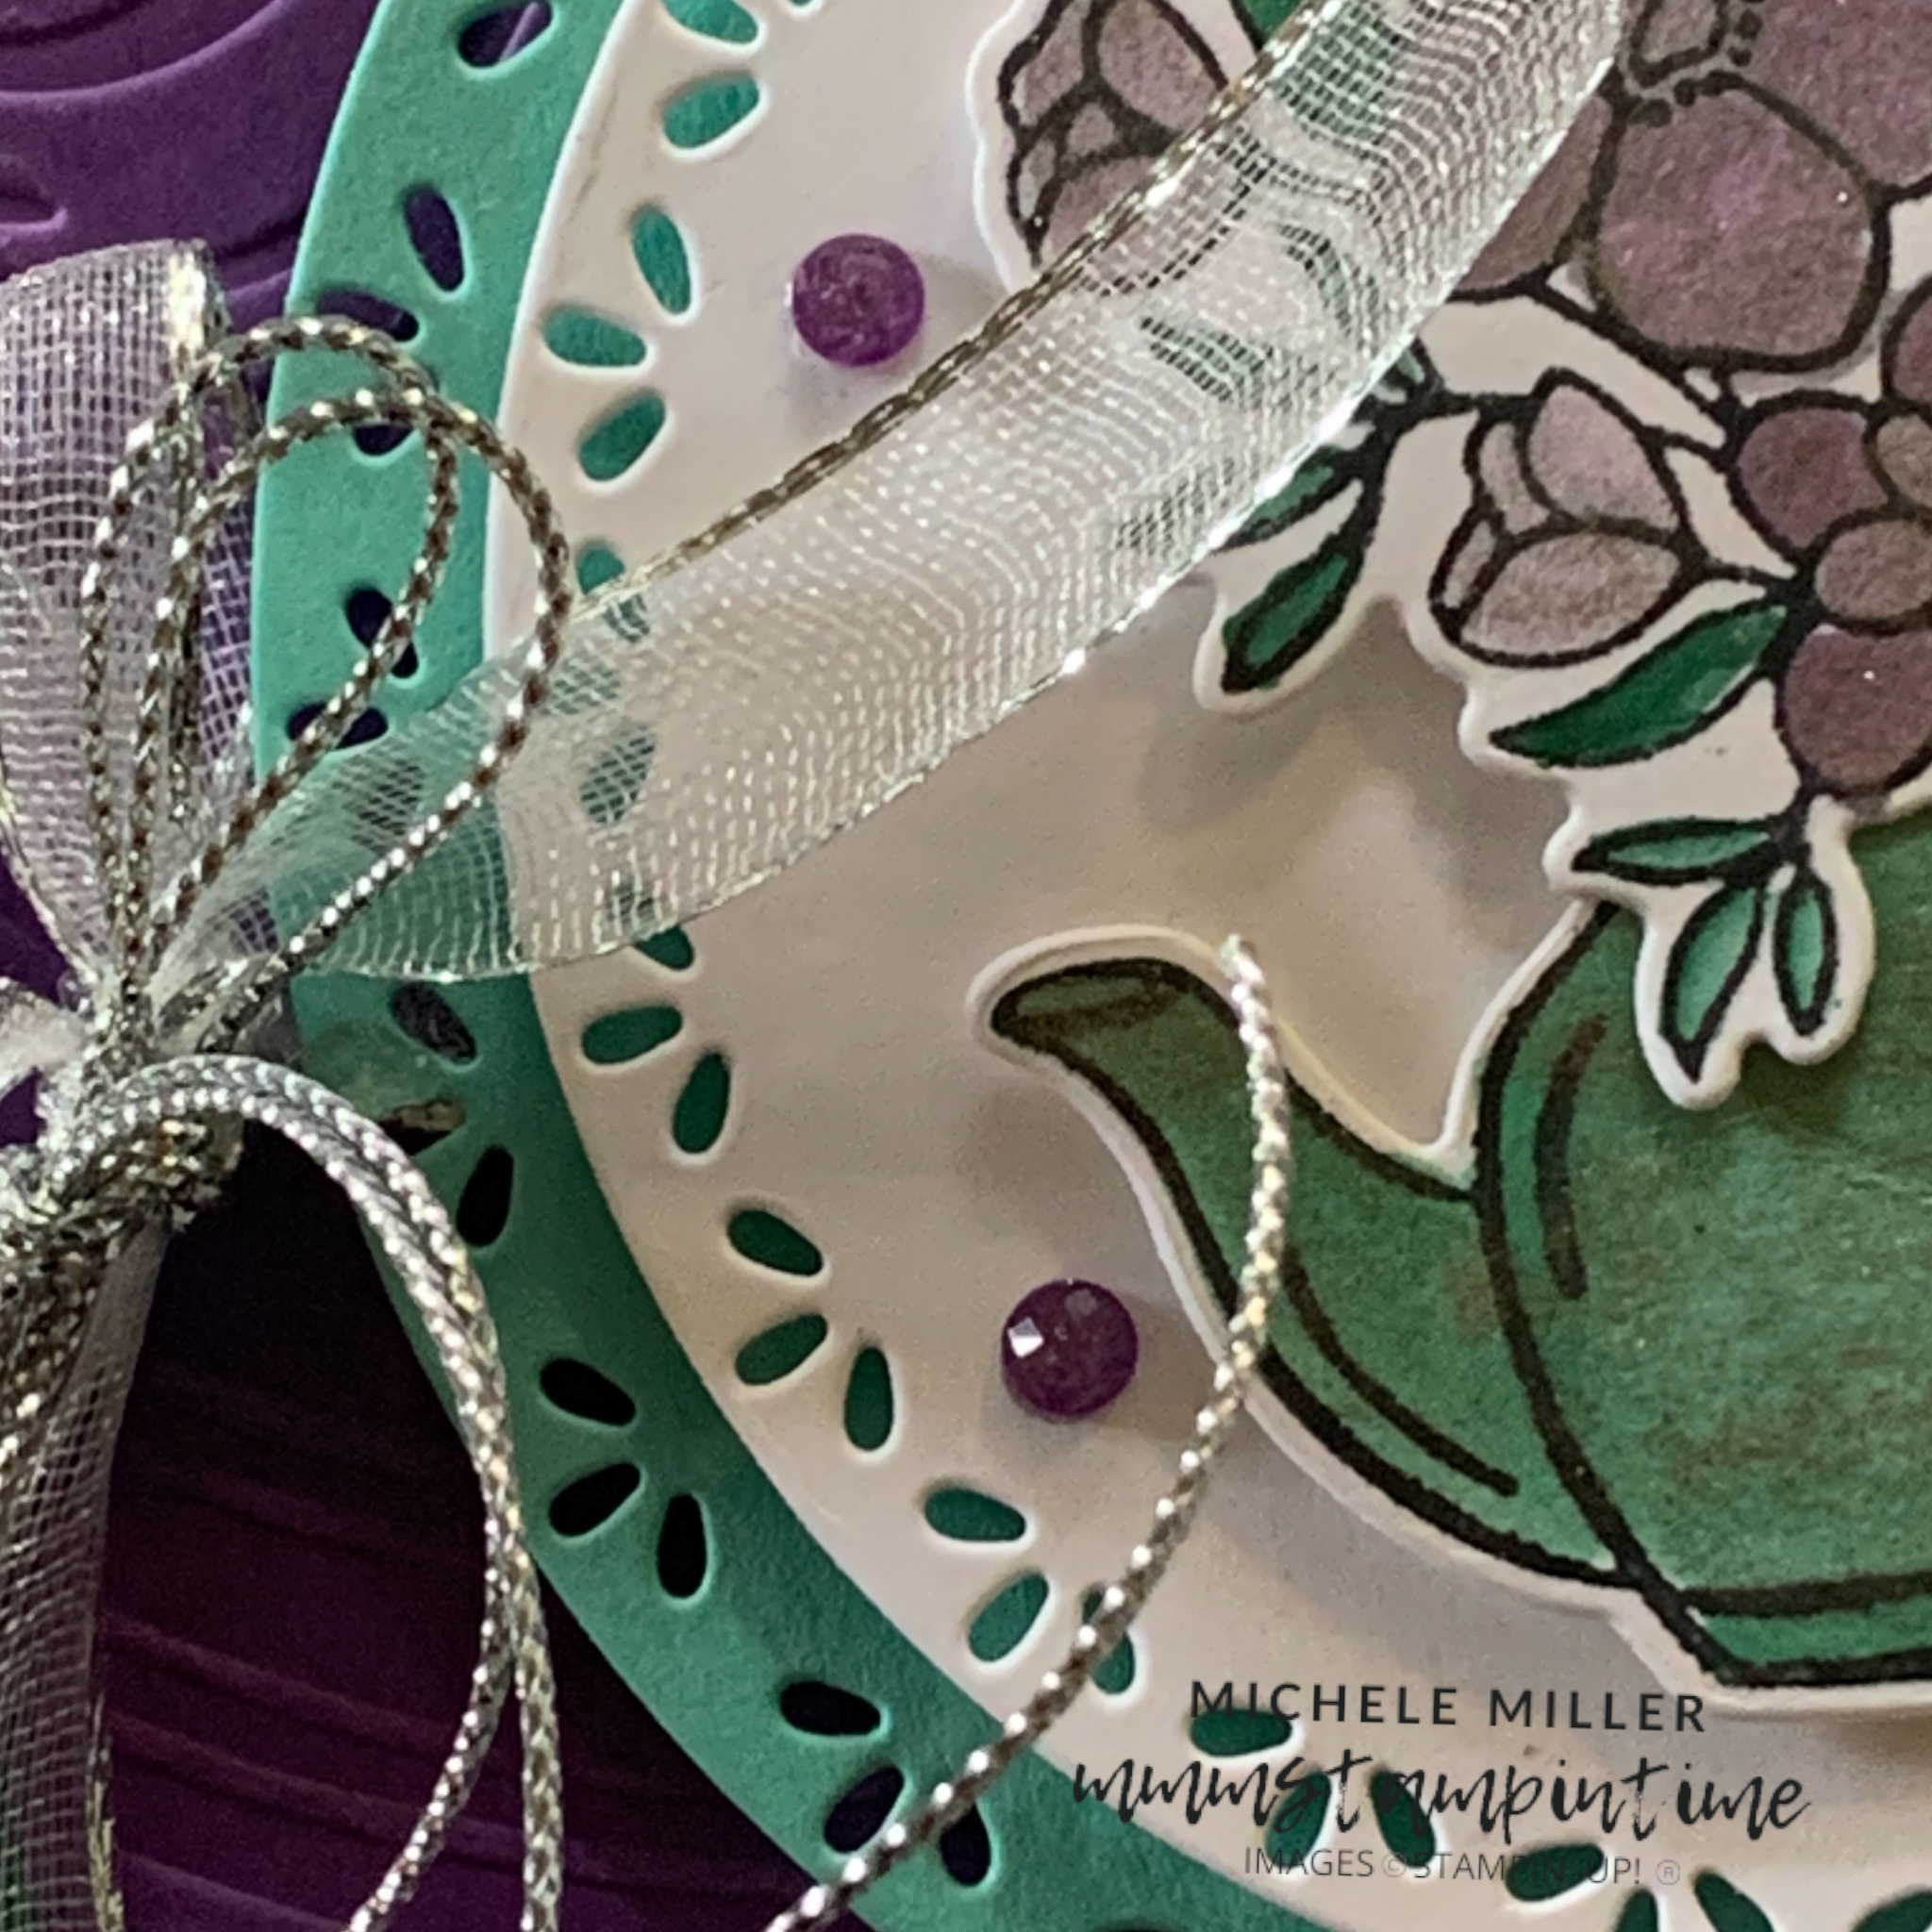
The Coastal Cabana and Basic White layers were cut using the new Country Flowers Dies.

I wrapped a length of Silver & White Sheer Ribbon arond the embossed Highland Heather layer and tied a bow. Then I added two lengths of silver trim from the Simply Elegant Trim bundle, and tied an extra double bow.

The Highland Heather layer was then adhered to the Shaded Spruce layer and secured on the white card base.I added Stampin’ Dimensionals to the back of both the Coastal Cabana and Basic White die cut circles.

These were layered together before being trimmed along the right hand side. Then I added these circles onto the card front, over the ribbon.

The greeting was stamped and trimmed before being positioned on the front of the card using a strip from the edge of the dimensionals sheet.

I added the teapot to the white circle and then added the bouquet. These were both secured with Stampin’ Dimensionals.

‘Flower Market’ was stamped inside the card and on the back of the envelope.

Finally, I added some of the Purple Fine Shimmer Gems to the card front.

I had made an earlier card for this challenge, but I didn’t like it as much as this one.

Here is my first endeavour:

For this card I used almost the same products. Instead of the So Swirly Embossing Folder, I used the new Dotted Circle 3D Embossing Folder.

I stamped the images directly onto the Basic White circle for this project.

I used different dies from the Country Flowers Dies set and coloured the Silver & White Sheer Ribbon.

I won’t be able to provide you with a shopping link until these new products go live for customers, from May. I hope in the descriptions I have given you will know what I have used for these projecrs.

Until next, happy stamping.

Posted on Leave a comment

IT’S FRIDAY & TIME FOR SOME FEATURES AND ANOTHER EASTER CARD

I don’t have a Friday Fun Fold card for you today but I do have a beautiful Easter card to share.

Today I am featuring the Everyday Details Bundle.

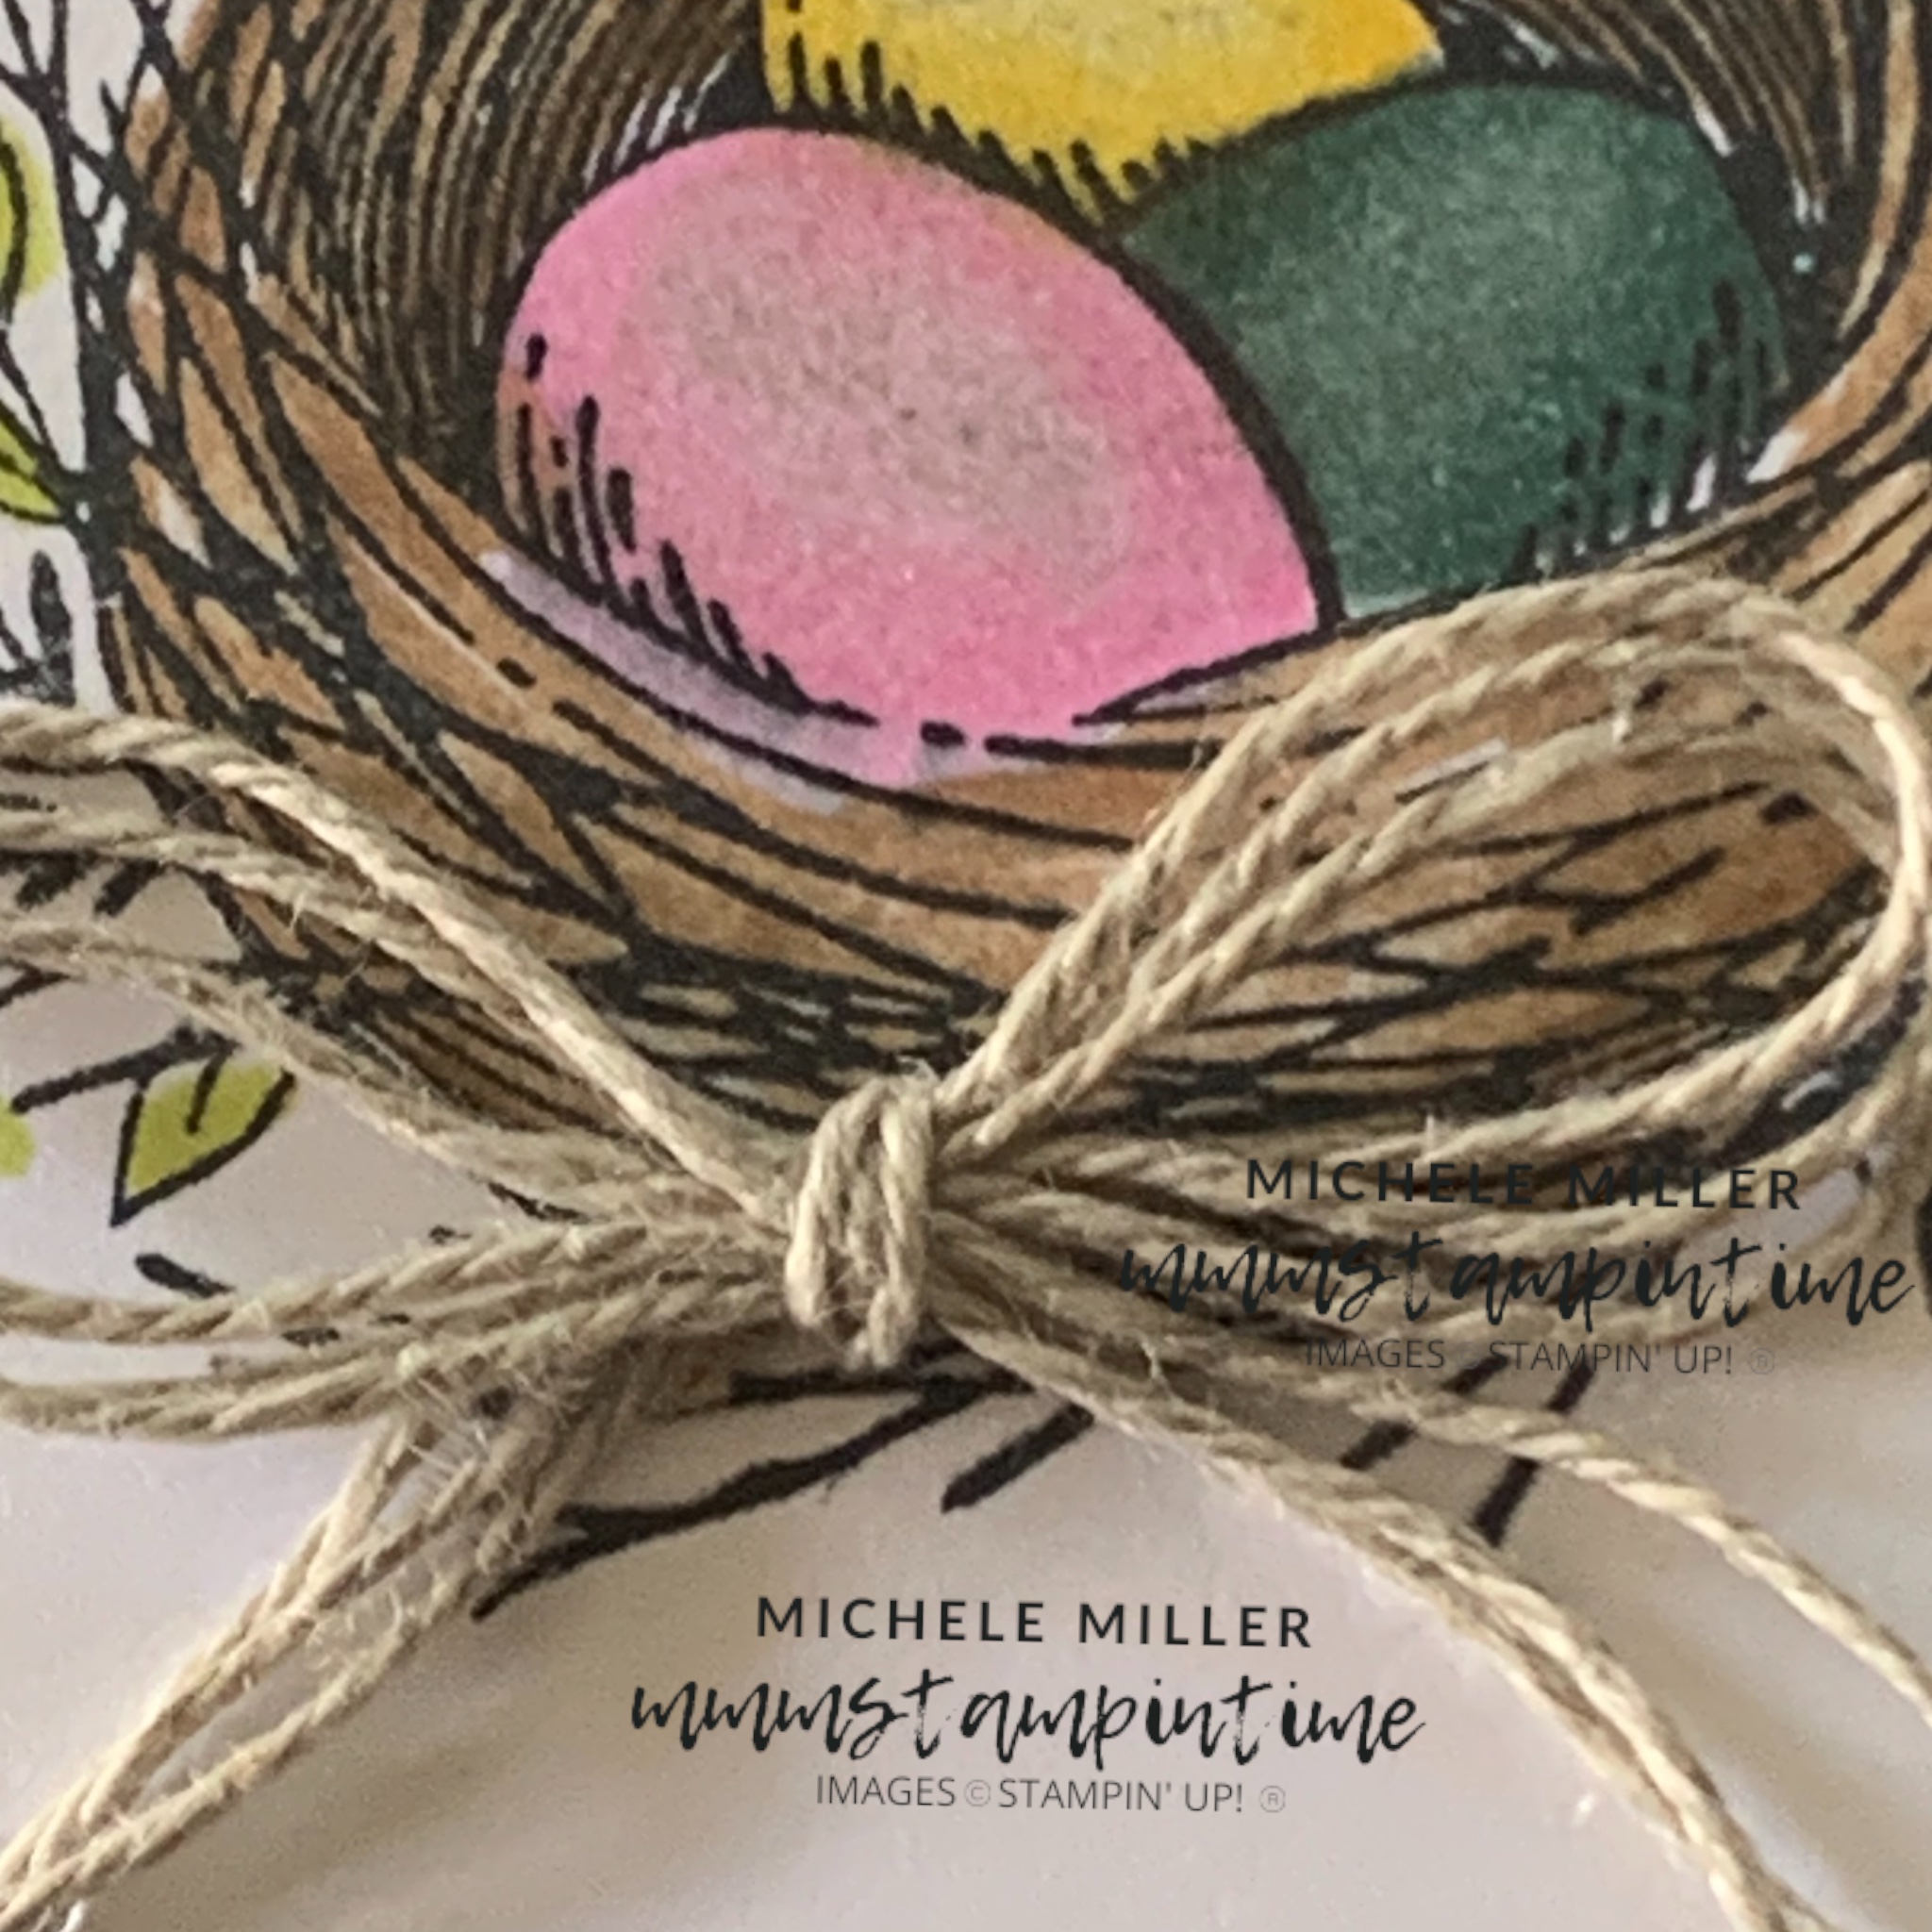
I thought the nest with eggs would be delightful for a card this Easter.

The little nest was stamped before I coloured it with Stampin’ Blends – Bubble Bath, Granny Apple Green, Lemon Lolly, Lost Lagoon and Pecan Pie.

I used the colour lifter to lighten areas of the eggs shells before painting them with Clear Wink of Stella.

After I finished colouring the nest, I used the largest of the circles from the Everyday Essentials Dies to cut it out.

The greeting was stamped using Lost Lagoon and cut with anothe rof the dies from this same set.

Before attaching them to the front of the card, I took a panel of White Vellum and embossed it using the Basics 3D Embossing Folder.

I attached the embossed vellumto the Lost Lagoon cardbase and then, using Stampin’ Dimensionals, added the die cut elements to the card.

Using Linen Thread, I teid a triple bow and attached it to the nest, using a Mini Glue Dot.

The nest was stamped on the card insert and on the envelope, using Pecan Pie ink.

The final flourish was the addition of some Lost Lagoon embellishments from the Tinsel Gems 3 Pack.

The plan next week is to feature the new Magnolia Mood products.

Until then, happy stamping.

If you live in Australia, you can order any of the products I used to make this card by going to my online store. Just click on any of the images below.

Product List
Paper Snips
[103579]
$19.25
Posted on Leave a comment

THURSDAY MEANS THAT IT’S TIME FOR A 3D PROJECT

Today’s project was inspired by a project I made last year at a Paper Angels Team Day. It is a sweet and simple Easter basket.

The basket is made using a 7 1/2″ x 7 1/2″ piece of Lost Lagoon card.

It was scored at 2 1/2″ along both sides. Along the top and bottomsides, the card was cut 2 1/2″ in, leaving the centre panel uncut.

Then I cut six 2 3/8″ x 2 3/8″ Basic White squares. They were then embossed using the Cane Weave 3D Embossing Folder.

These embossed pieces were attached to the three panels on each side of the base.

I used Tombow Multipurpose Glue to overlap and adhere the top and bottom panels to create these angeled basket sides.

Before securing the central Lost Lagoon panel, I created the handle. I used a 3/4″ length of Lost Lagoon card and a 5/8″ strip of Basic White card.

The white card was also embossed, in two steps. Then the embossed strip was attached to the Lost Lagoon base piece.

I adhered the handle inside the basket and then the remaining Lost Lagoon panels were glued over the top of the handle ends to secure them.

The basked was finished with soem die cut and assembled eggs and a stamped and die cut Easter greeting.

Finally, I added some Lost LAgoon Tinsel Gems 3 Pack embellishments.

Last, but not least, I added some Easter eggs to the backet.

Product List
Paper Snips
[103579]
$19.25

Tomorrow I will be using a different stamp set for the last of my Easter cards.

Until then, happy stamping.

If you live in Australia, you can order any of the products I used to make this card by going to my online store. Just click on any of the images below.