Posted on Leave a comment

TIME FOR SOME MORE MERRY, BOLD & BRIGHT CREATIONS

If you didn’t see my post yesterday, make sure you pop back and have a look. It explains why I have so many Merry, Bold & Bright projects to share with you.

It has something to do with these next two images –

Today, I have another 3D project and card to show you.

These Christmas gift bags were inspired by Sam Hammon Donald – thank you Sam for always sharing your creations (with instructions!). Here is a link to see her creativity in action – https://pootles.co.uk/2023/08/18/stampin-up-zany-zoo-gift-box-idea/

I made these to showcase the amazing designs in the Merry, Bold & Bright 12″ x 12″ Designer Series Paper.

The wonderful Deckled Circles Dies were used to cut the sentiment label for the front of each bag. Then the Christmas bulbs were stamped, die cut and attached to the labels.

Each label then had Iridescent Adhesive-Backed Discs were added to give the bags a little bling.The bags were closed with coloured mini bulldog clips that I found at my local stationery store.

Now for a card!

For this card I wanted to create a gift card holder. I started with a Poppy Parade landscape tent fold.

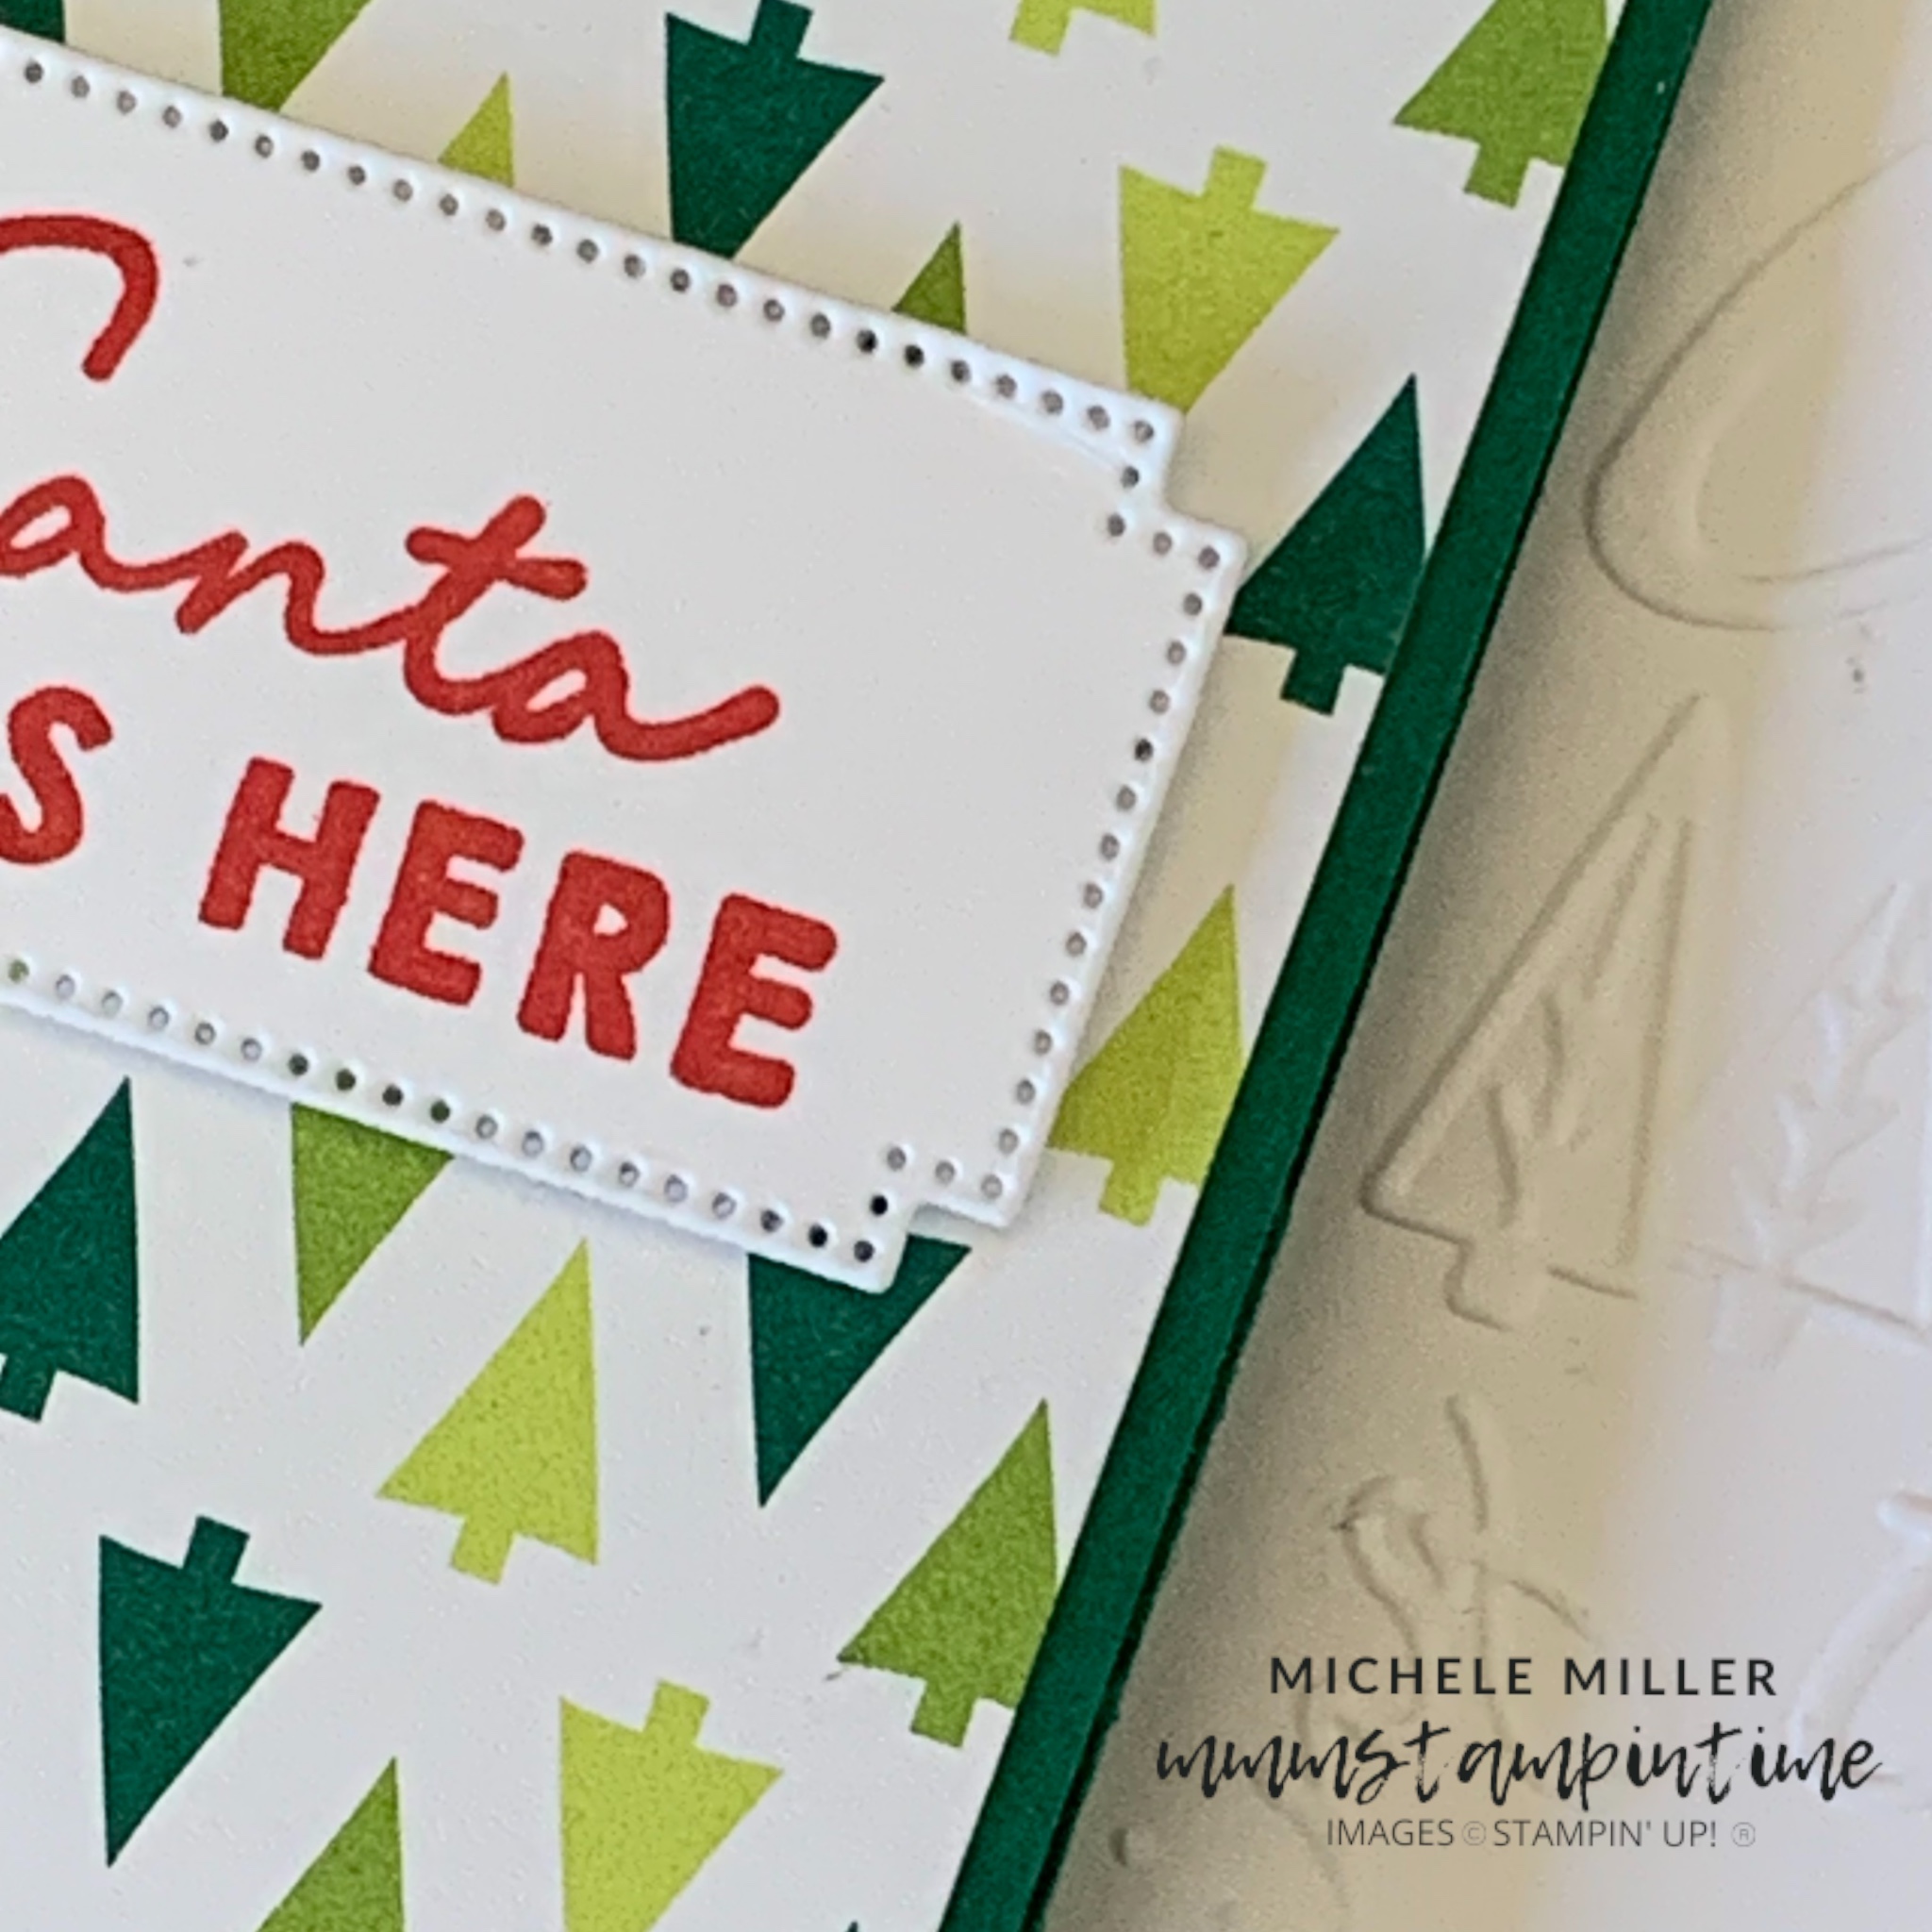
I took a piece of Basic White card and used the Christmas Tidings Embossing Folder to add this amazing texture. After I attached this embossed layer to the front of the card, I created the gift card pocket and cover.

The Shaded Spruce gift card pocket was a trial and error process to get the right measurements. I added an insert of DSP to add to the Christmas theme.

A length of Silver Trim was attached to the back of the pocket and was then tied into a bow behind the ‘Santa was here’ greeting. The greeting was cut using one of the dies from the Autumn Leaves Dies.

The same greeting was stamped on the white card insert and envelope. The same Iridescent Adhesive-Backed Discs were added to the card front.

Tomorrow – some more Merry, Bold & Bright to share.

Until then, happy stamping.

If you live in Australia, you can order any of the products I used to make this card by going to my online store. Just click on any of the images below.

Product List
Paper Snips
[103579]
$19.25
Posted on Leave a comment

SANTA EXPRESS

The Santa Express Suite is such a fun collection of new products.

SANTA EXPRESS SUITE COLLECTION (ENGLISH)

The card started with a Shaded Spruce base. Then a tied a small bow in a length of Iridescent Trim and wrapped it around a piece of patterned paper from the Santa Express 12″x 12″ Designer Series Paper. The DSP was then attached to the card base using Stampin’ Dimensionals.

The Christmas greetings and images were stamped before being cut using the Stitched Rectangles Dies. A few dimensionals later and the greetings were up on the card front.

For this W card I cut a 11-1/2″x 1-1/2″ piece of Poppy Parade cardstock and scored it into 4 even sections.

I cut four 2-1/2″ squares in Basic White cardstock and stamped Santa’s engine and three carriages using Mementto Jet Black ink. Then I used a variety of Stampin’ Blends pens to colour the images – Basic Black, Daffodil Delight, Mango Melody, Poppy Parade, Petal Pink, Granny Apple Green, Evening Evergreen, Shaded Spruce, Basic Gray and Mint Macaron.

A piece of Shaded Spruce was cut and placed inside the card as a pocket for the Basic White tag to sit inside.

Using a small scrap of Basic Gray cardstock, I die cut the lttle puffs of smoke to drift from the engine stack.

A few Red Rhinestone Basic Jewels to add some bling was the final step.

Who knows what tomorrow might bring.

Until then, happy stamping.

Posted on Leave a comment

ANOTHER CHRISTMAS IN JULY CARD TO SHARE

I chose the Cottage Wreaths Bundle for this card. It has such a classic Christmas look.

This card stated with a base made from Garden Green cardstock and a piece of patterned paper from the Sweetest Christmas 12″x 12″ Designer Series Paper

Using Soft Suede, I stamped the twigs wreath before stamping the leaves wreath in Soft Succulent. Then I the individual leaves using Garden Green. Finally, the cluster of three berries were stamped in Sweet Sorbet.

The Christmas greeting was also stamped using Sweet Sorbet.

I used the Layering Circles Dies to cut the stamped Basic White panel. A scalloped circle die was used to cut the Garden Green piece. These were then adhered together before having Stampn’ Dimensionals attached so that it could be popped up on the card front.

The last step was to use the Country Wreaths Dies to cut the bow that I added to the wreath.

I think that I will go back and add some Pearlised Enamel Effects Basics to the stamped cluster of berries. What do you think?

Another card tomorrow.

Until then, happy stamping.