Posted on Leave a comment

STEP IT UP SUNDAY – TAKING A #simplestamping PROJECT & TAKING IT UP A NOTCH OR TWO

Wow – this is my third STEP IT UP SUNDAY. I’m definitely getting into the groove of my new 2022 weekly blog schedule. What do you think? How is it going so far? What else would you like to see?

Yesterday I shared two #simplestamping cards using a small number of the products from the Artfully Composed Suite. Remember, #simpestamping is all about using a limited number of products, primarily stamps-ink-paper, to enjoy successfully creating a card. This type of experience is perfect for those who are new to card making and paper crafting.

After lots of #simplestamping, most people naturally want to move on and try new things. These crafters are also likely to have started building their crafting collection – inkpads, stamps, cardstock, tools and some embellishments.

For my first “stepped up” card I used the Tropical Layers Dies. Normally, I would use a punch at this stage because a cutting and embossing machine is not yet in a casual stampers collection.

I used Mint Macaron and Just Jade inks to stamp the leaf images directly onto the Notecard base.

The next step was to cut three leaf frames from Basic Black, Basic White and Calypso Coral cardstock. These were then secured in place using Mini Glue Dots.

I stamped the birthday greeting onto a strip of the coordinating Designer Series Paper.

The text image was stamped inside the card and on the front of the envelope. This was repeated for all three cards.

Using black Baker’s Twine from the Essentials Pack, I tied a triple bow and attached it to the card front. I finished the cardfront by adding some Pale Papaya 2021 – 2023 In Colour Jewels.

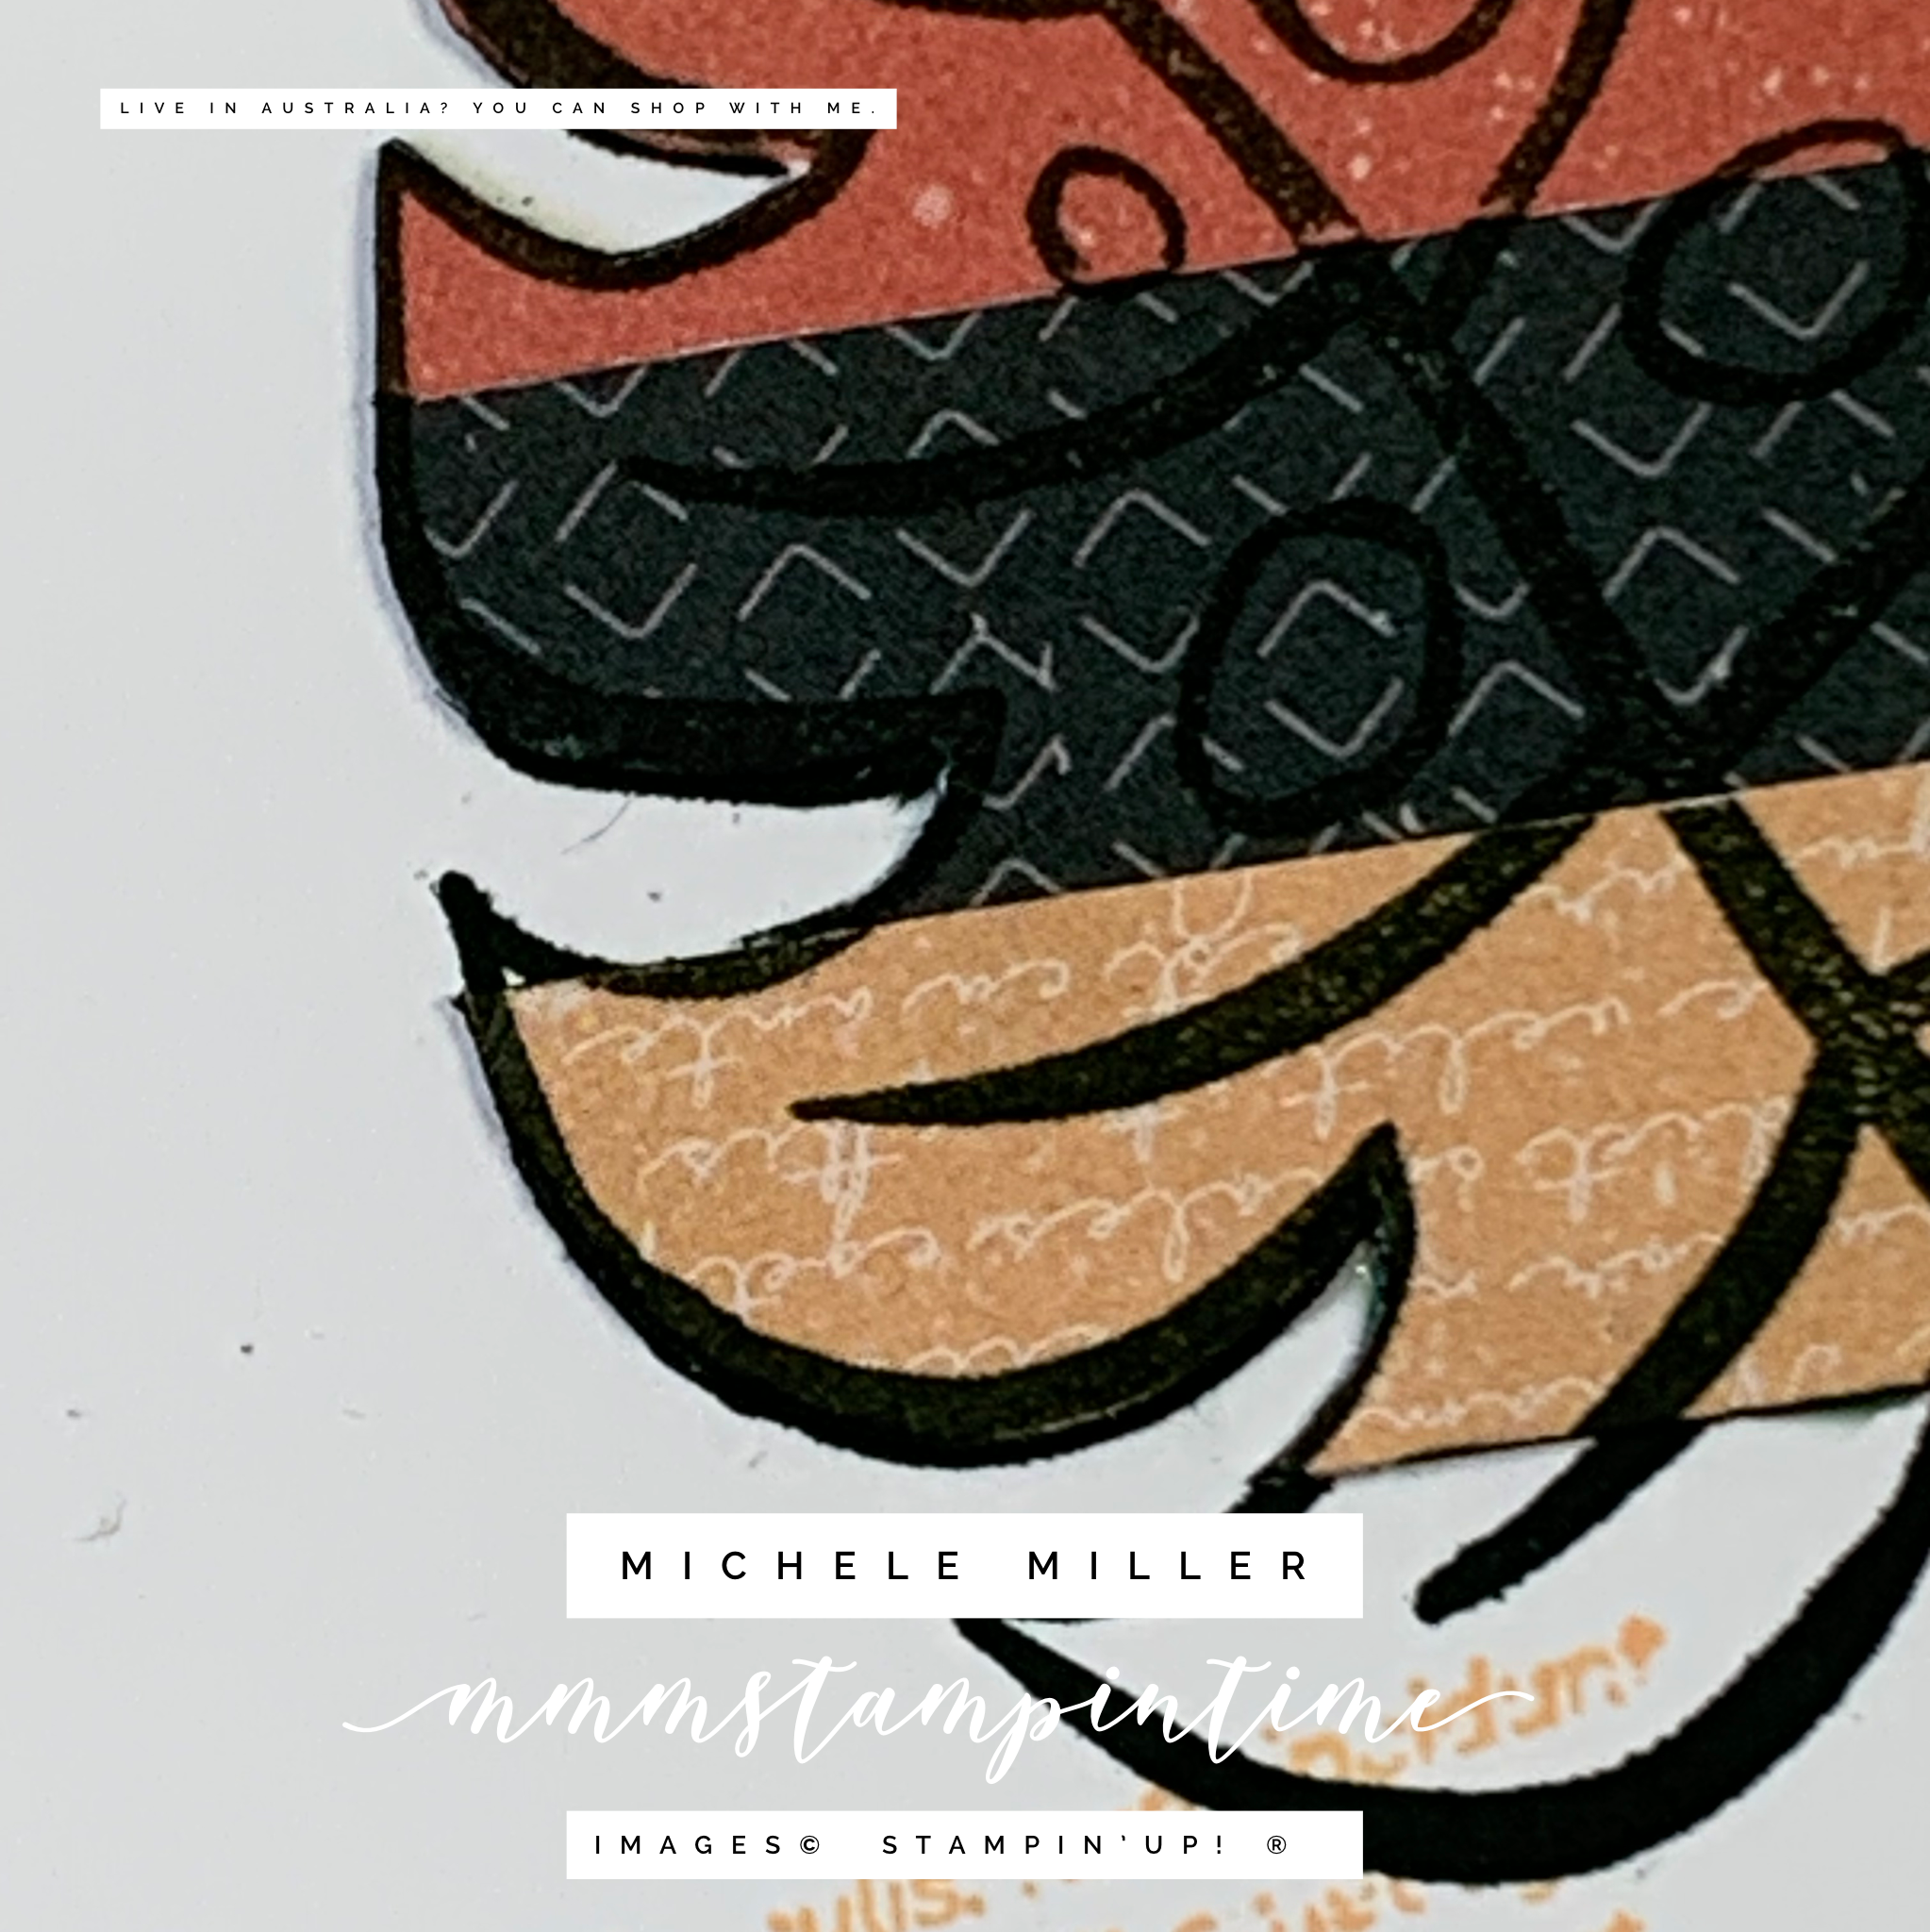
I like sharing some close up images of my projects.

Here is the next stepped up card.

For this card, I used the long stitched zigzag border die to cut the five colour layers that were overlayed and adhered together. I used my Stamparatus to stamp the birthday greeting before trimming these layers.

I took a length of the white Baker’s Twine from the Essentials Pack, wrapped it several times and tied a bow.

A piece of one of the DSP desgns was cut to fir the card front. The multi-coloured zigzag panel was then adhered to the cardfront.

The final card has a few more elements added.

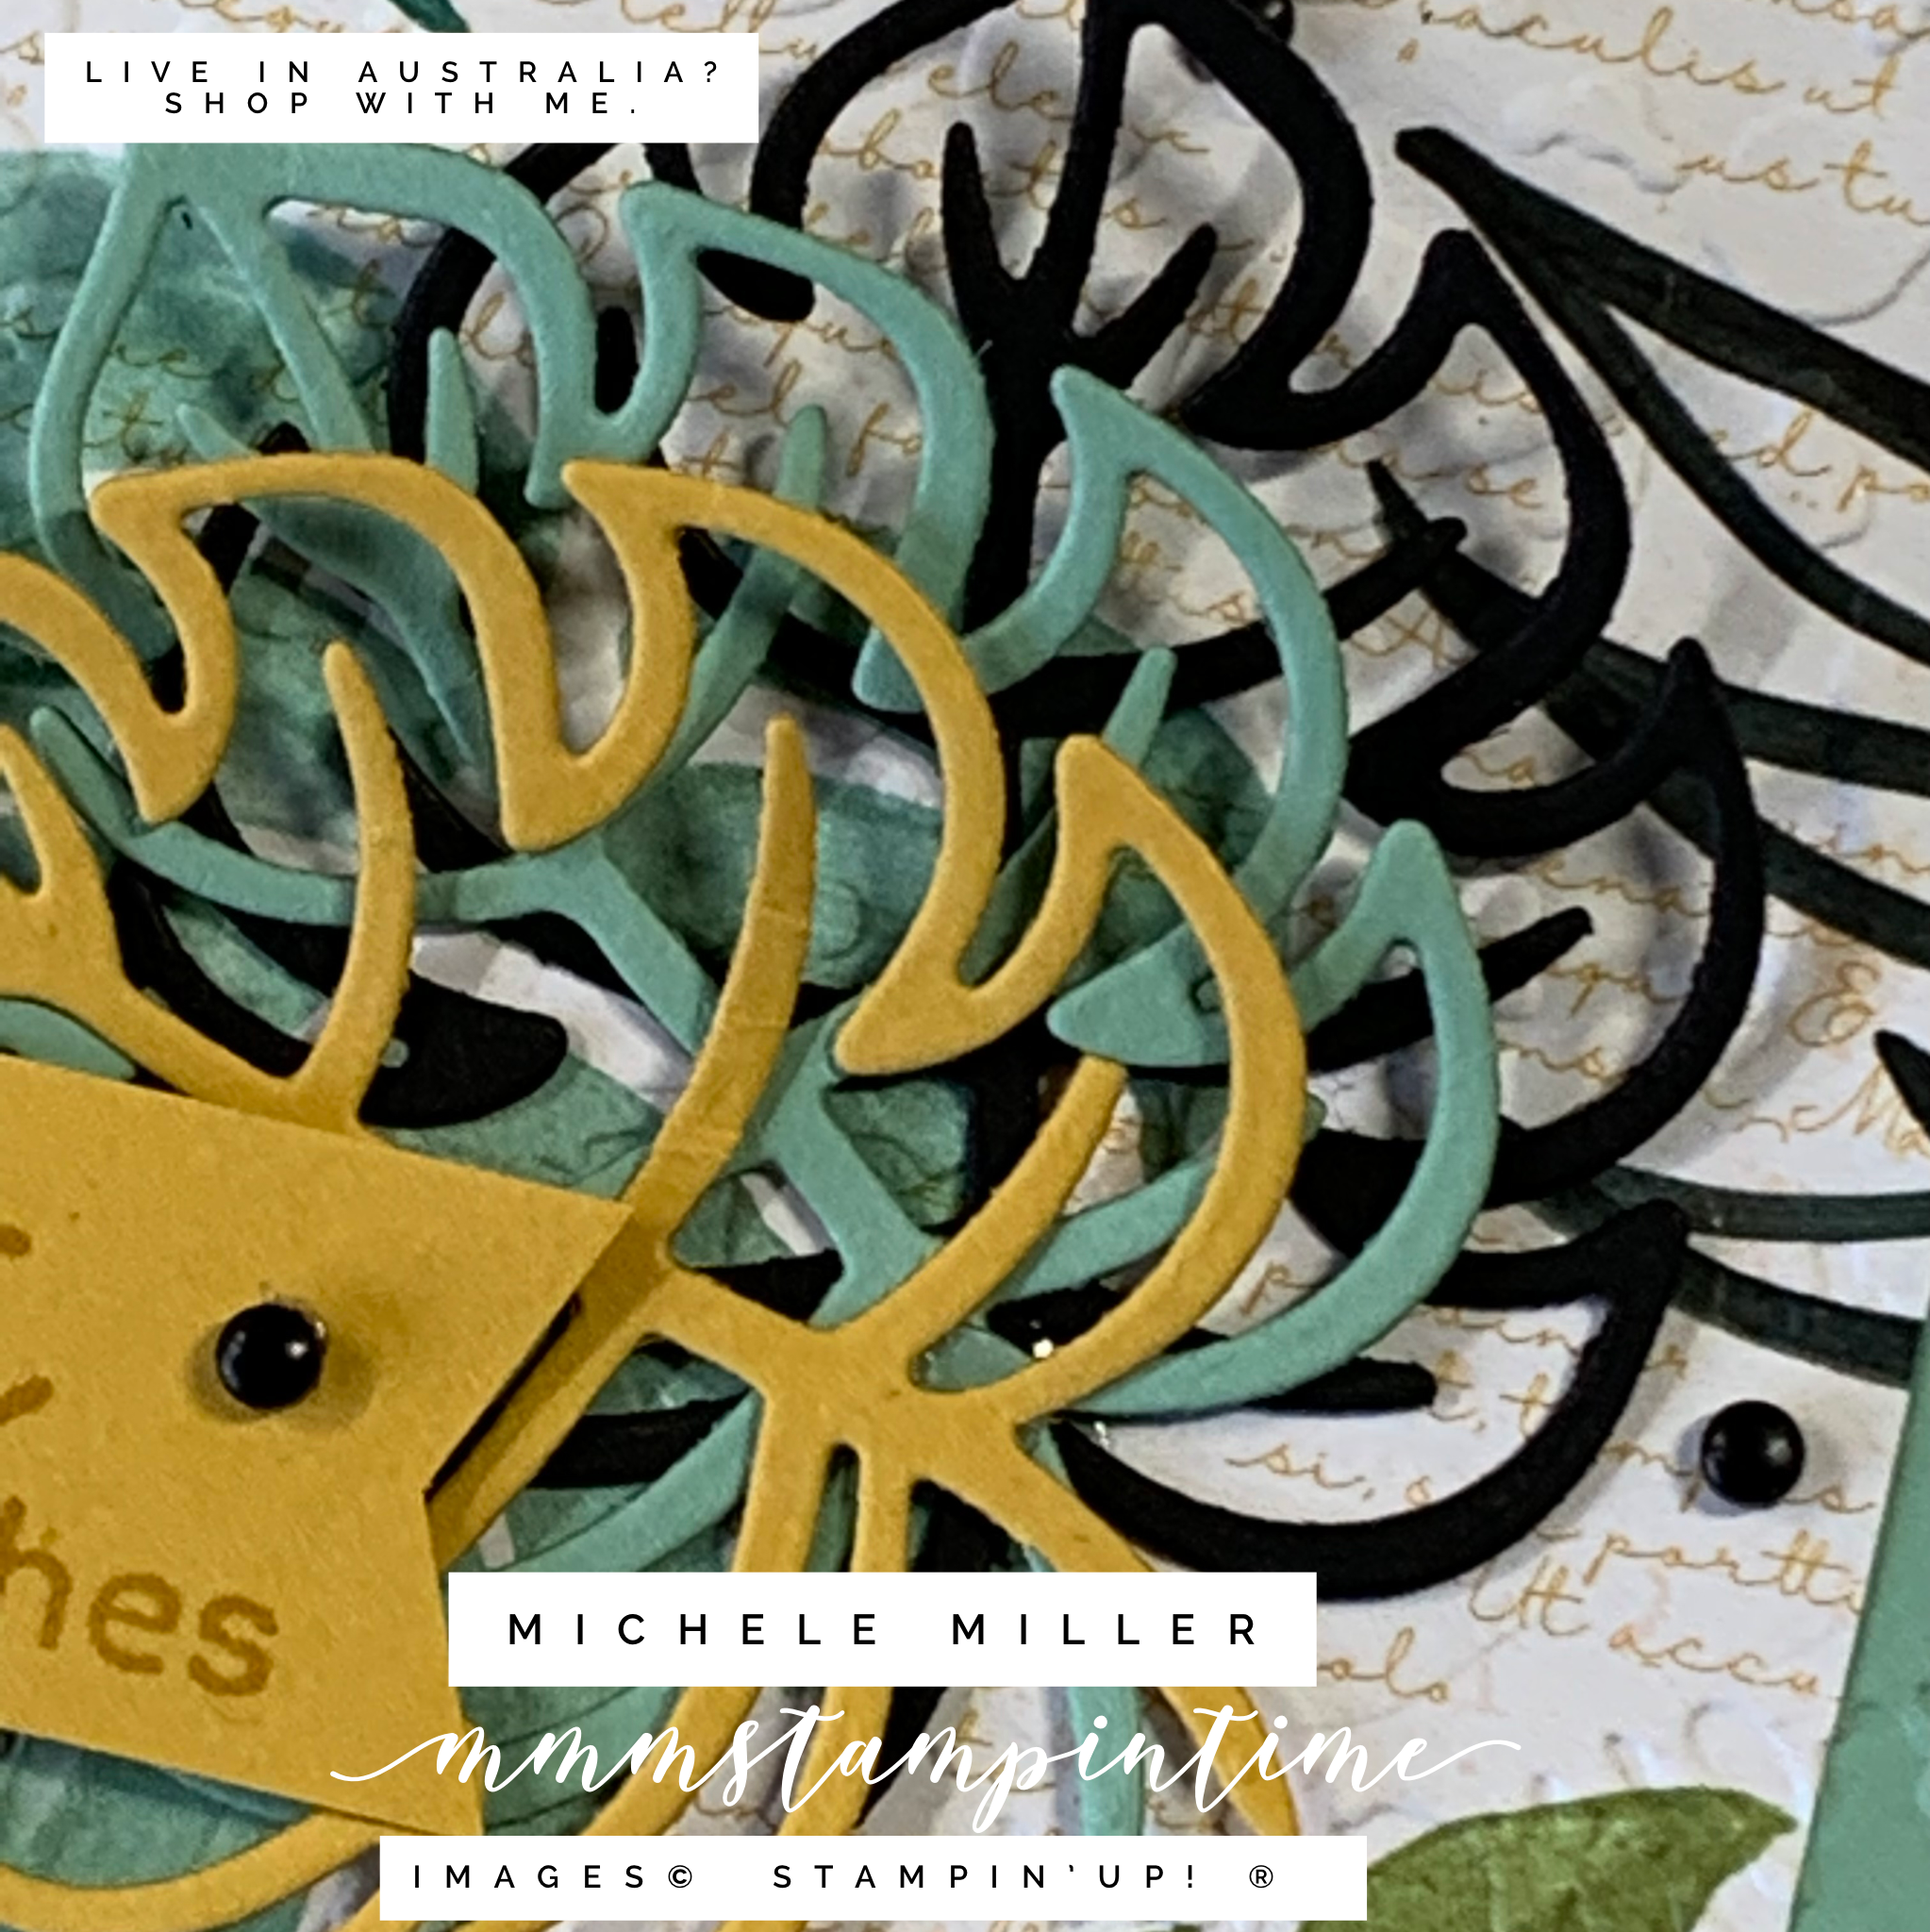
A piece of Just Jade cardstock and a smaller piece of one of the DSP designs were glued together. Then they embossed using the splatter folder from the Strips & Splatters 3D Embossing Folders.

I cut three leaves, one each in Bumblebee, Just Jade and Basic Black. They were attached to the card front using Mini Glue Dots.

After stamping the same sentiment, used for all these projects, I trimmed down the cardstock and used the Banners Pick A Punch to punch the banner. The card was finished with some Classic Matte Dots.

Here are the three “step it up” cards.

I am enjoying my Saturday and Sunday card making projects especially because I am using the Notecards & Envelopes.

Here are some of the other products I used for these projects.

Now it’s time to start thinking about what I photos I will select for tomorrow’s Memories on Monday post. I will be using the Artfully Composed 12″x 12″ Designer Series Paper – so, I will be looking for photos that will suit these designs.

Until then, happy stamping.

If you live in Australia, you can order any of the products I used to make this card by going to my online store. Just click on any of the images below.

Product List
Paper Snips
[103579]
$17.00
Posted on Leave a comment

ANOTHER WEEK HAS FLOWN BY & IT’S A SIMPLE STAMPIN’ SATURDAY AGAIN

If it’s true that “time flies when you’re having fun” then I have been having a great time!

I am enjoying my new weekly schedule of blog posts. What do you thinkso far? I’d love to hear from you.

Saturday is my #simplestamping day. Simple stamping is just as it sounds – lovely and simple and easy. It is a style of stamping perfect for new paper crafters to have fun learning a new hobby. And, it’s great for more experienced paper crafters who want to make some uncomplicated cards, quickly.

This week I have chosen the Artfully Composed Suite. For #simplestamping Saturday, I used the Artfully Layered Stamp Set and some of the Artfully Composed 12″x 12″ Designer Series Paper. Wait until Sunday, when I will share some “stepped up” cards.

ARTFULLY COMPOSED SUITE COLLECTION (ENGLISH)
ARTFULLY LAYERED CLING STAMP SET (ENGLISH)

To make sure the #simplestamping cards are even easier to make I like to use the Notecards & Envelopes (159232) because they are precut and prescored. That means that a new stamper doesn’t need to have a paper trimmer or a pack of Basic White cardstock.

BASIC WHITE NOTE CARDS & ENVELOPES

Here is the first card that I made for today’s Simple Saturday.

I used three of the stamps from the Artfully Layered Stamp Set and two inkpads – leaf, sentiment and background script, as well as Evening Evergreen and Pale Papaya.

For the second card, I also used some of the Artfully Composed 12″x 12″ Designer Series Paper.

I cut 1/2″ strips from 3 of the DSP sheets and adhered them to a smaller piece of Basic White cardstock. Then I stamped the leaf image onto the DSP. When dry and after a little fussy cutting, I had a great DSP element to add to the card front.

The sentiment and background script were also stamped onto the card front.

These are the two #simplestamping cards for this week’s post.

#simplestamping involves using just a few crafting products. The envelope and inside of each card were stamped using the script image.

After today’s #simplestamping cards, I am looking forward to tomorrow’s Step It Up Sunday.

Until then, happy stamping.

If you live in Australia, you can order any of the products I used to make this card by going to my online store. Just click on any of the images below.

Product List
Paper Snips
[103579]
$17.00
Posted on Leave a comment

GLOBAL DESIGN CHALLENGE #GDP305

Hello! Thank you for popping by to see my latest project share.

This time last week I didn’t think that I would up to making a card for this challenge. I went into hospital on Monday for a knee replacement and came home on Thursday. Fortunately, I felt well enough this morning to make a card.

This week’s challenge is a colour challenge. The combination is Pale Papaya, Balmy Blue and Pear Pizzazz. How fun is this color combination?! There are so many ways to be creative with Stampin’ Up! challenge.

If you pop over to Global Design Project website you will be able to see the gorgeous projects the design team made to insire us – just click on the colour combination image above to be taken to the right place!

For this card I was inspired by Patty Bennetts, from Patty Stamps, to use my Blending Brushes to colour a strip of card stock.

To achieve the coloured strip, I laid down Post-It Cover-up Tape using the Grid Paper to ensure I had a parallel space to colour. I used three Blending Brushes and started with Pale Papaya at the top and moving down the card front blended in Pear Pizzazz and then Balmy Blue. The ink was given some time to dry before the Post-It strips were removed.

Then I added colour, from the coordinating Stampin’ Write Markers™, directly onto the selected floral Shaded Summer Stamps. These were then cut using the FREE Sale-a-bration Summer Shadows Dies. To ensure I had strong colour coverage I used my Stamparatus so that I could apply more colour as needed.

I added a swoosh of Pale Papaya Open Weave Ribbon to the card front before placing the die cut flower stems over the colour blended strip. Stampin’ Dimensionals were used to layer up these stems. I stamped and fussy cut additional flowers to pop up over some of the flowers to ensure the card front had height and dimension. I also gave each of the flowers a swipe of Clear Wink of Stella.

The birthday greeting is from the Shaded Summer Stamp Set and was cut using one of the new Seasonal Labels Dies. The stem of leaves was stamped inside the card and onto the envelope.

And, of course, the final step was to add some 2021 – 2023 In Colour Jewels.

I enjoy including a photograph of many of the products I have used to make the card. There are many items that I do not include, yet – cardstock, Designer Series Paper, adhesives. envelopes and paper cutting and some other equipment.

Who would you send this birthday card to?

Until next time, happy stamping.

If you live in Australia, you can order any of the products I used to make this card by going to my online store. Just click on any of the images below.

Product List
Paper Snips
[103579]
$17.00