Posted on Leave a comment

IT’S MONDAY & THAT MEANS IT IS TIME TO HIGHLIGHT SOME NEW STAMPIN’ UP! PRODUCTS

This week I am going to feature a new Sale-a-bration product each day. These are the ones that don’t have a specific matching bundle in the new January – April 2024 Mini Catalogue.

Today I have two projects to share with you, using the Watercolor Melon Stamp Set.

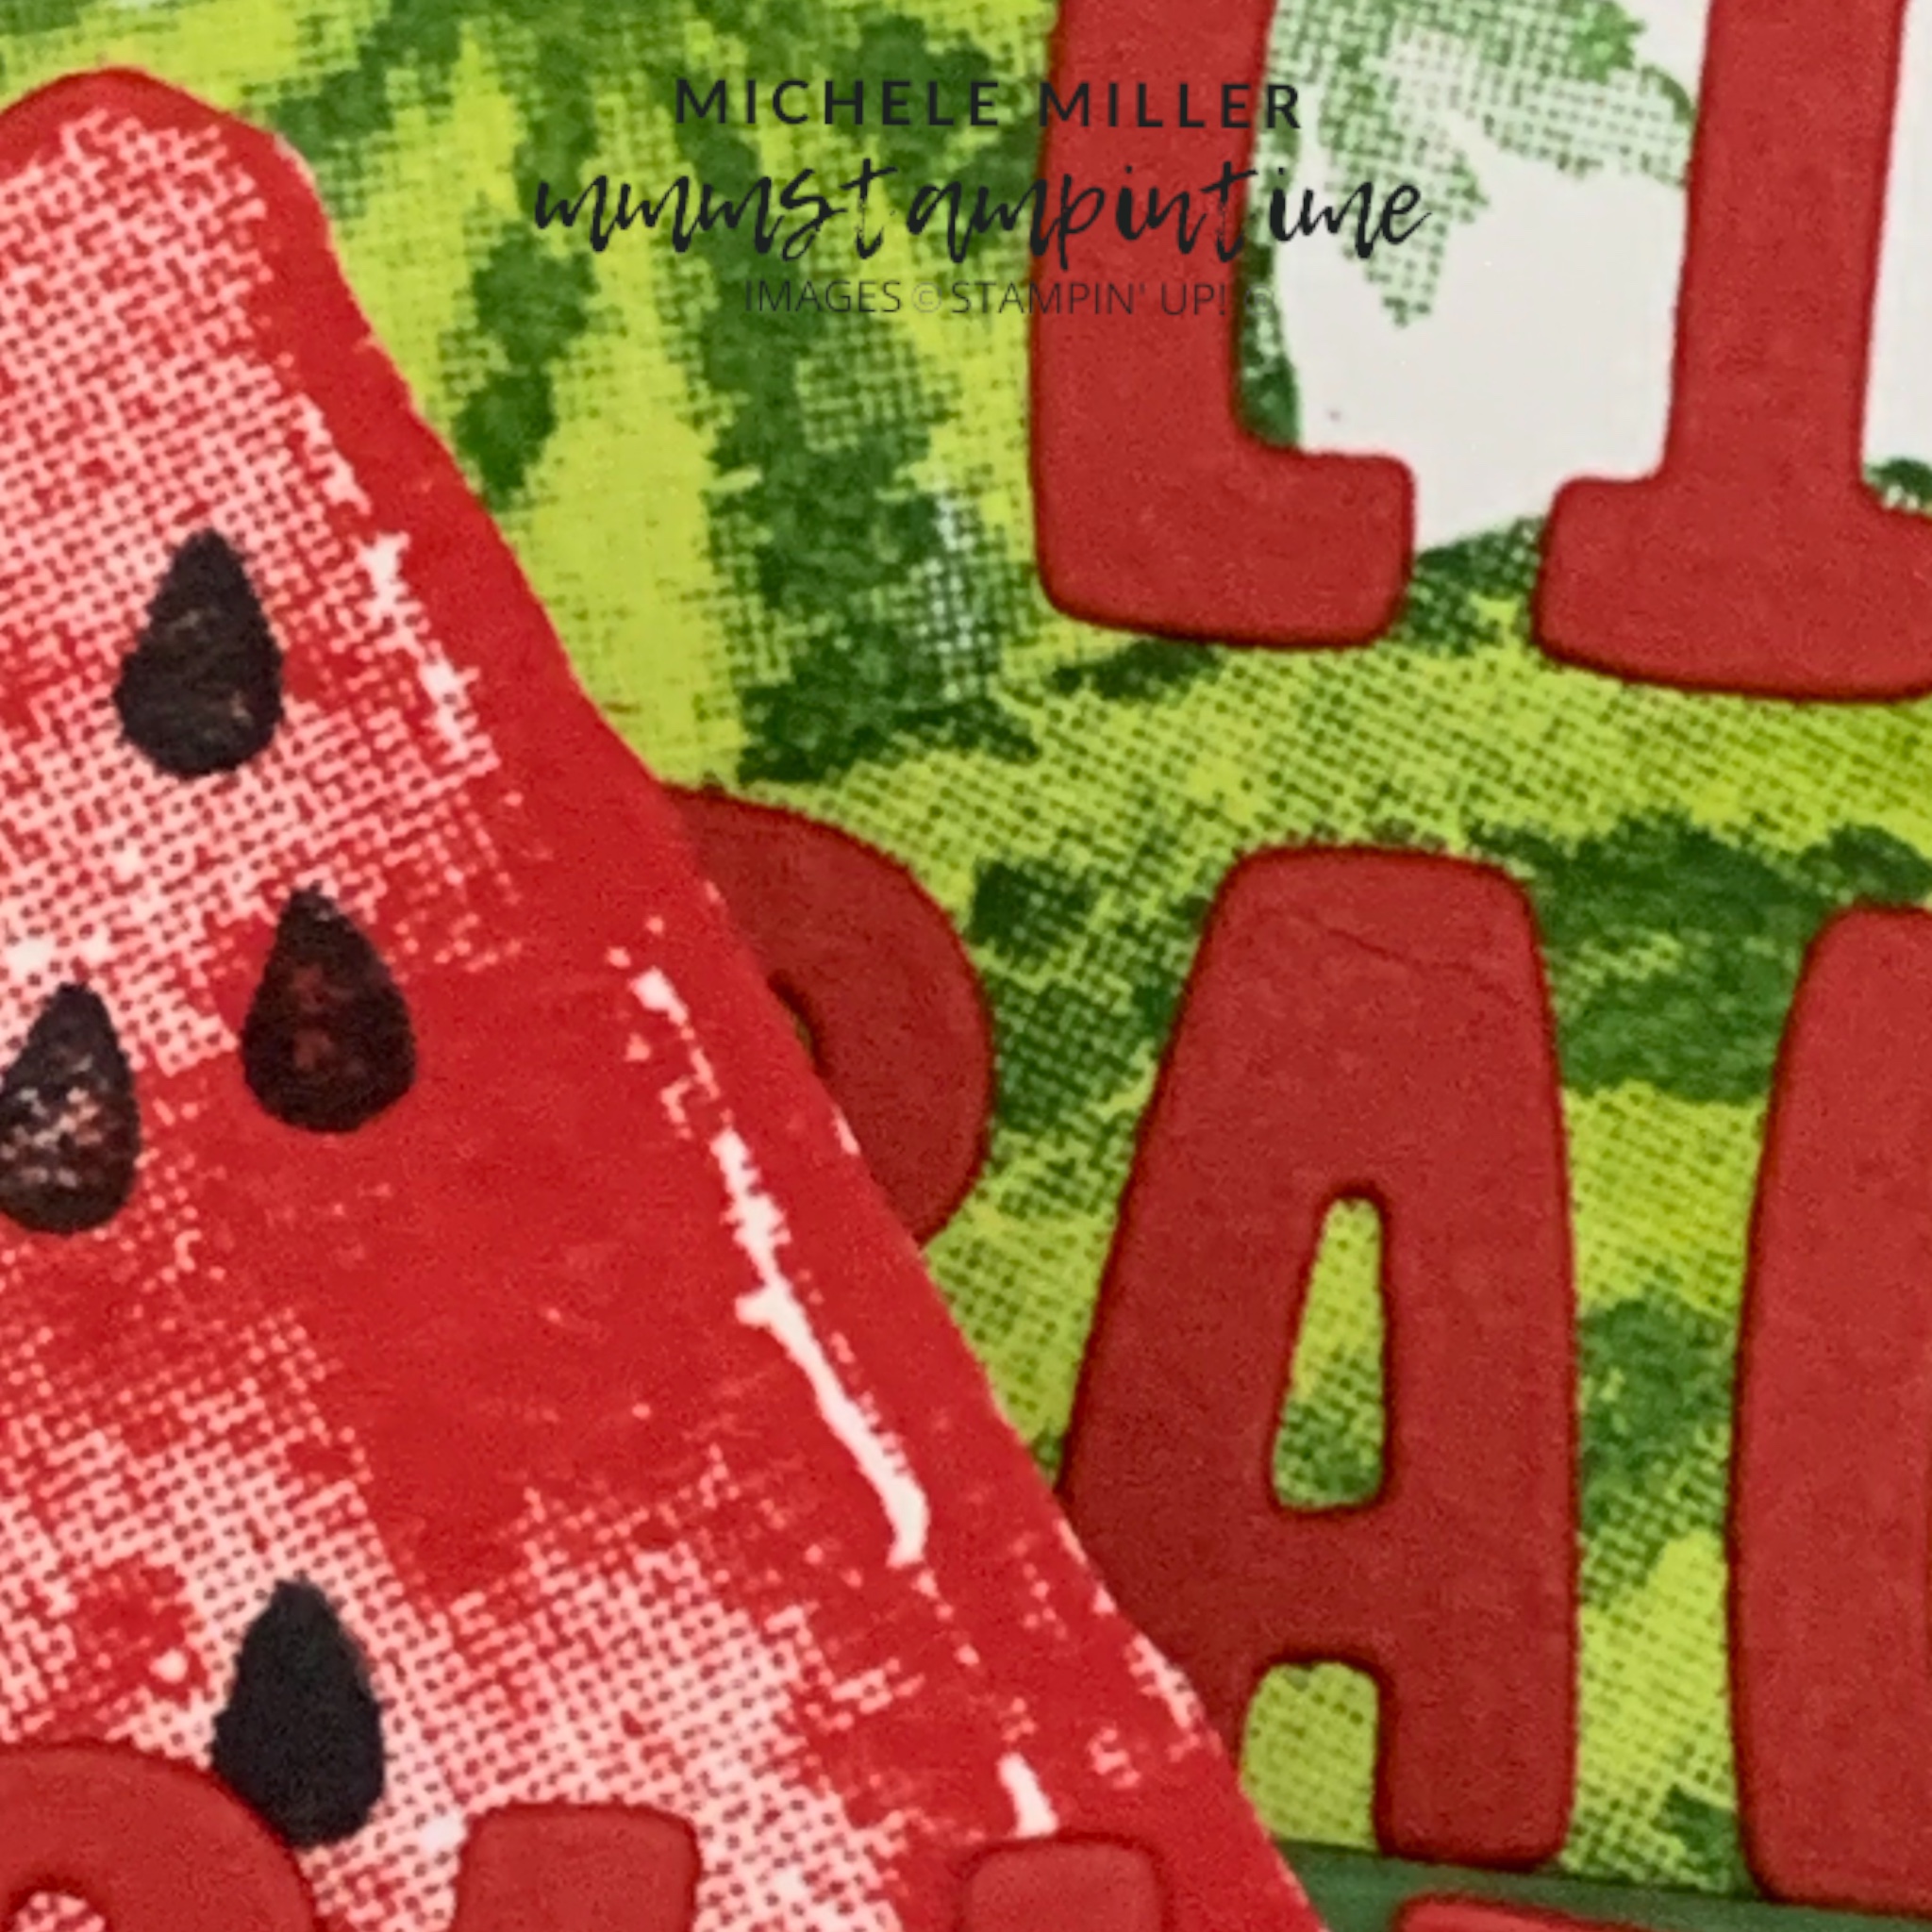
I chose Poppy Parade for my main watermelon colour and Garden Green for the watermelon vine and leaves.

The watermelon wedges were stamped and fussy cut.

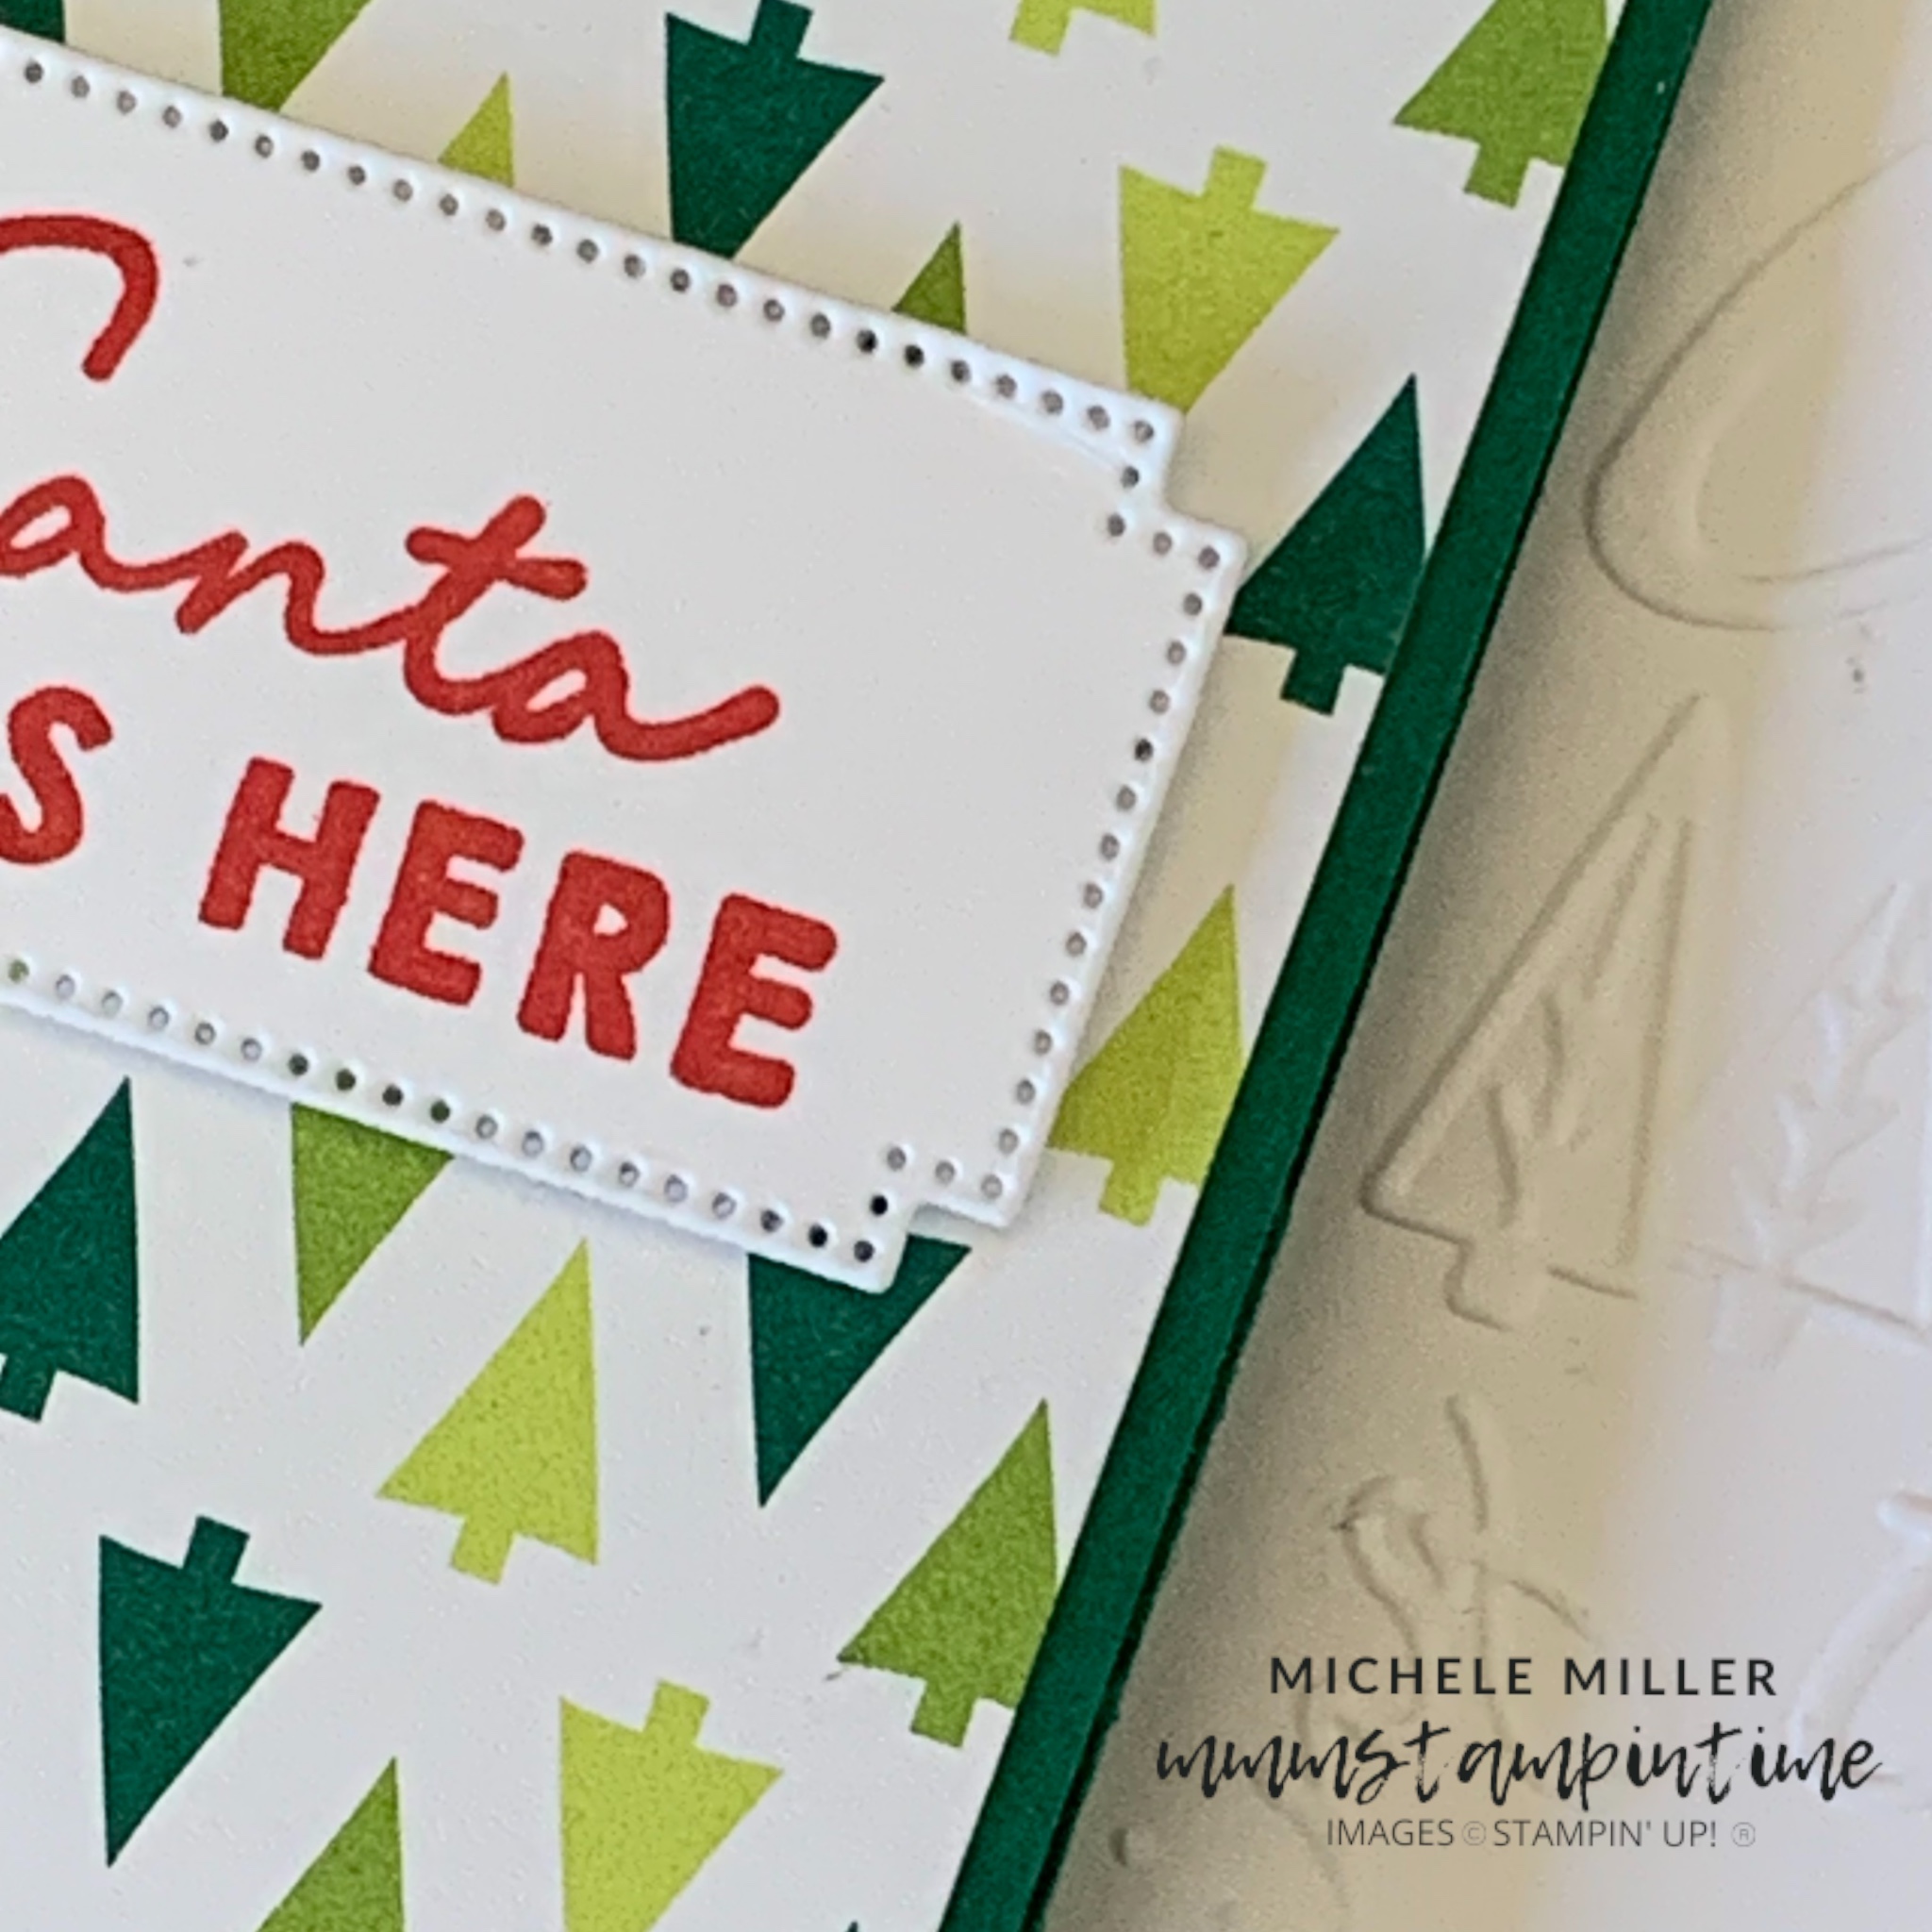
I stamped the watermelon vine and leaves across a Basic White panel. Then I embossed it using the Basics 3D Crosshatch Embossing Folder.

The stamped and embossed panel was then attached to the Poppy Parade card base.

After adding Adhesive Sheet to the back of a piece of Poppy Parade and cut the letters, for the card greeting, using the Mini Alphabet Dies.

I stamped the watermelon on the card insert and the envelope.

After finding a watermelon lip balm, I decided to make a 3D project to pop the lip balm in.

The gift box was made using Garden Green cardstock.

I stamped two watermelon images, using a masking technique, to allow me to overlap them. After stamping them, I used Granny Apple Green Stampin’ Blends to fill in the watermelon with a lighter green.

I attached a fussy cut watermelon wedge and cut some more letters for the gift box ‘title’.

The Watercolor Melon Stamp Set is one of the FREE stamp sets that can be selected with a minimum $90AUD (before shipping) order.

Tomorrow I will have another Sale-a-bration product to share with you.

If you live in Australia, you can order any of the products I used to make this card by going to my online store. Just click on any of the images below.

Product List
Paper Snips
[103579]
$19.25
Posted on Leave a comment

THURSDAY MEANS THAT IT’S TIME FOR A 3D PROJECT

I made a gift box that holds three small Crunchie chocolates. The wrapper, that chocolate comes in, matches Crushed Curry so well.

The box was made using Basic Black cardstock and measures 4″ x 2 1/4″ x 1″.

I die cut two peg boards for the front and back of the box.

I cut a 7/8″ strip from the measuring tape paper and adhered it to the side panels and lid.

After my earlier fussy cutting adventure, I had lots of tools to choose from. So I chose some of them and added them to the box.

This was such a fun project to make. Now to find someone who likes Crunchie bars.

Tomorrow’s Fun Fold Friday card also features a colouring technique.

Until then, happy stamping.

If you live in Australia, you can order any of the products I used to make this card by going to my online store. Just click on any of the images below.

Product List
Paper Snips
[103579]
$19.25
Posted on Leave a comment

TIME FOR SOME MORE MERRY, BOLD & BRIGHT CREATIONS

If you didn’t see my post yesterday, make sure you pop back and have a look. It explains why I have so many Merry, Bold & Bright projects to share with you.

It has something to do with these next two images –

Today, I have another 3D project and card to show you.

These Christmas gift bags were inspired by Sam Hammon Donald – thank you Sam for always sharing your creations (with instructions!). Here is a link to see her creativity in action – https://pootles.co.uk/2023/08/18/stampin-up-zany-zoo-gift-box-idea/

I made these to showcase the amazing designs in the Merry, Bold & Bright 12″ x 12″ Designer Series Paper.

The wonderful Deckled Circles Dies were used to cut the sentiment label for the front of each bag. Then the Christmas bulbs were stamped, die cut and attached to the labels.

Each label then had Iridescent Adhesive-Backed Discs were added to give the bags a little bling.The bags were closed with coloured mini bulldog clips that I found at my local stationery store.

Now for a card!

For this card I wanted to create a gift card holder. I started with a Poppy Parade landscape tent fold.

I took a piece of Basic White card and used the Christmas Tidings Embossing Folder to add this amazing texture. After I attached this embossed layer to the front of the card, I created the gift card pocket and cover.

The Shaded Spruce gift card pocket was a trial and error process to get the right measurements. I added an insert of DSP to add to the Christmas theme.

A length of Silver Trim was attached to the back of the pocket and was then tied into a bow behind the ‘Santa was here’ greeting. The greeting was cut using one of the dies from the Autumn Leaves Dies.

The same greeting was stamped on the white card insert and envelope. The same Iridescent Adhesive-Backed Discs were added to the card front.

Tomorrow – some more Merry, Bold & Bright to share.

Until then, happy stamping.

If you live in Australia, you can order any of the products I used to make this card by going to my online store. Just click on any of the images below.

Product List
Paper Snips
[103579]
$19.25