Posted on Leave a comment

BYE FOR NOW

We are heading off on a 10 week overseas holiday this week.

We have a month in the US, a month in the UK, a side trip for me to Rotterdam, and then 2 weeks in Japan.

During our time away, I have scheduled a small number of posts for my Colour INKspiration projects.

If you want to check out the places we are visiting, pop over to my Facebook page and follow our travels – https://www.facebook.com/michele.miller.927543

I’ll be back with new projects at the end of join.

Until then, happy stamping.

Posted on Leave a comment

WELL, WHAT’S HAPPENING THIS WEDNESDAY?

The exciting news this week is that I am actually in Melbourne for the 2024 Stampin’ Up! OnStage event.

OnStage is happening, across three days, at three different locations – Rotterdam, Melbourne and Houston.

The event will be filled with demonstrations, swapping, catching up with friends, crafting and getting our hands on the new 2024 – 2025 Annual Catalogue.

I will share loads of photos on my Facebook pages – I hope you have a chance to see what I’m up to.

Today I have another Latte Love project to share with you.

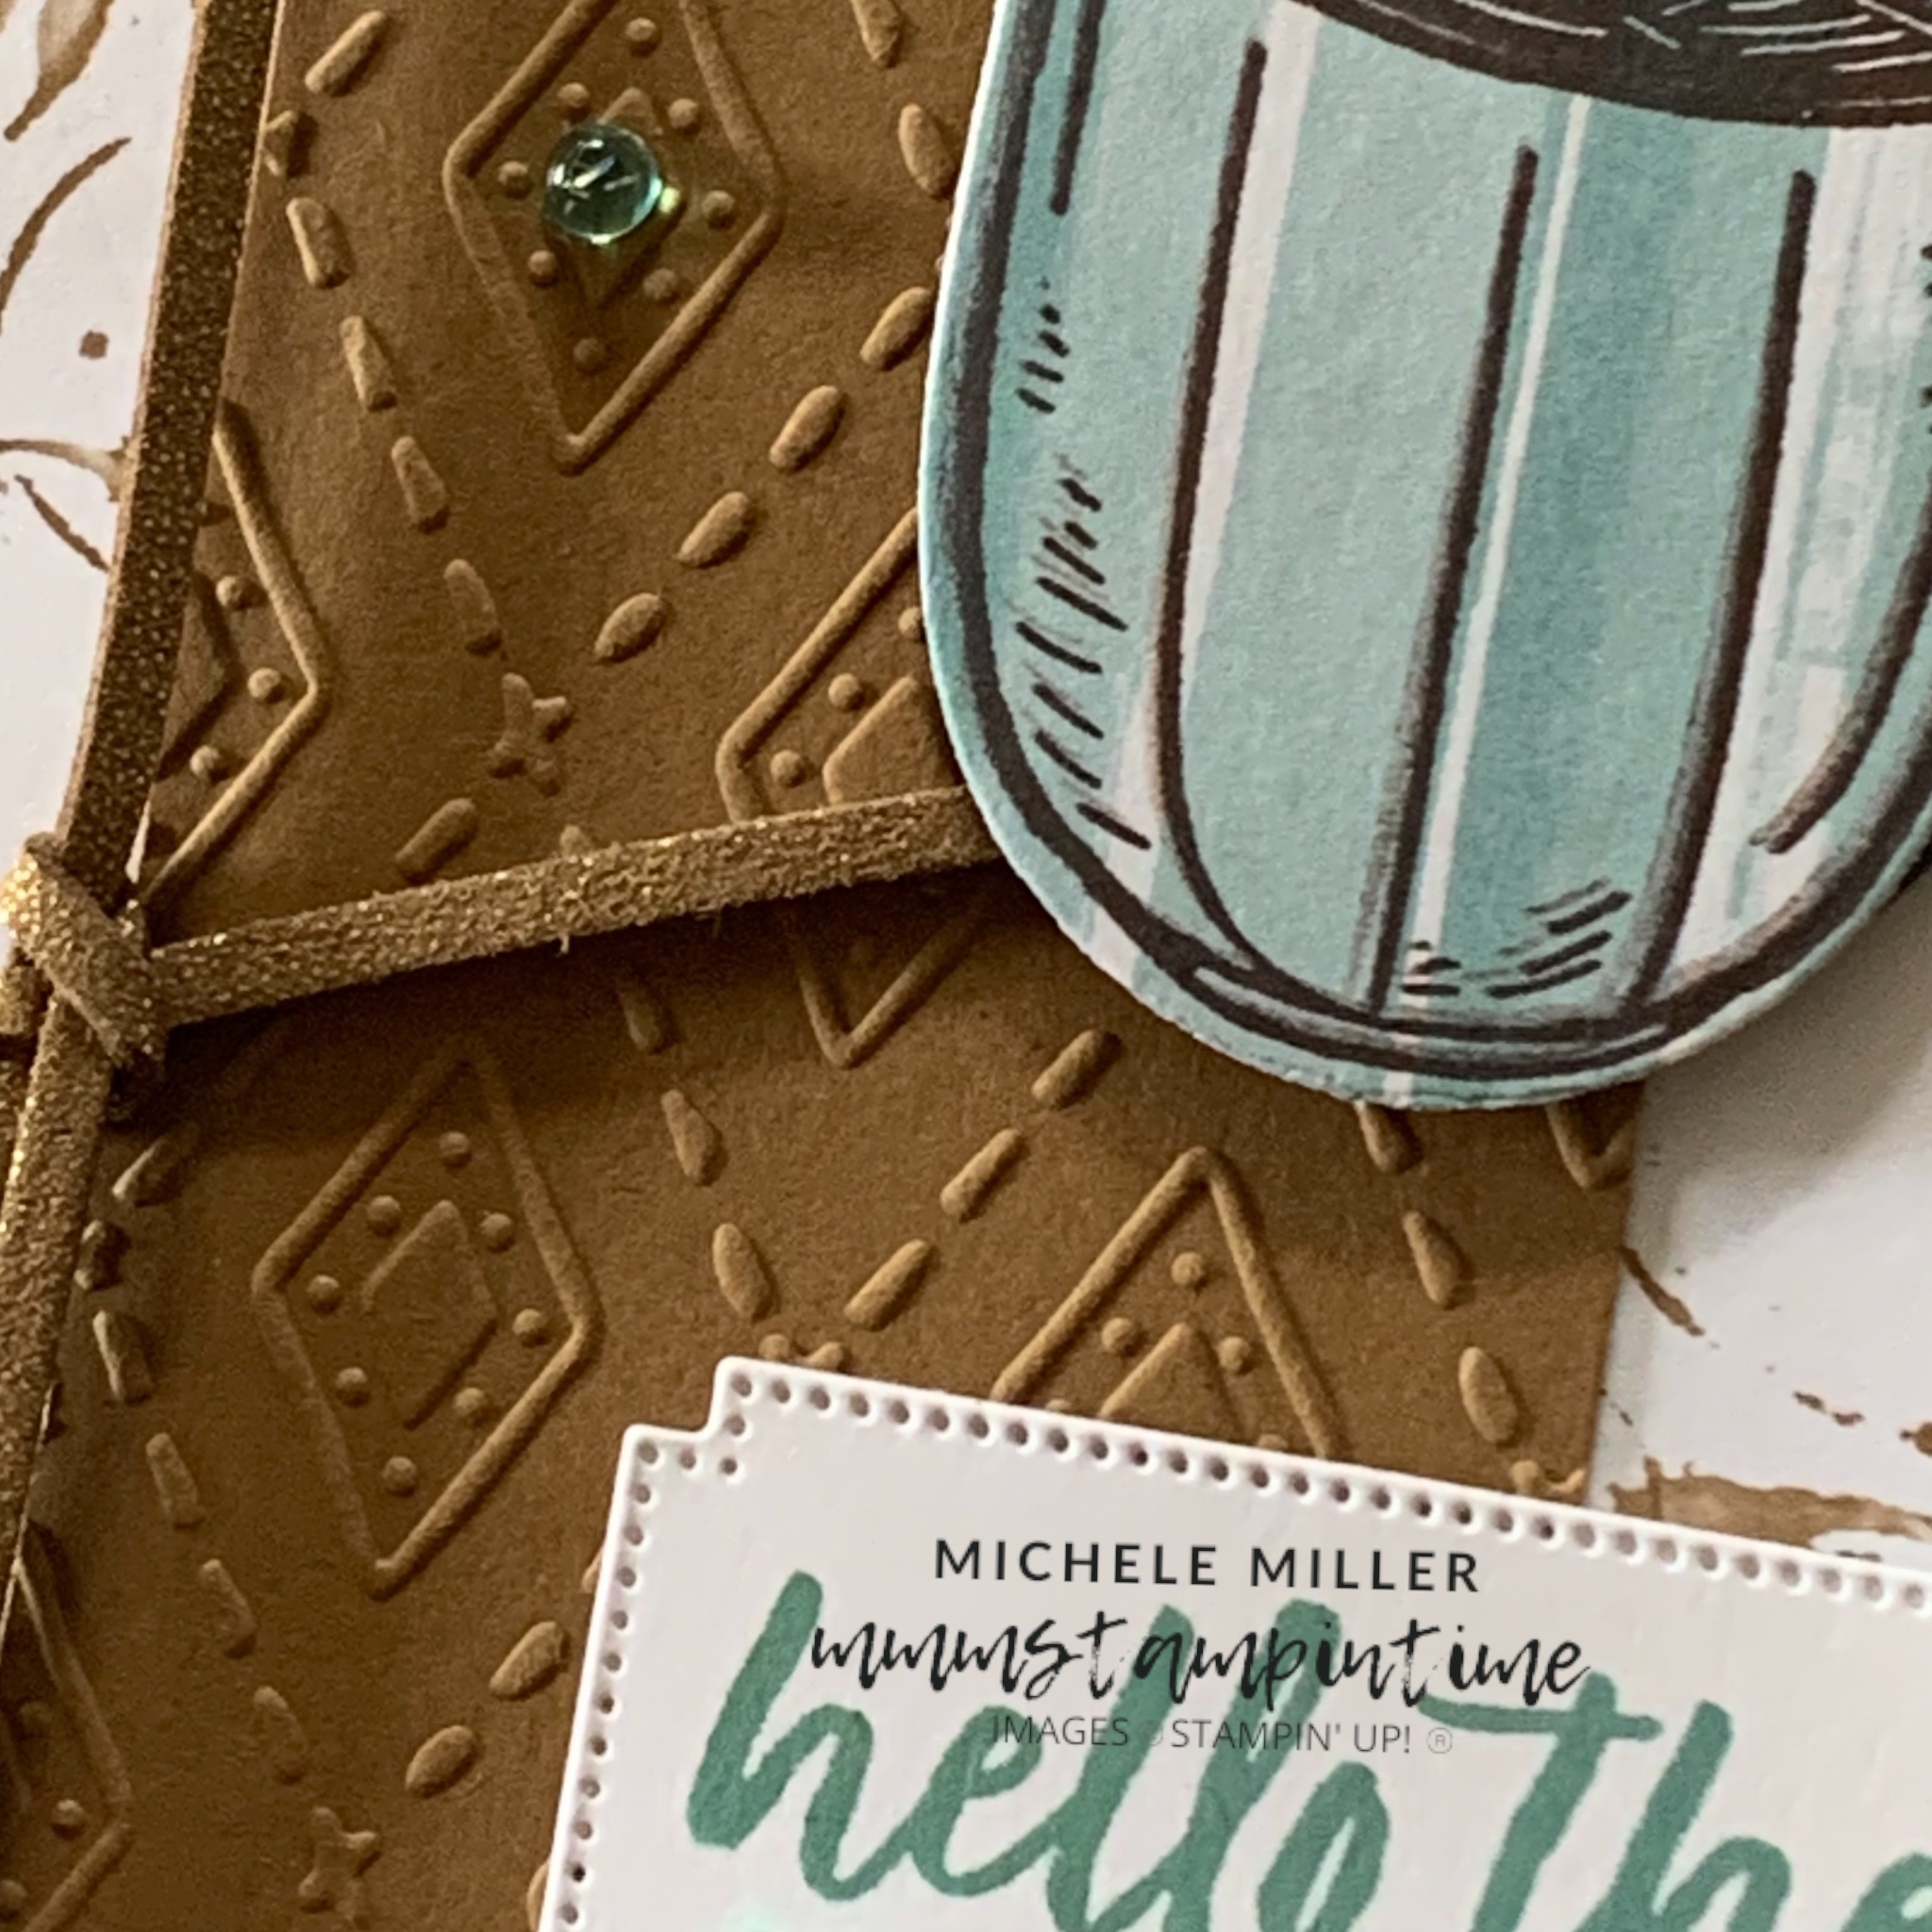
For this card I decided to use my favourite coffee cup rings pattern from the A Little Latte 12″ x 12″ Designer Series Paper.

I took a 2″ piece of Pecan Pie cardstock and ran it through my Mini Stampin’ Cut & Emboss Machine. I used one of the Fun Patterns Embossing Folders to add texture to the strip of card.

After adhering this embossed card to the panel of DSP, I wrapped some Gold Faux Leather Trim around the paper and tied a knot.

I adhered this DSP panel to the cardbase.

I stamped the coffee mug image directly onto the white and Lost Lagoon DSP. Then I cut the mug using the Latte Love Dies. I also cut the mug using some Early Espresso and Lost Lagoon card.

The mugs were layered and then popped onto the card front using Stampin’ Dimensionals.

The greeting was stamped and die cut – with the missing die from my Autumn Leaves Dies.

I stamped the mug on the card insert and the envelope.

Finally, I added some Lost Lagoon Tinsel Gems, from the 3 pack, to the card front.

Tomorrow I have a 3D project to share with you.

Until then, happy stamping.

If you live in Australia, you can order any of the products I used to make this card by going to my online store. Just click on any of the images below.

Product List
Paper Snips
[103579]
$19.25
Posted on Leave a comment

IT’S MONDAY & THAT MEANS IT IS TIME TO HIGHLIGHT SOME NEW STAMPIN’ UP! PRODUCTS

This week I am highlighting the Poetic Expressions Suite Collection.

I started by CASeing one of the projects from page 60 of the January – April 2024 Mini Catalogue.

I made the gift bag that you can see in the top left hand corner of the ima

I often forget about the 2023 – 2025 Im Colour Treat Bags so it was great to CASe this project.

What do you think of my version?

Next, I wanted to take the gift bag and convert it into a card.

I started by sliding off the belly band and cutting down the gift bag to create a panel to adhere to the front of a Boho Blue card base.

Then I cut down the belly band to add a second panel to the card.

Next, I stamped, cut and coloured a hummingbird and several flowers. I also die cut some leaves and small flowers.

The greeting was stamped on to a piece of Wild Wheat cardstock and then I cut the banner end. I also die cut the Basic White label using the largest of the label dies in the Throughtful Expressions Dies.

I assembled and adhered all of these elements into place using Multipurpose Glue, Stampin’ Dimensionals and Mini Glue Dots.

I used both the Designer Series Paper and gift bag remnant for inside the card and the back of the envelope.

To finish the card I added some Champagne Iridescent Dots to the front of the card.

Tomorrow I have another Poetic Expressions project to share with you.

Until then, happy stamping.

If you live in Australia, you can order any of the products I used to make this card by going to my online store. Just click on any of the images below.

Product List
Paper Snips
[103579]
$19.25